How to enhance the flavors of cannabis?
- 1. Best way to enhance the flavors of cannabis
- 1. a. Stress the plants
- 1. b. Stop watering
- 1. c. Lst
- 1. d. Supercropping
- 1. e. Defoliation
- 2. Use products that boost the terpenes
- 3. Grow your crop in a super soil mix
- 4. Raise the humidity slightly
- 5. Increase flavor after harvesting
- 5. a. Drying weed
- 5. b. Curing weed
“How to flavor weed” is one question many people ask before growing feminized seeds. And, it’s not only the growers but even users purchasing cannabis have the same question. In this article, you’ll find tips to flavor cannabis but they will help you if you’re a grower yourself. For non-growers, a section at the end of this article may help. So, is it even possible to flavor marijuana? Yes, it definitely is. It’s fun to do so and the best part is that it’s safe. Well, at least the methods described here are...
1. Best way to enhance the flavors of cannabis
There are so many different types of flavors you find in cannabis. It’s really mind-boggling. For instance, Green Crack smells like fresh mangoes and also taste like them! And, the magic is due to the terpenes found in the plant. Thus, you should focus on the flavors much before you buy the seeds. Naturally, by finding strains that are tested to taste like a particular fruit, you’ll be more successful in growing cannabis that tastes amazing. No matter what flavor catches your fancy – chocolate, strawberry, cherry, mango, pineapple, and citrus – you’ll find them all.
Breeders grow these strains with a specific idea – flavors. They pollinate them with other proven and tested strains to create seeds that are magical and taste great at the same time. By now, you’ve probably understood that since it’s the terpenes that make the buds click, you must focus on increasing the terpenes. You can do that while the plant is growing. But in this post, we will talk more about increasing the flavors in different ways.
Stress the plants
Yes, you read that right. By stressing the plants a bit, you’re actually forcing them to perform as best as they can. For example, have you noticed how small pots with flower plants in them produce too many flowers compared to big pots? That’s because the smaller pots actually stress the plants into fighting for space. But, it’s important to remember that you cannot stress the plants too much. Overdo it, and you risk killing the plants. So, you can start stressing the plants right when they are growing using different methods.
Stop watering
Firstly, stop watering the plants when they are close to harvest. For example, if you water every 3 days, skip one cycle. But, keep an eye on how the plants fare. If they droop too much, replenish them with little water. Do not do this when the plants are far away from harvest or you’ll ruin the buds.
LST
Another method commonly used to stress cannabis plants is LST. Low-Stress Training is a technique where you bend the stems to the side of the container so that the light is distributed in a uniform fashion.
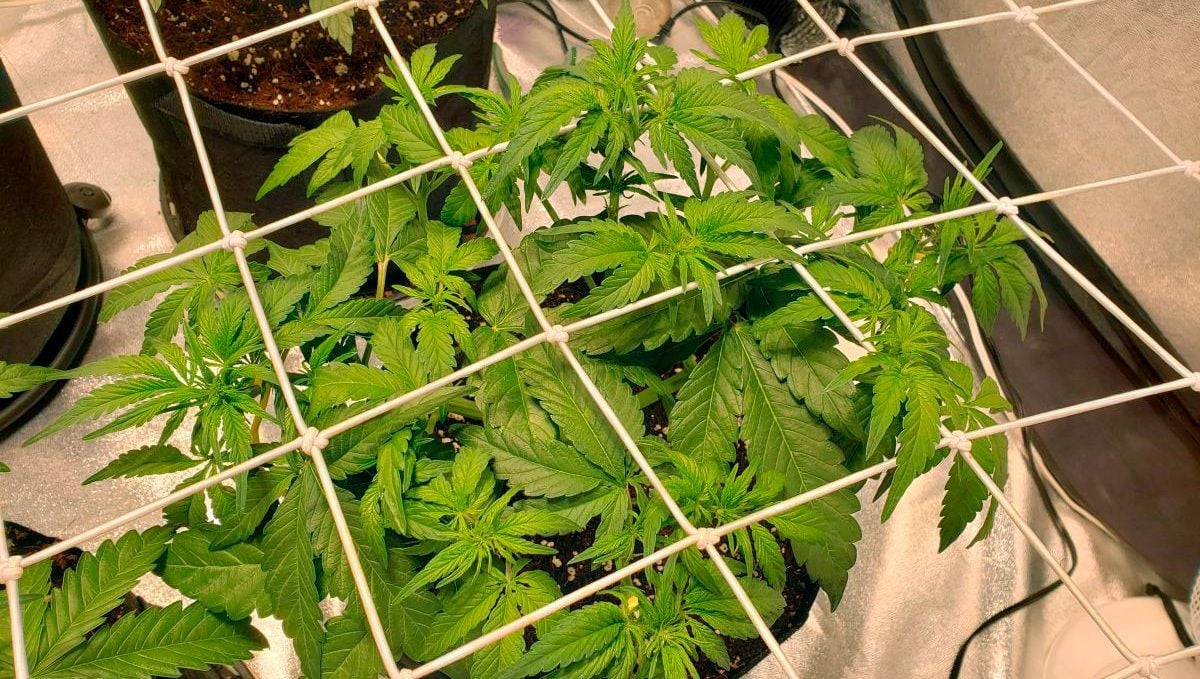
The buds at the bottom also get more light and you’ll actually turn those popcorn buds into good, dank buds. MIx this with SOG and you'll have a thriving garden full of buds. LST helps a lot with light. But, another reason you should try the technique is that it stresses the plant a bit. If done the right way, you’ll help the plant perform a lot better than you initially imagined.
Supercropping
Some people also break solid branches of the plant to stress the plant a lot more. This method is called supercropping. But, do not try this with autoflowers because they have a short lifespan. Although some experienced growers try supercropping even with autoflowers, beginners should restrain from doing so. Sometimes, the plant may not recover on time and you’ll end up with small yields. In fact, beginners must try every stressing technique with caution.
Defoliation
Defoliation is a process where you remove the leaves of the plant to stress the plant. Like LST, this method also helps the plant get more light due to a shortage of leaves. Go for leaves surrounding the buds in particular so that the buds get a lot more light. If you’re growing autoflowers, though, make sure you try this method when the plant is in the vegetative stage. Also, ensure that you don’t remove too many leaves even if the plant is in the vegetative stage. This means that aggressively defoliating leaves during the flowering stage will have a negative impact on the yields.
2. Use products that boost the terpenes
You already know that increasing the terpenes will increase the flavor of cannabis. Thus, purchase products like Terpinator, Sweet, and Rock Resinator to help the plants produce more resin. But, if you want to produce your own fertilizer that can beat any of these commercially made products, use molasses.
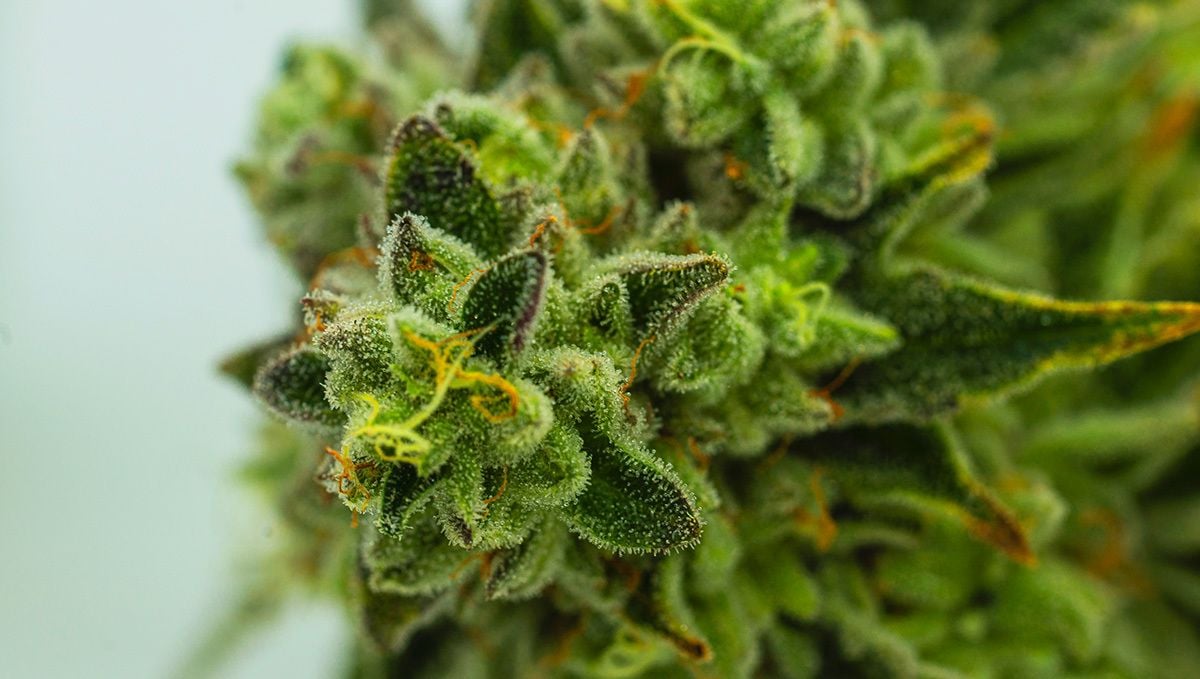
The best way to increase resin in the plants is to use molasses. Simply add a tablespoon of molasses to your water before watering the plants. What does it do? It simply feeds the microbes present in the soil. At the end of the day, if you keep the microbes happy, they will ensure that the nutrients present in the soil are transported well to all parts of the plant. You can also replace molasses with brown sugar. To make your fertilizer better, add magnesium sulfate or epsom salts available in grocery stores to increase resin production.
Here’s a quick recipe:
- 1 teaspoon brown sugar
- 9 tablespoons epsom salt
- 4 cups of water
Boil the water in a pan at first. Stir in the remaining two ingredients. Switch off the flame once the ingredients have dissolved completely. Let the mixture cool. Mix the solution with water until it measures a gallon. Store the solution in a container. Now, every time you water the plants during the flowering stage, use about 8-10 ml of this solution per gallon and you’ll see the plants actually respond beautifully.
Remember that the primary ingredient used in most products used to increase resin is either potassium sulfate or molasses. Use both of them if needed, but make sure you follow exact recipes so that you don’t cause any harm to the plants. With natural ingredients like molasses, however, there isn’t much to worry but make sure that you dilute it before adding it to the plants.
3. Grow Your Crop in a Super Soil Mix
Now this one comes with just a sprinkle of controversy, but the vast majority of experienced cannabis cultivators will attest to the fact that plants grown in a highly fertile, cannabis-specific super soil mix will produce the best tasting and smelling final product possible. Why? Well, it's due to the fact that these mixes contain all the necessary macro and micronutrients, as well as fungi and beneficial bacteria. That's not to say that synthetic hydroponic nutes don't contain everything a plant needs to thrive and grow as a bug as possible in the shortest period, but the soil has everything plus all the added extras.
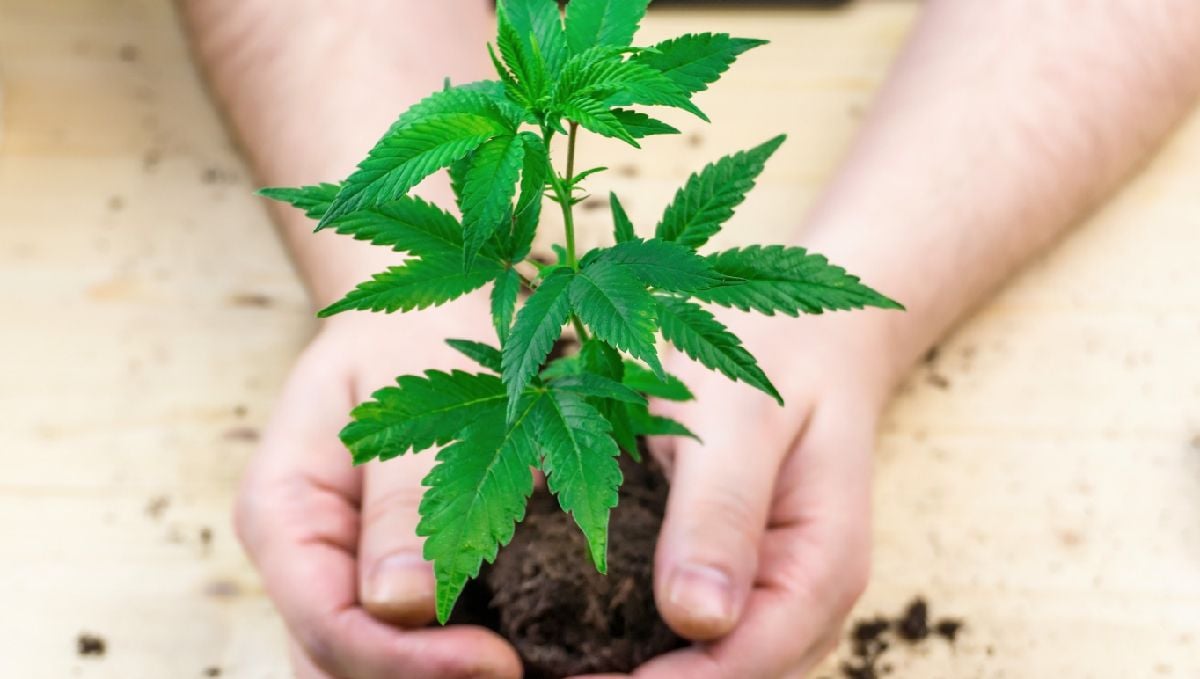
This means that every last drop of uniqueness can be expressed, and all those delicious terpenes can develop how nature intended. Super soil mixes do, however, require some attention to detail and a bit of work during the preparation stages. But those who like to get their hands dirty will find that the results are well worth it. Simply follow your chosen recipe and create a handful of starter pots with soil and compost, then add in your cannabis seeds or clones.
Subcools' Super Soil Mix
Legendary cultivator SUBCOOL released his mythical super soil recipe way back in 2009 in a now infamous High Times article, and while it does take some effort and a pretty long list of ingredients, the results have been proven time and time again to be worth the push. After over 15 years of trial and error, fine-tuning certain dosages, and a bunch of sweat, the mix that Subcool finally settled on is.
- 8 large bags of high-quality organic potting soil with coco fiber and mycorrhizae (i.e., your base soil)
- 25 to 50 lbs of organic worm castings
- 5 lbs steamed bone meal
- 5 lbs Bloom bat guano
- 5 lbs blood meal
- 3 lbs rock phosphate
- 0.75 cup Epson salts
- 0.5 cup sweet lime
- 0.5 cup azomite
- 2 tbsp powdered humic acid
Mix it all up in any way you see fit - we like to lay out a huge tarp and get a few friends around, but you can go the easy route and hire a cement mixer if need be. Once you have the whole thing mixed around good and proper, you are going to need to let it cook or ’cure’. Once you have waited for the month, it's good to go. Keep in mind, this super soil is way too strong for seedlings or clones.
If you chuck the babies straight in they will 100 percent wilt and keel over from nutrient burn. What you want to do is buy a nice base soil, or make one yourself from some decent compost, perlite, and coco-coir. Layer the super soil in the bottom half of the pot, and then fill the rest with your base soil. As the plant develops and needs more nutes the roots will dig deeper and find their way down into that super layer. With this set up you shouldn't need to add anything but water for the entire run.
4. Raise the Humidity Slightly
Humidity plays an important role whenever you want to increase the terpenes. The best way to increase humidity around the plants is by using a humidifier. You can also spray water on the leaves, but make sure that it doesn’t create too much wetness in the garden. Moreover, try to keep the humidity as stable as possible, and whatever you do - DO NOT spray water directly on the flowering sites. Buds that are wet are prone to mold and other fungal issues, so be very careful with the spray bottle.
5. Increase flavor after harvesting
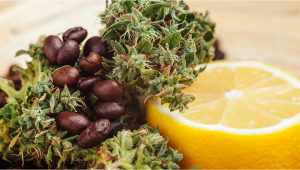
This is for those that purchase buds. Sometimes, cannabis loses its flavor, and that can happen due to a variety of reasons. If the buds aren’t stored well or not cured properly, they lose flavor. It could also happen if the buds are simply too old. In such cases, you can enhance the flavors, but remember that your choices are limited. So, for instance, if you have a jar full of cannabis that smells like citrus, you can increase the flavor by taping lemon slices to the top of the container.
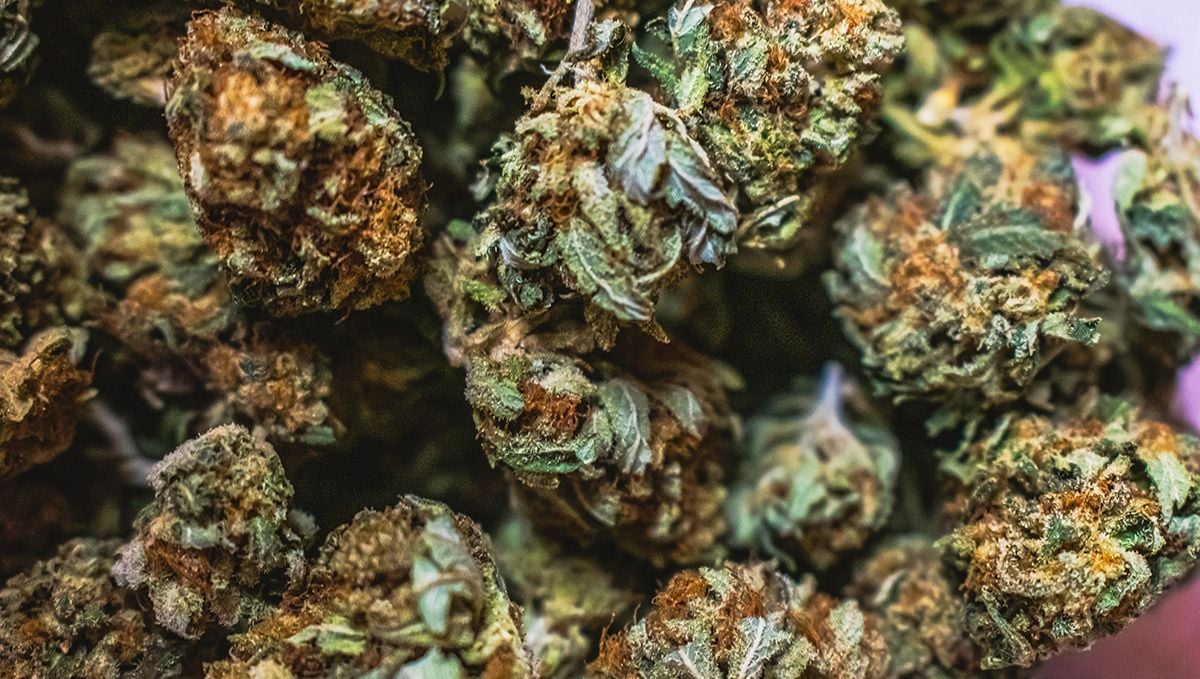
This method really works and a beautiful aroma of citrus will hit your nostrils when you open the jar. However, there are two things you should keep in mind. Firstly, use the slices only for a limited period of time. 12 hours is good enough to increase the flavor. If you let the slices remain in the container for more than 24 hours, you will have to deal with mold. Since the slices are full of moisture, the buds will attract mold. If you see a slight chance of the buds getting wet, remove the top of the container and let the buds breathe for a while. Now, if you don’t want to put lemon slices on your weed or do anything that might seem out of the ordinary, the best way to enhance flavors is to not only grow, but also dry and cure your weed properly.
Drying Weed
After harvesting your cannabis plants, it’s crucial to dry and cure the flowers. Both of these processes help preserve and enhance the flavors and cannabinoids while getting rid of chlorophyll which gives flowers that plant taste. The drying process consists of removing the humidity from the buds where cannabis flowers can lose up to 75% of their weight. During this process, you should keep in mind if you’ll dry trim or wet trim as this can affect your drying process. As the name suggests, dry trimming consists of trimming your plants after drying, and wet trimming consists of trimming your plants before drying.
It’s super important to take this into consideration as the ideal drying conditions are 55-60% humidity and 20 °C for around 7 - 15 days, so depending on your conditions, it’s better to dry or wet trim. The drying process should not be too long or too quick as you don’t want the buds to be bone dry because this can result in the loss of terpenes but you also don’t want them to be too wet as this can attract mold.
Curing Weed
Once the buds are properly dry and trimmed, most of the moisture in the buds will be gone, so now it’s time to cure your weed. In order to cure your buds, you will need an airtight mason jar to stop the loss of moisture and preserve the terpenes. Depending on how well you’ve dried your weed, you will have to burp the jars by opening the jars once or twice a day for 5-15 minutes, depending on the amount of flower. The curing process usually takes around one to two weeks, once you’ve finished curing your weed, make sure the humidity inside the curing jar ranges between 55-65%. Once the humidity is locked in, you don’t need to burp the jars anymore, all you have to do now is store your weed jar and enjoy!
There are many other methods to increase the terpenes, but that’s a post for another day!






Comments