










Testing New Fastflower Releases and New Photoperiod Strains

- 1. Germination & early transplant differences
New Genetics: Testing Phase Begins
We are starting a new blog series dedicated to our finished projects that are now ready for testing. These are not early concepts or experimental ideas. These are completed genetic lines that have reached the stage where they must prove themselves in real conditions.
At this point, the focus shifts from development to evaluation. Each variety will go through a full testing cycle, where we will determine which ones truly meet our standards and which ones fall short. This process is strict, honest, and based entirely on performance.
In this series, you will see both new fast-flowering hybrids and photoperiod strains. Each of them brings its own potential, structure, and expression. However, only those that demonstrate stability, strong development, and consistent results will move forward.
This stage is about clarity. No assumptions, no expectations, only real results. Step by step, we will show how these genetics behave, how they develop, and which of them are truly ready to become part of our lineup.
Germination & Early Transplant Differences
Autoflowers vs Photoperiods
As always, after soaking the seeds, we transfer them into peat starter plugs. This remains our standard approach for a clean and controlled start, allowing each seedling to establish itself before moving into the main substrate.
At this stage, an important difference appears between autoflowering and photoperiod plants. Their behavior during early root development requires a slightly different approach.
Autoflowers do not respond well when their roots fully bind into the plug. For this reason, we transplant them as soon as the root tip becomes visible at the bottom, which usually happens around day two. Early transfer helps avoid unnecessary stress and allows the plant to continue developing without restriction.
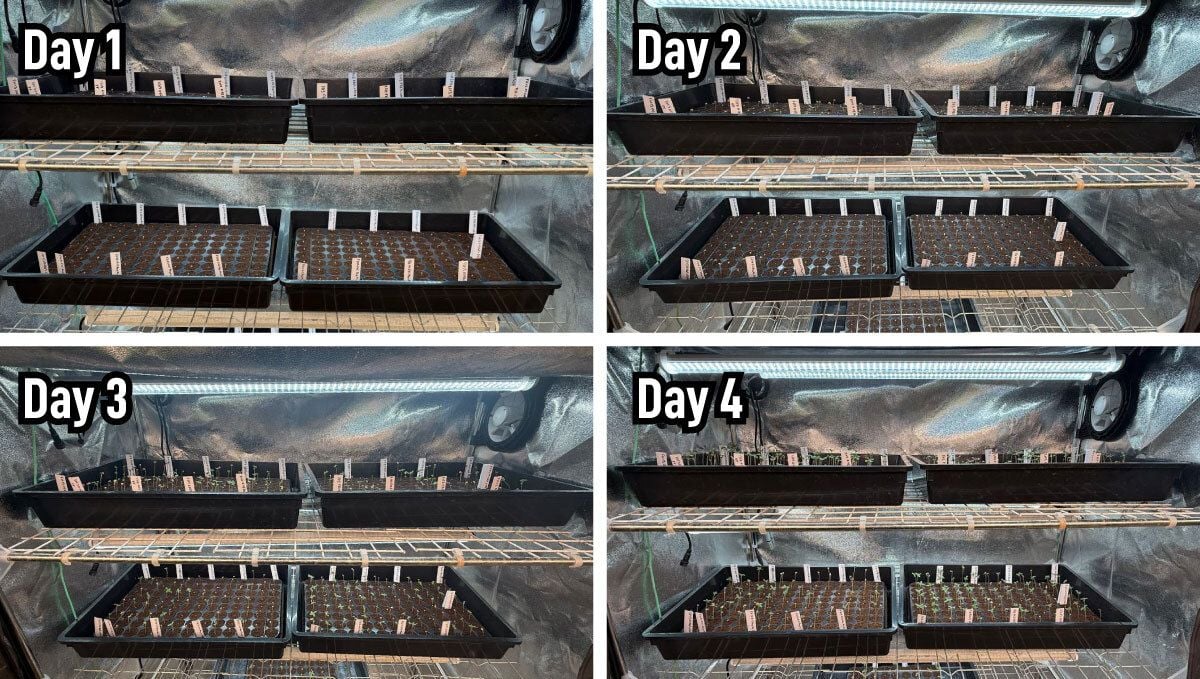
Photoperiod plants behave differently. They benefit from allowing the root system to fully develop within the plug. Once the plug is well colonized by roots, we transplant it into coco. This gives the plant a stronger base and helps ensure stable growth in the next stage.
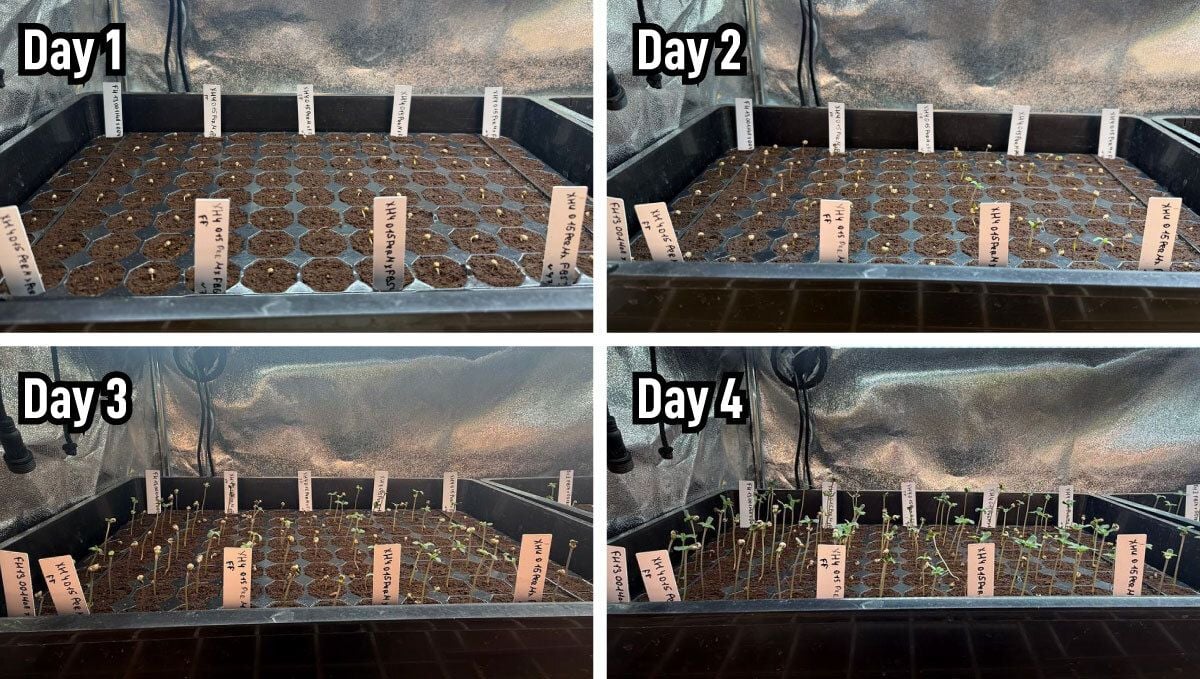
Understanding and respecting this difference allows us to maintain a smooth start for both types and avoid early-stage setbacks that could affect the entire cycle.
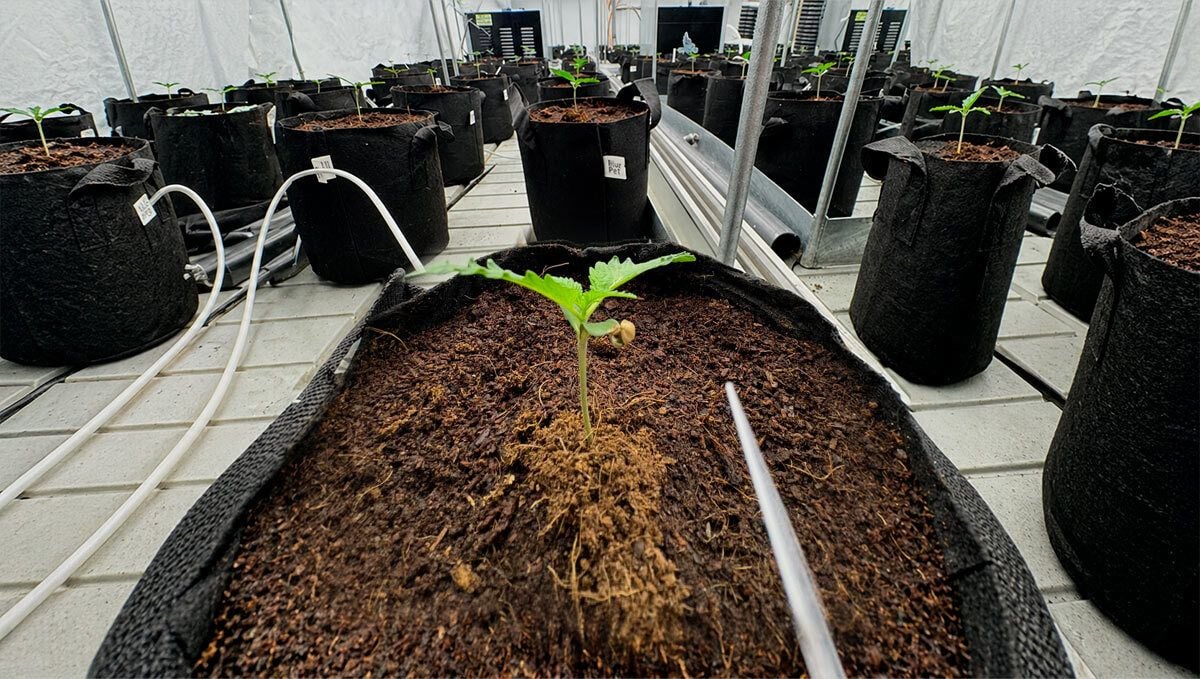
At this moment, 342 plants have been successfully transplanted into the system. This number sets a serious scale for the cycle and opens up a wide field for observation and selection.
With this volume, we are able to see a broad spectrum of genetic expression, compare behavior under identical conditions, and identify the strongest performers with high confidence.
An exciting cycle lies ahead. There is a lot to observe, a lot to compare, and even more to discover as these plants begin to reveal their true potential.
Mid‑Third Week Since Planting
Two weeks in, the canopy has thickened and the fabric pots show well‑established root systems - plants have shifted focus from early root development to confident upward growth, with side branches pushing out strong and even. Now is an excellent moment for a preventive spray to keep pests at bay and protect the crop while the plants are still resilient and recover quickly.
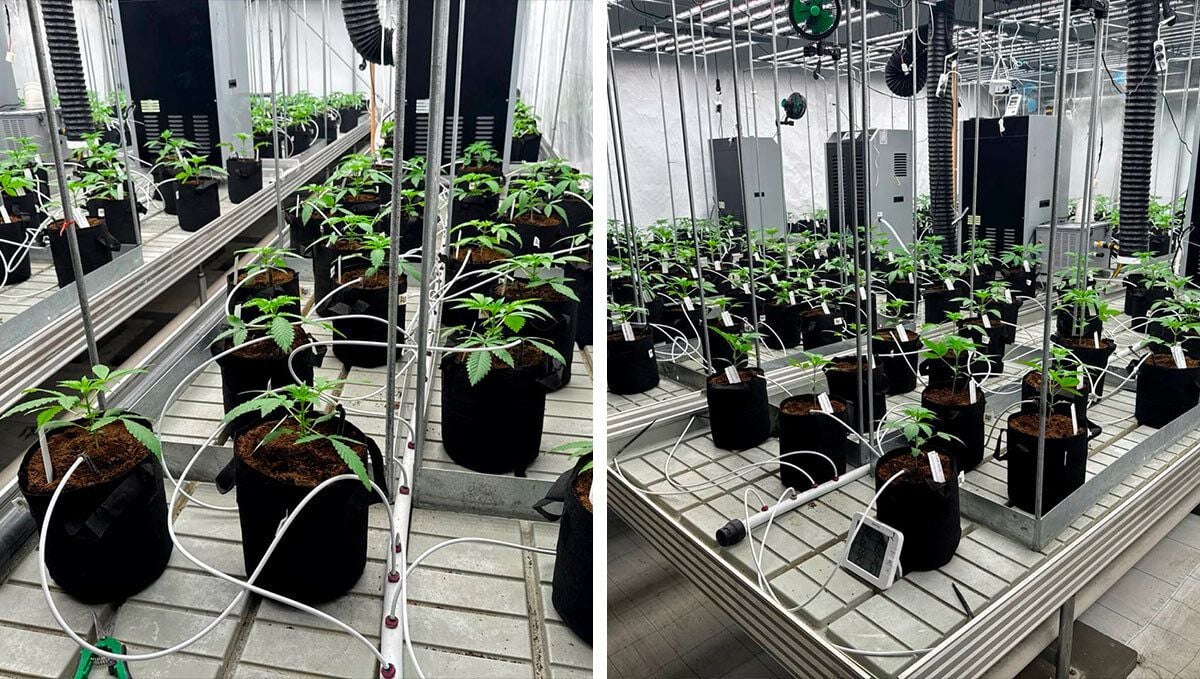
We finished a strict selection and now run with 285 of the strongest individuals. As each plant bulks up we’ll take sibling clones - the goal is to preserve every striking, useful phenotype that shows during flowering and carry those traits forward into our breeding lines.
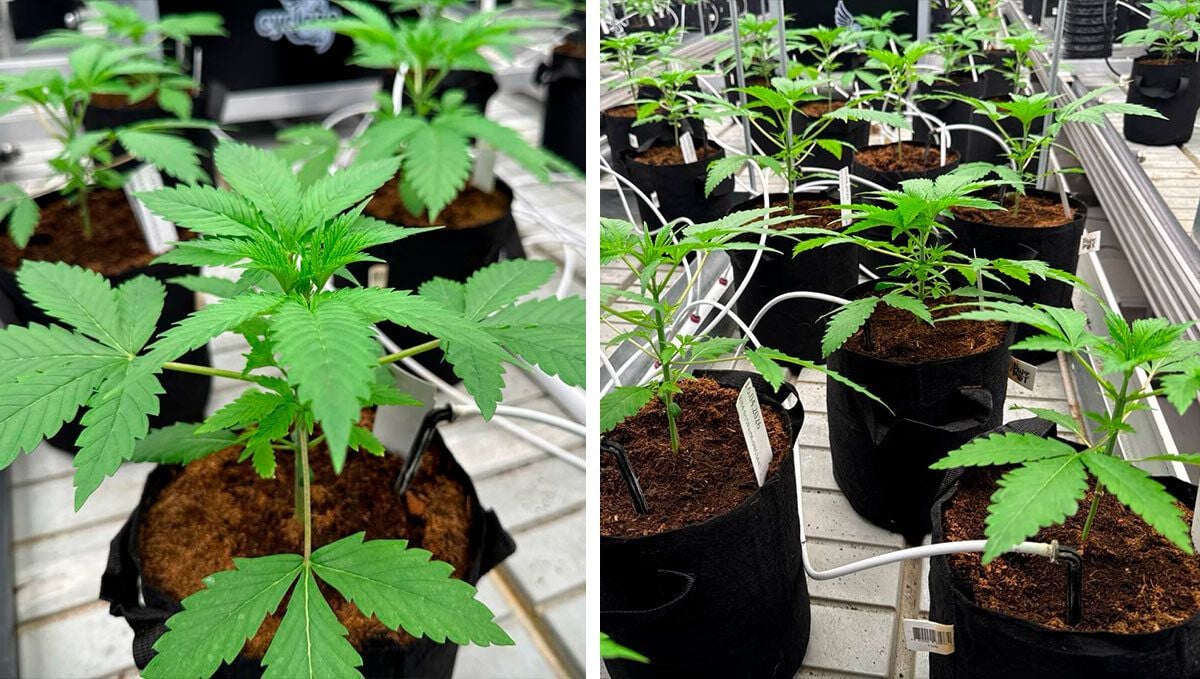
Water demand has climbed, so we’ve moved to automated irrigation: roughly 500 ml of nutrient solution per plant each day, with a weekly flush to prevent coco salting and keep EC and pH stable. Plants are visibly thirstier and greener. Uptake and turgor are good, which bodes well for a clean, productive stretch into the next phase.
Overall the room looks energetic and honest - vigorous branching, solid root pressure, and steady biomass gain. Expect more detailed updates as these plants begin to express terpene notes and bud structure. Some true standouts are already hinting at what they’ll become.
Defoliation and topping.
After several weeks of steady development, the plants had put on substantial mass and established a strong structure. Both the central cola and the lateral branches developed evenly, demonstrating excellent vigor and healthy growth.
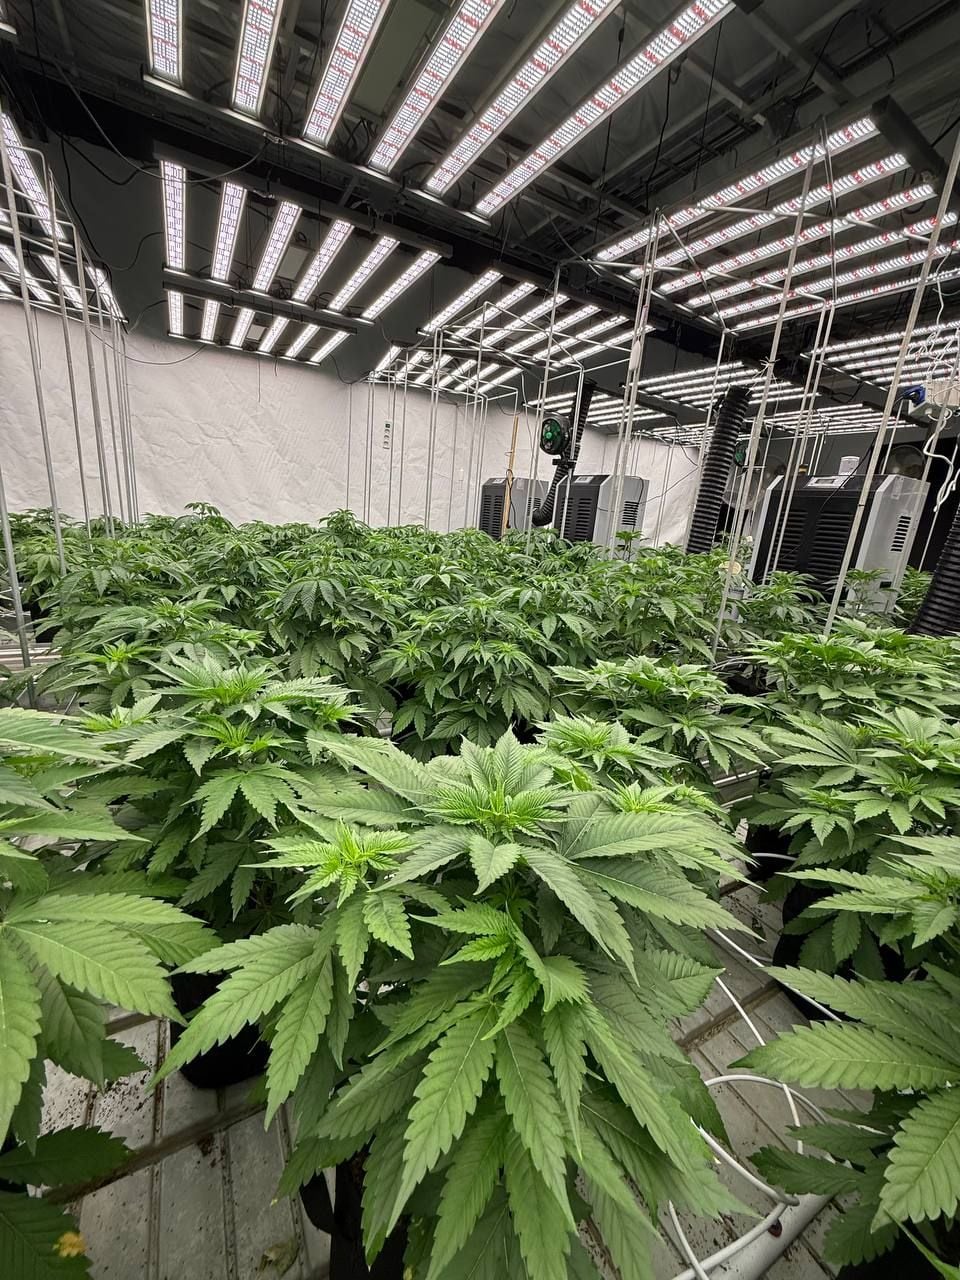
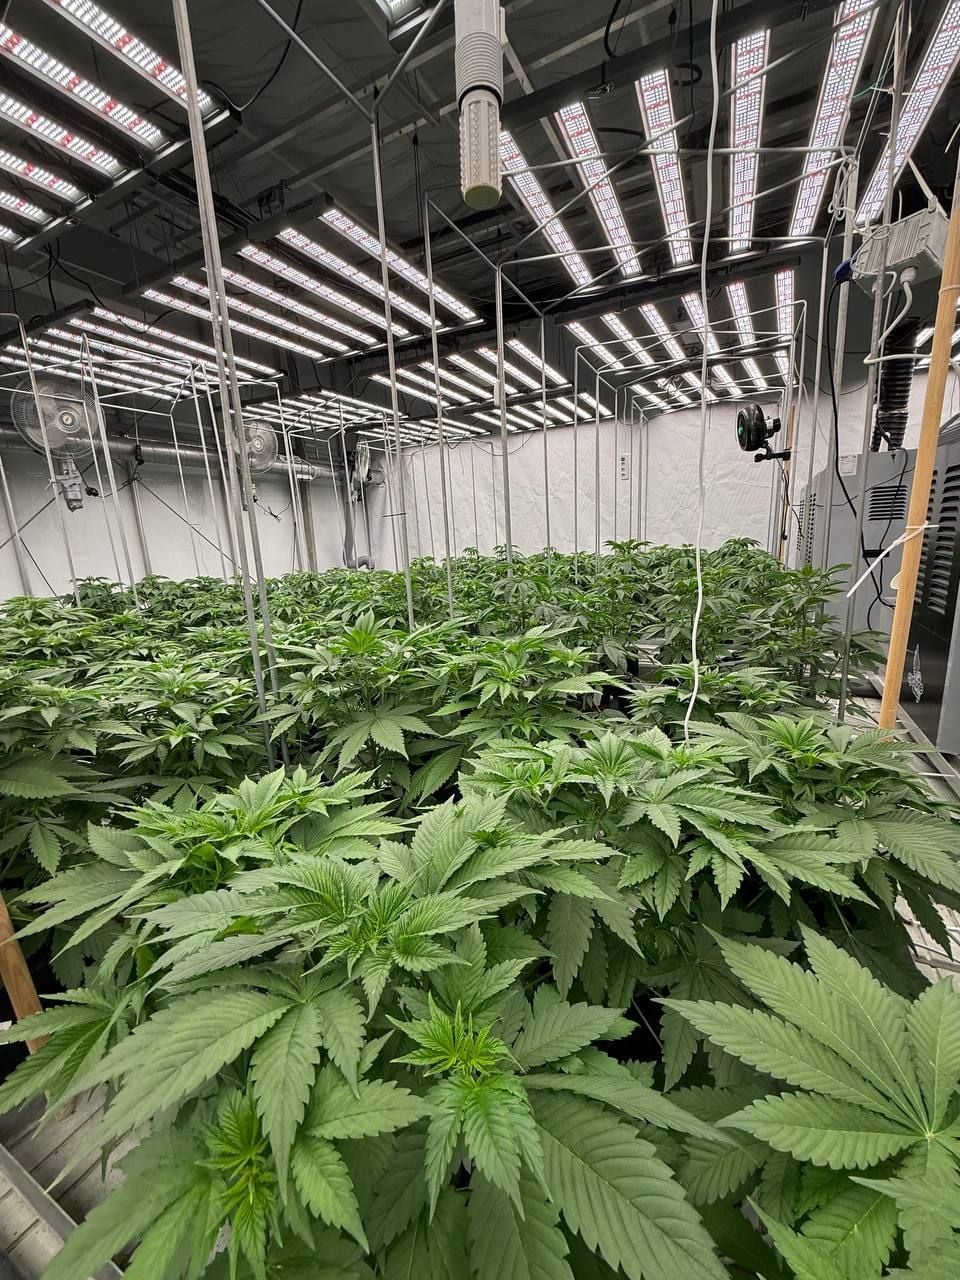
At this stage, however, our priority is clone production. We want the side branches to catch up with the main cola so that every cutting is equally strong and well-developed.
To achieve this, we'll remove excess fan leaves to improve light penetration and top the plants to encourage lateral growth. This will help create a more even canopy and produce strong, uniform clones for the next stage of the breeding program.
The plants now need a few days to recover from the training and defoliation. This recovery period allows them to rebuild their strength and develop vigorous new shoots, ensuring we can collect strong, healthy clones to preserve these genetics and continue the breeding program.
Cloning.
The recovery period is complete, and the plants have responded exceptionally well. They have regained their vigor, produced strong new shoots, and are now ready for the cloning stage.
By the end of the process, we had collected more than 2,000 clones from over 200 carefully selected mother plants. Each cutting was placed into a propagator and left in a stable, controlled environment to root under optimal conditions.
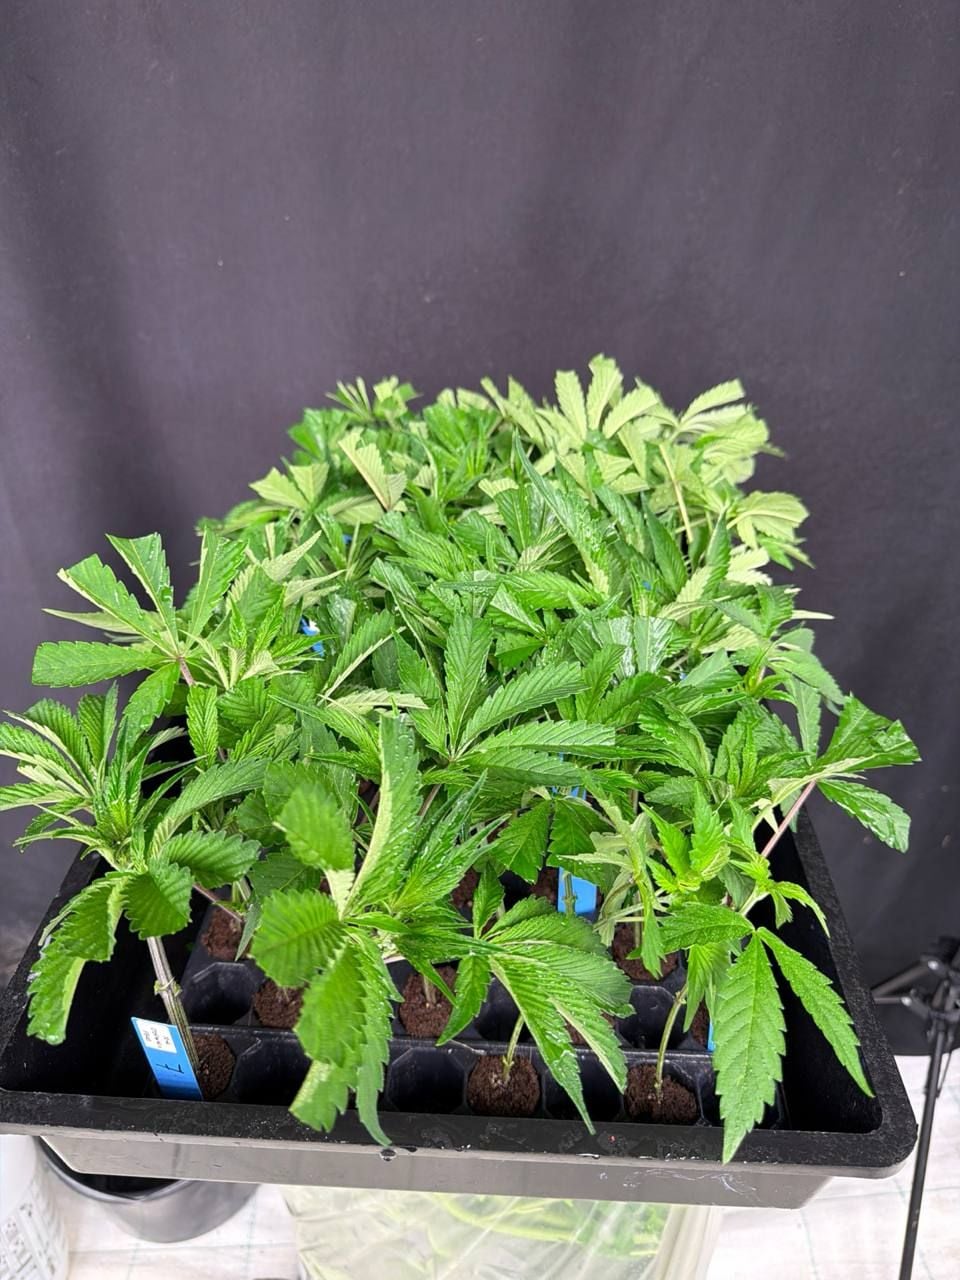
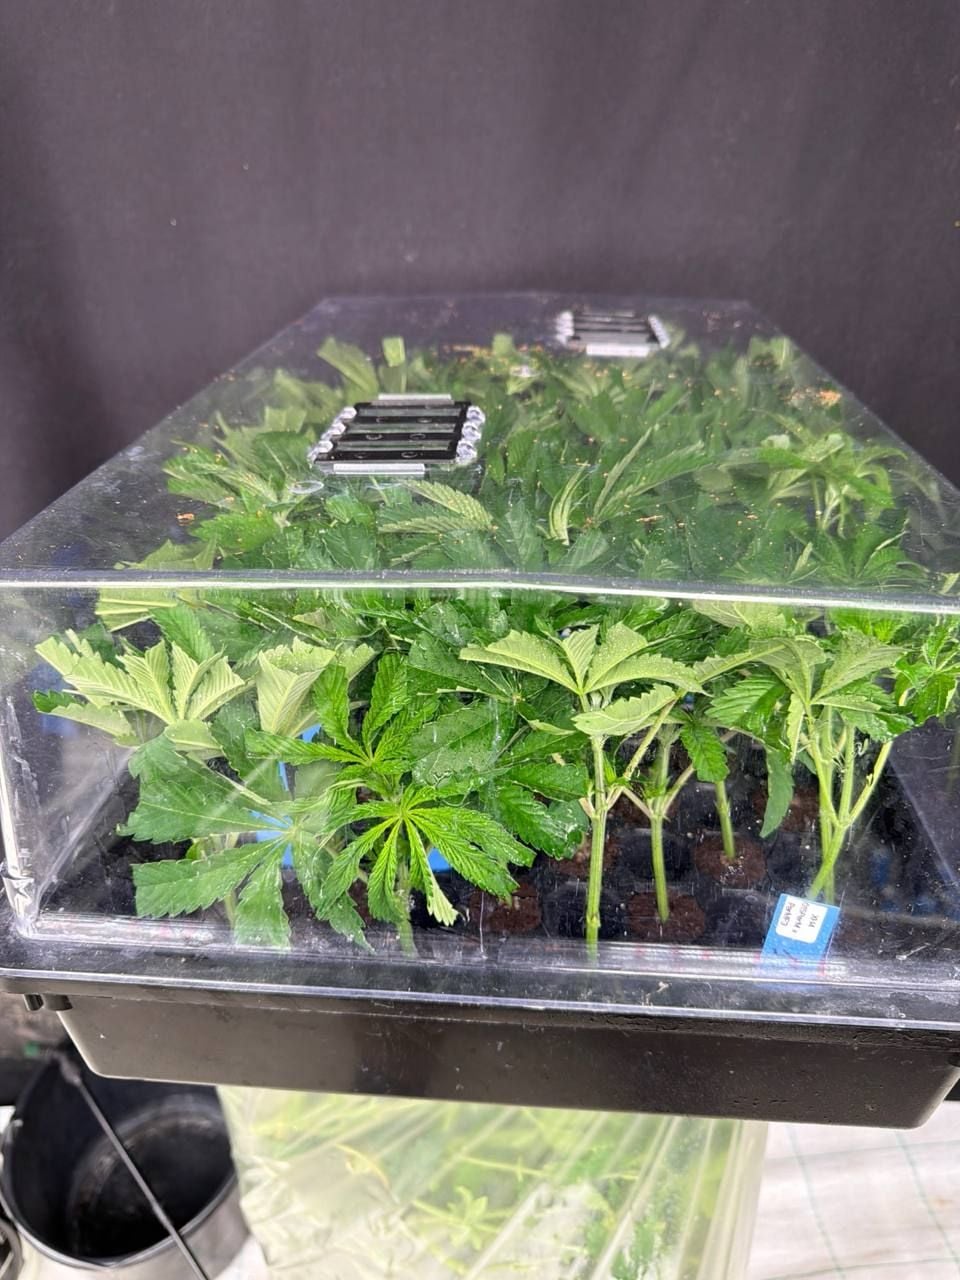
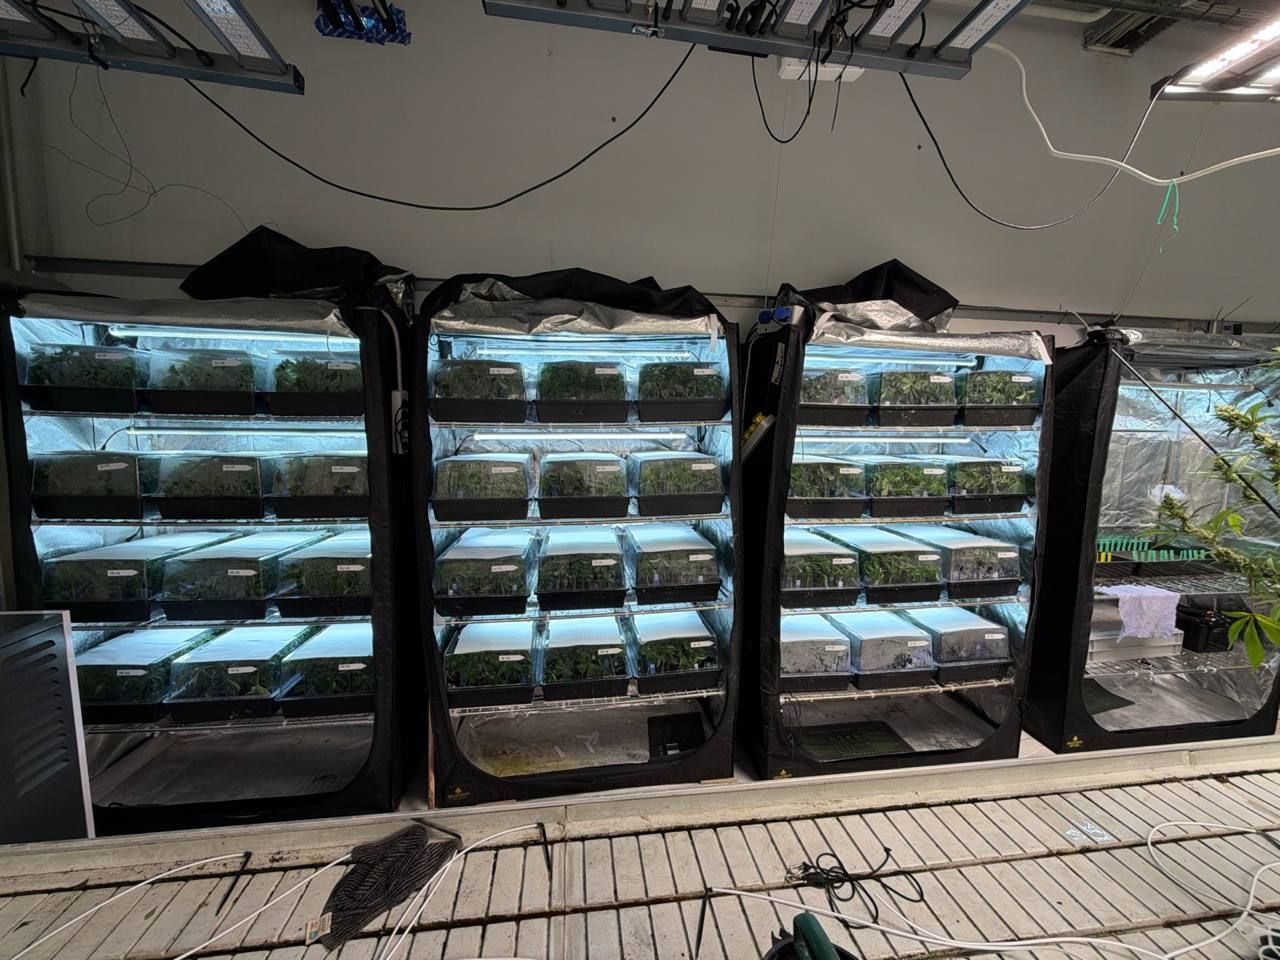
For a more detailed look at our cloning process, be sure to check out our dedicated cloning guide, where we cover every step in depth.
Waiting for the Clones to Root
After 7–10 days in a carefully controlled propagation environment, all of the clones had successfully developed healthy root systems and were ready for transplanting. Their uniform rooting and vigorous growth confirmed that the mother plants had produced strong, high-quality cuttings, providing an excellent foundation for the next stage of the breeding program.
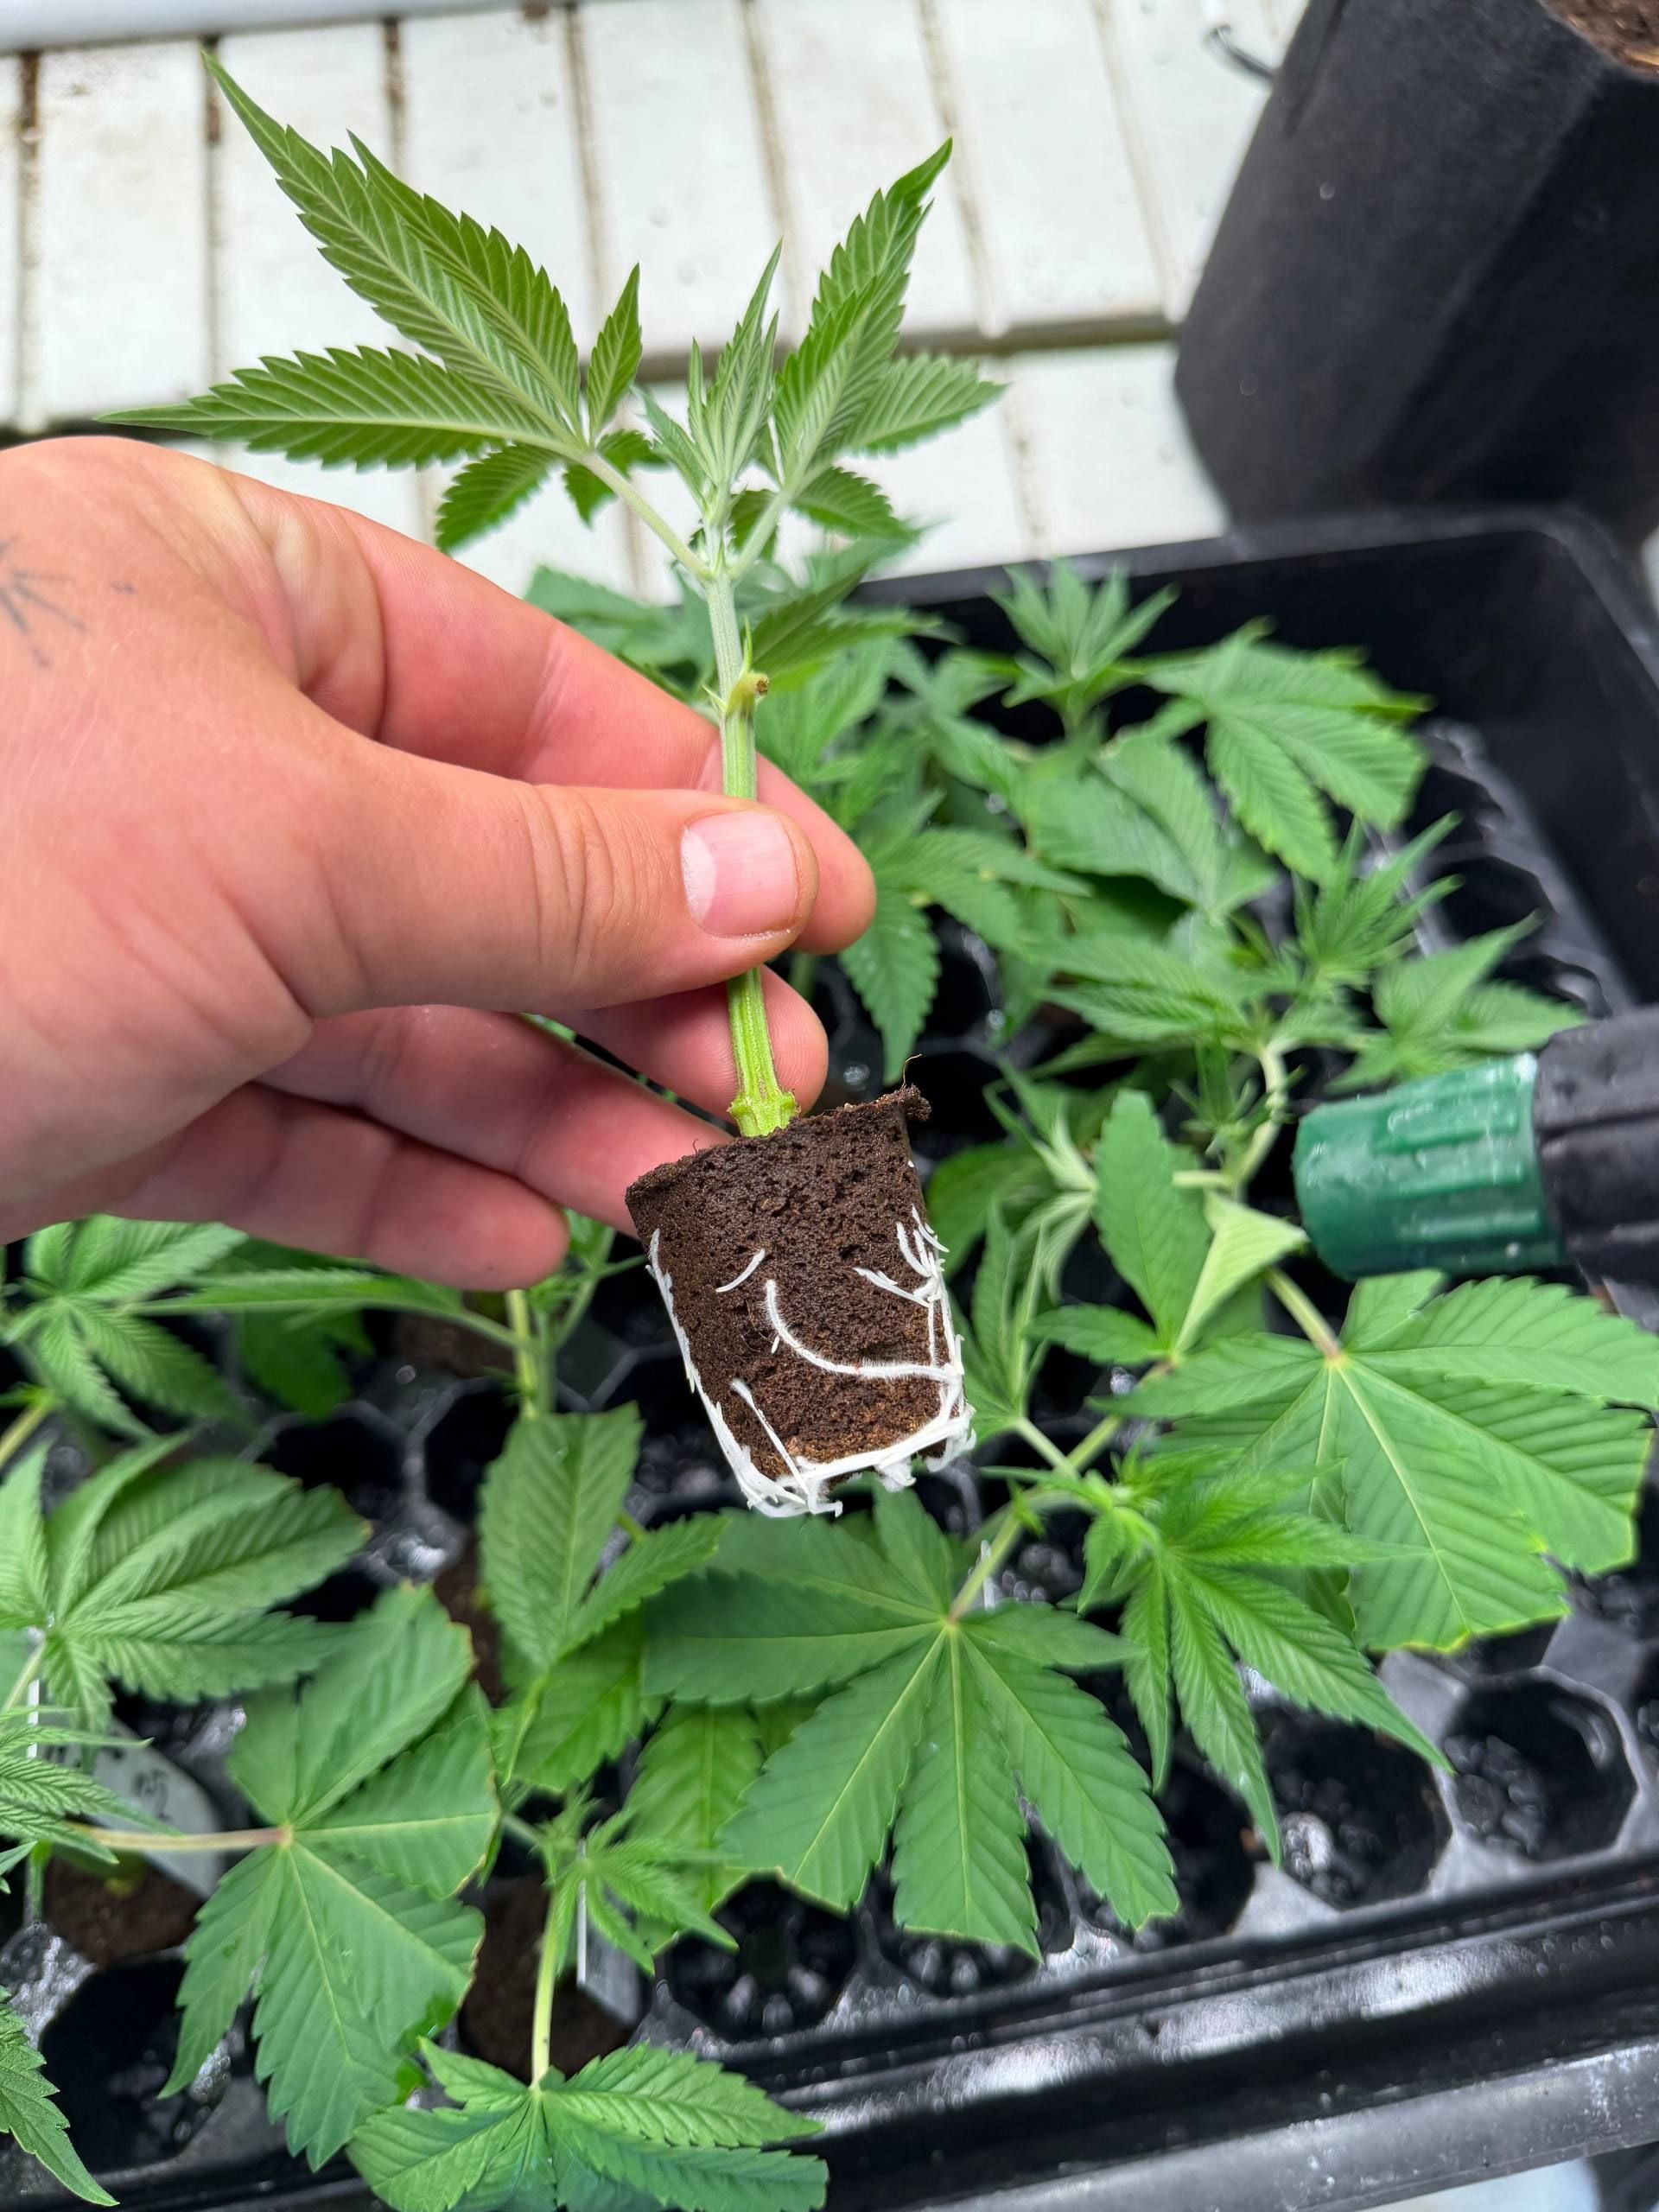
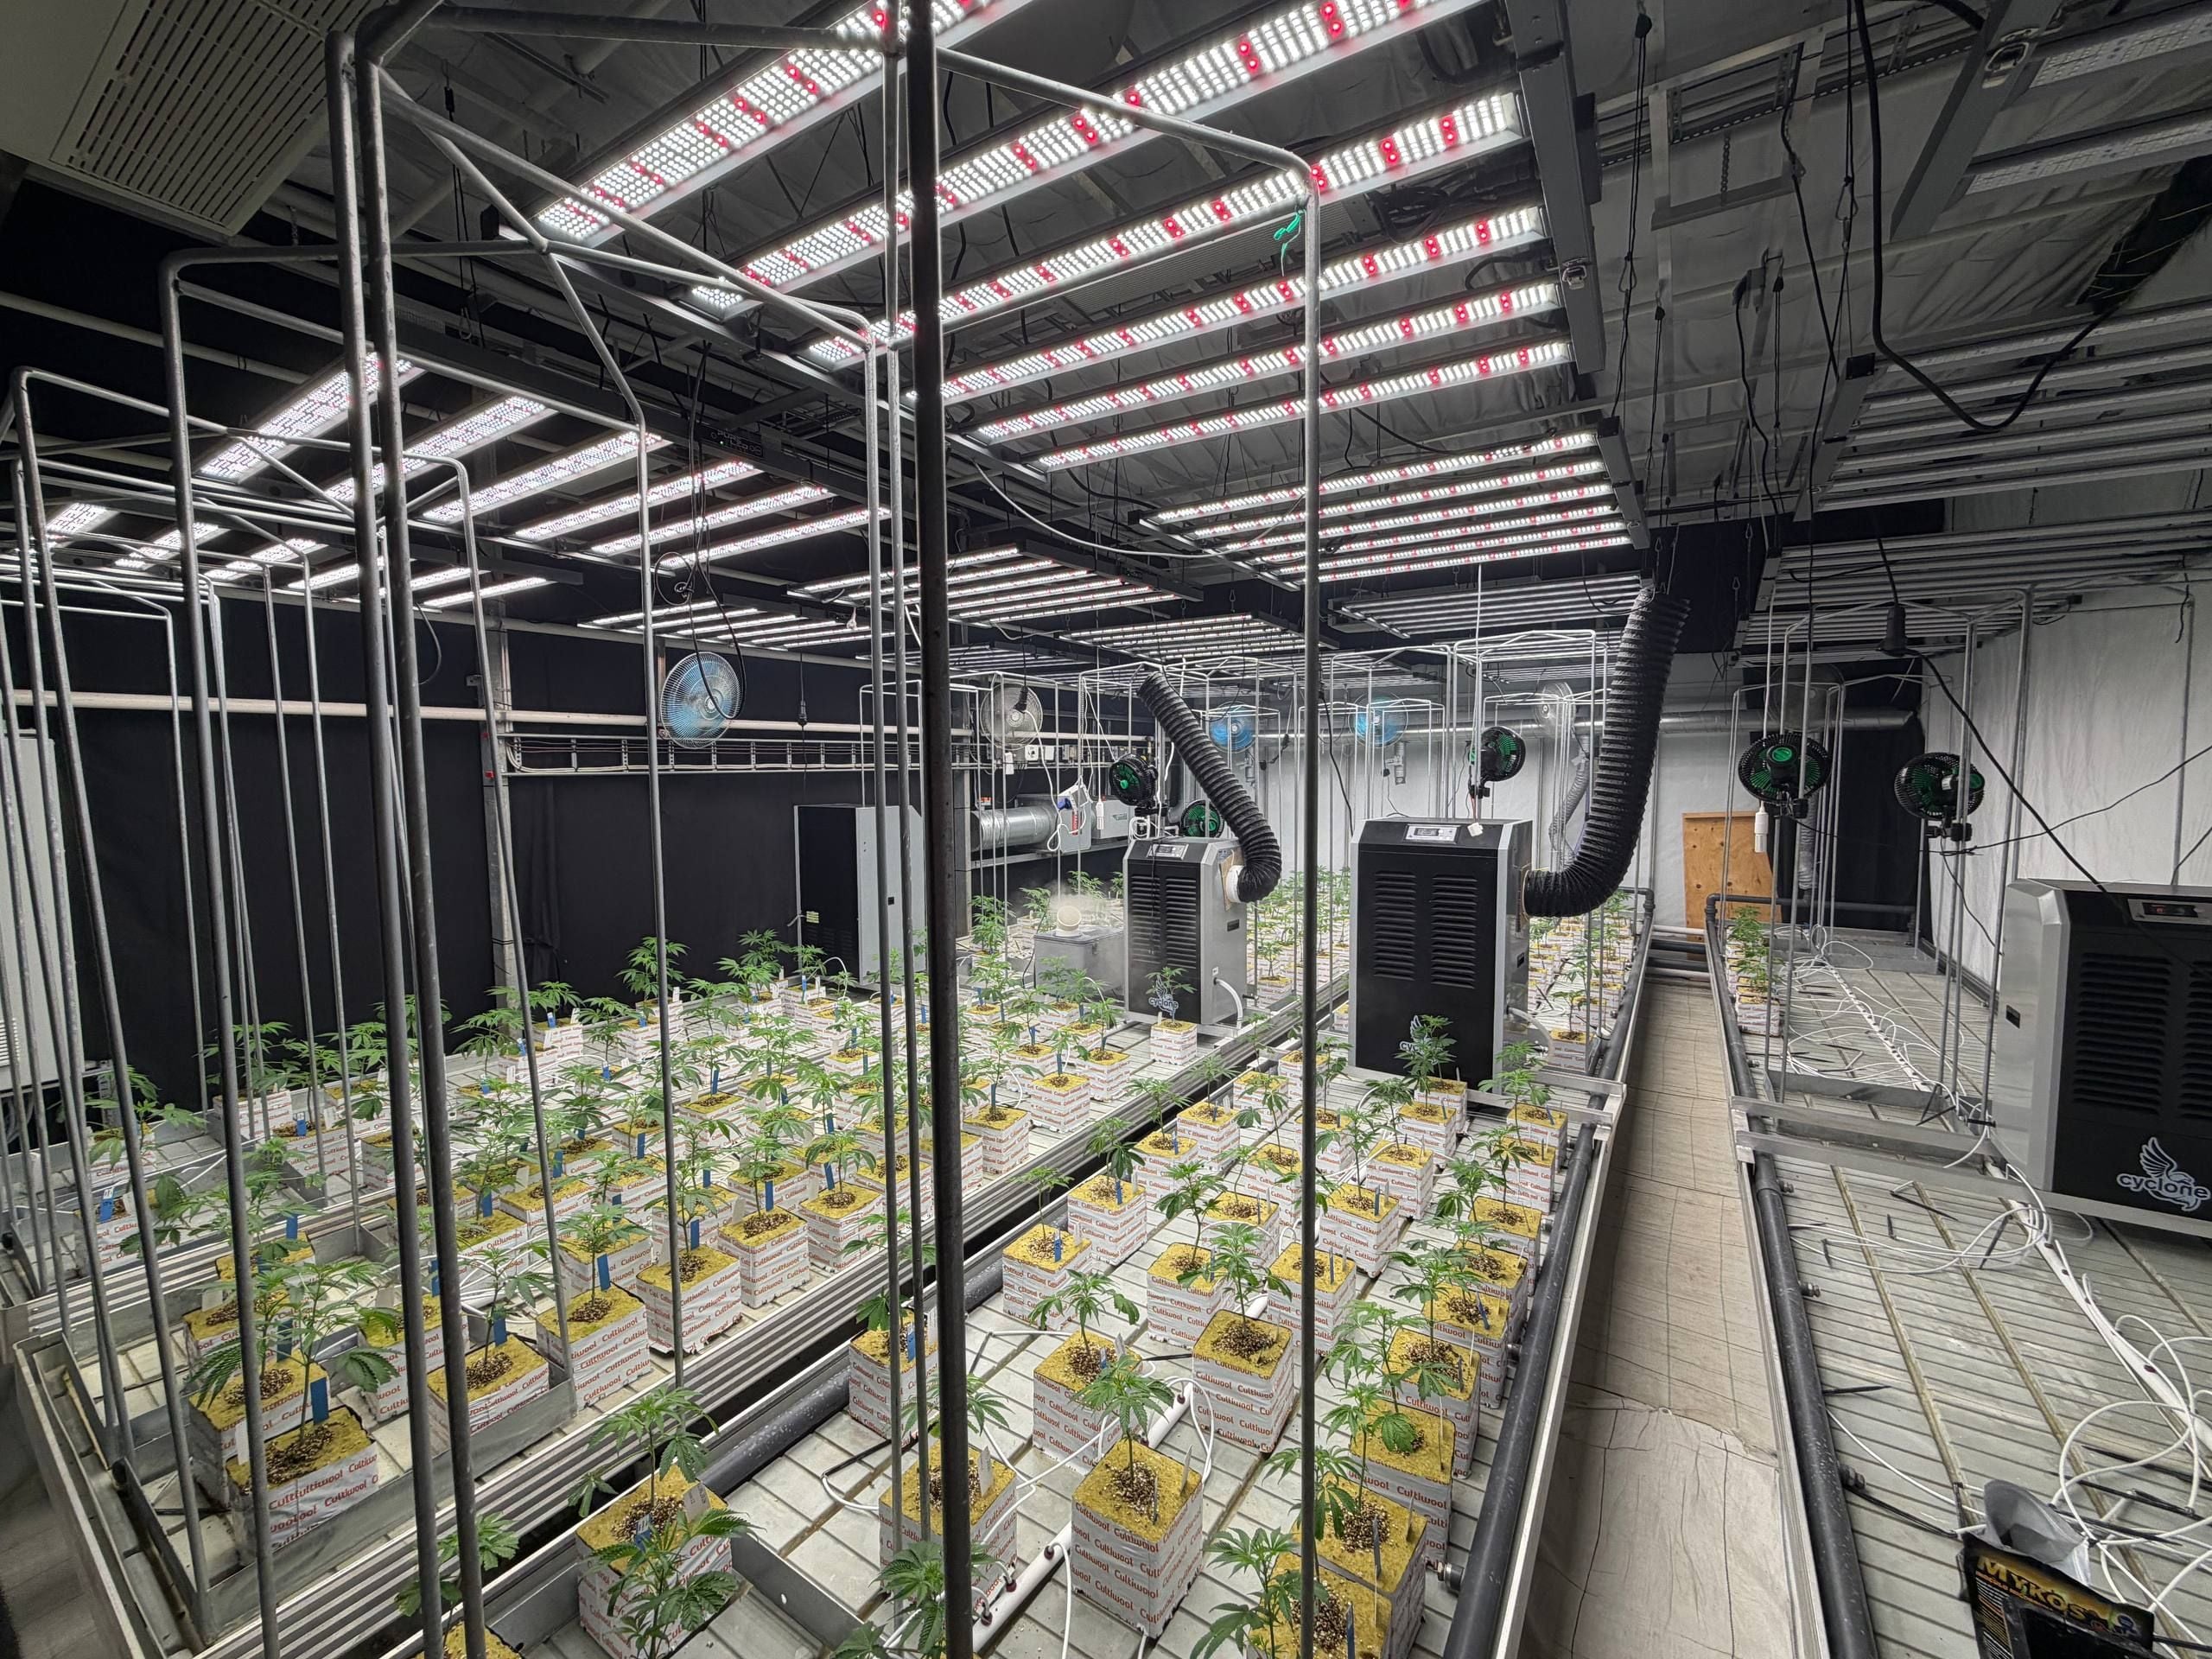
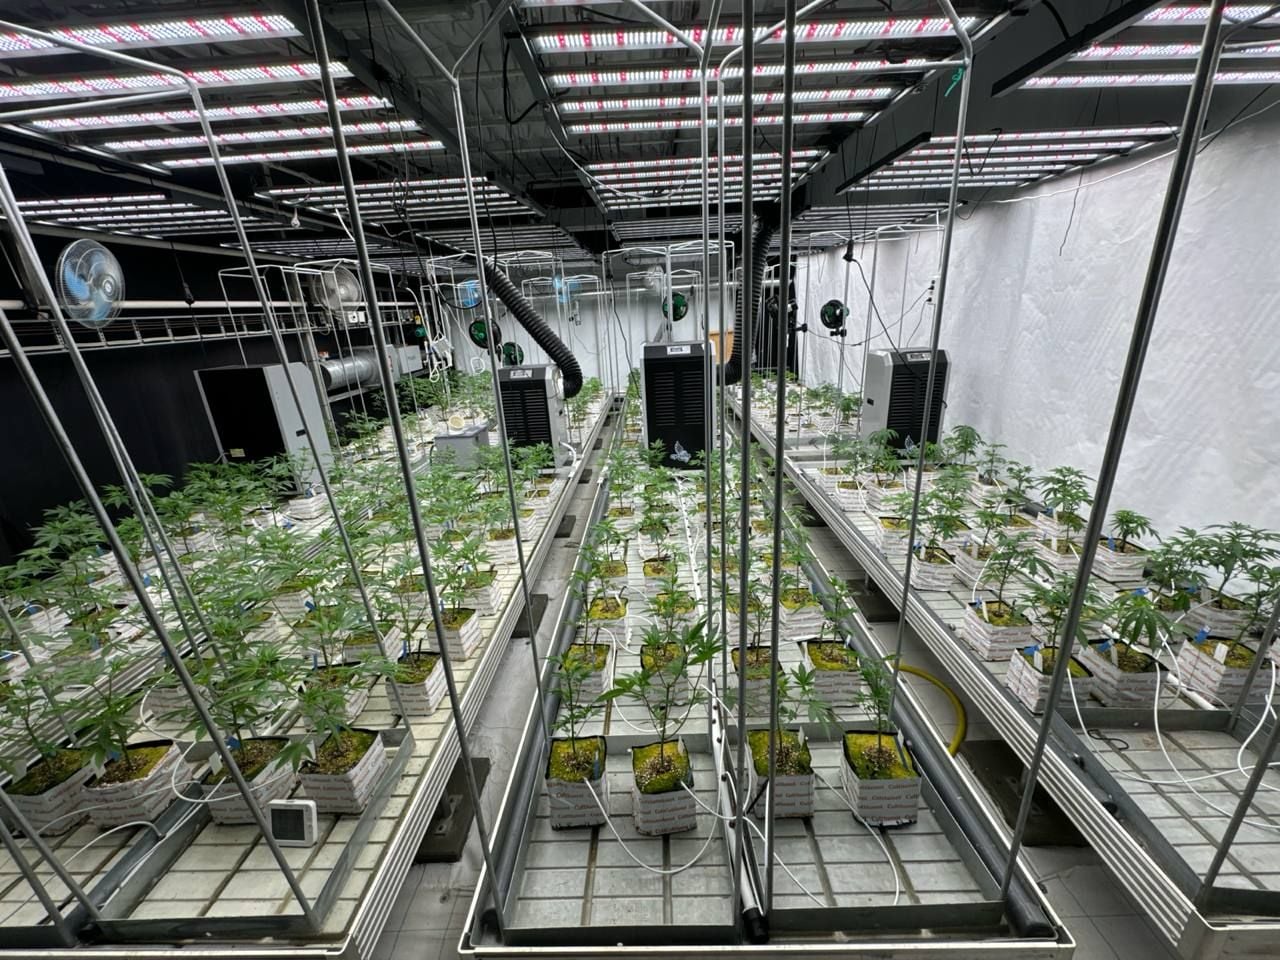
After just a few more days in the propagators, all of the clones had successfully rooted and were already showing vigorous new growth. This confirmed that the cuttings taken from our selected mother plants had established well and we are were ready for the next stage.
With healthy backup copies now safely preserved, we can confidently return to the original mother plants and continue the breeding process, knowing that their genetics have been securely maintained for future selection and development.
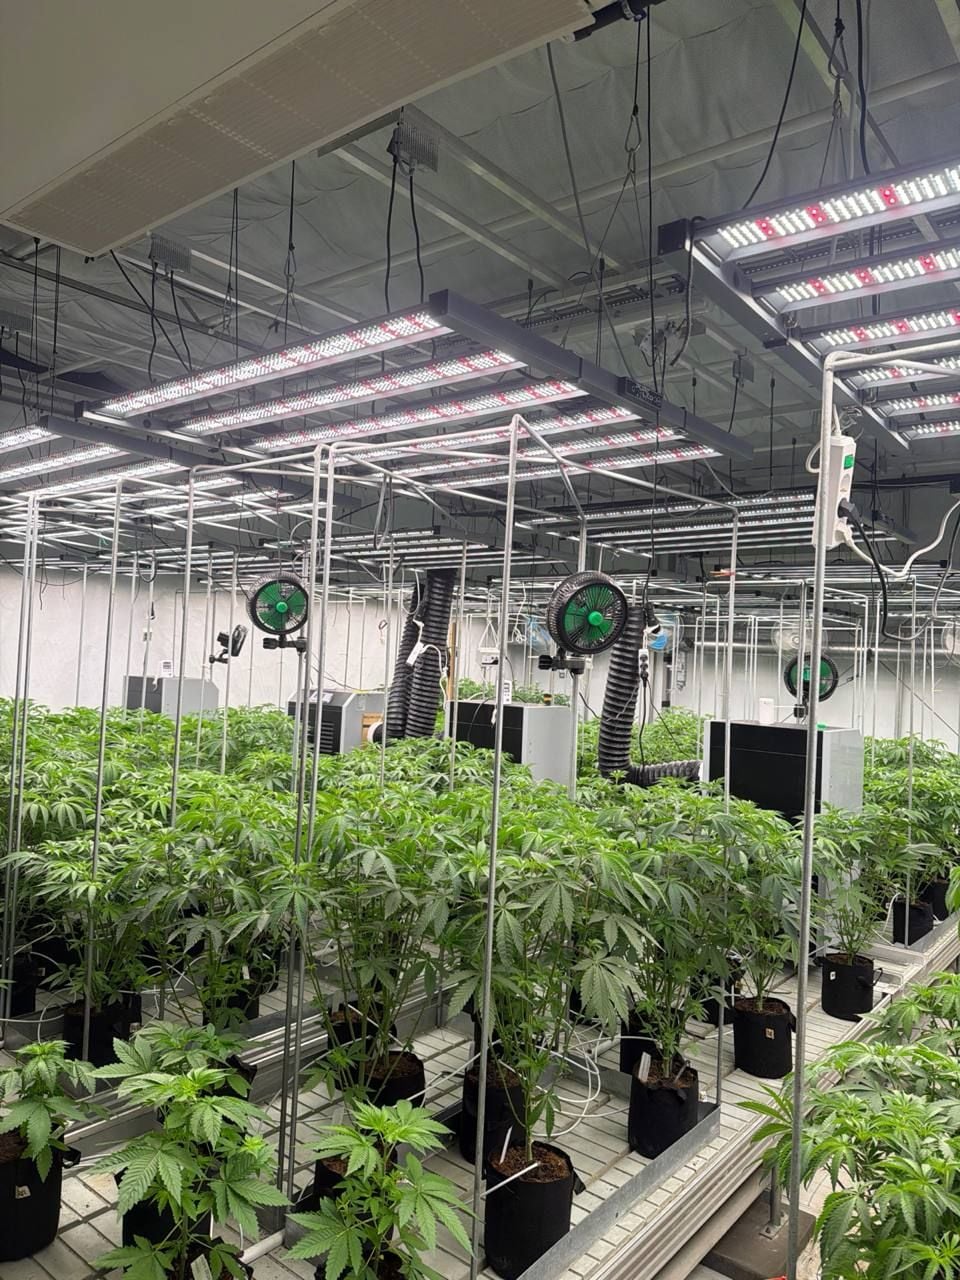
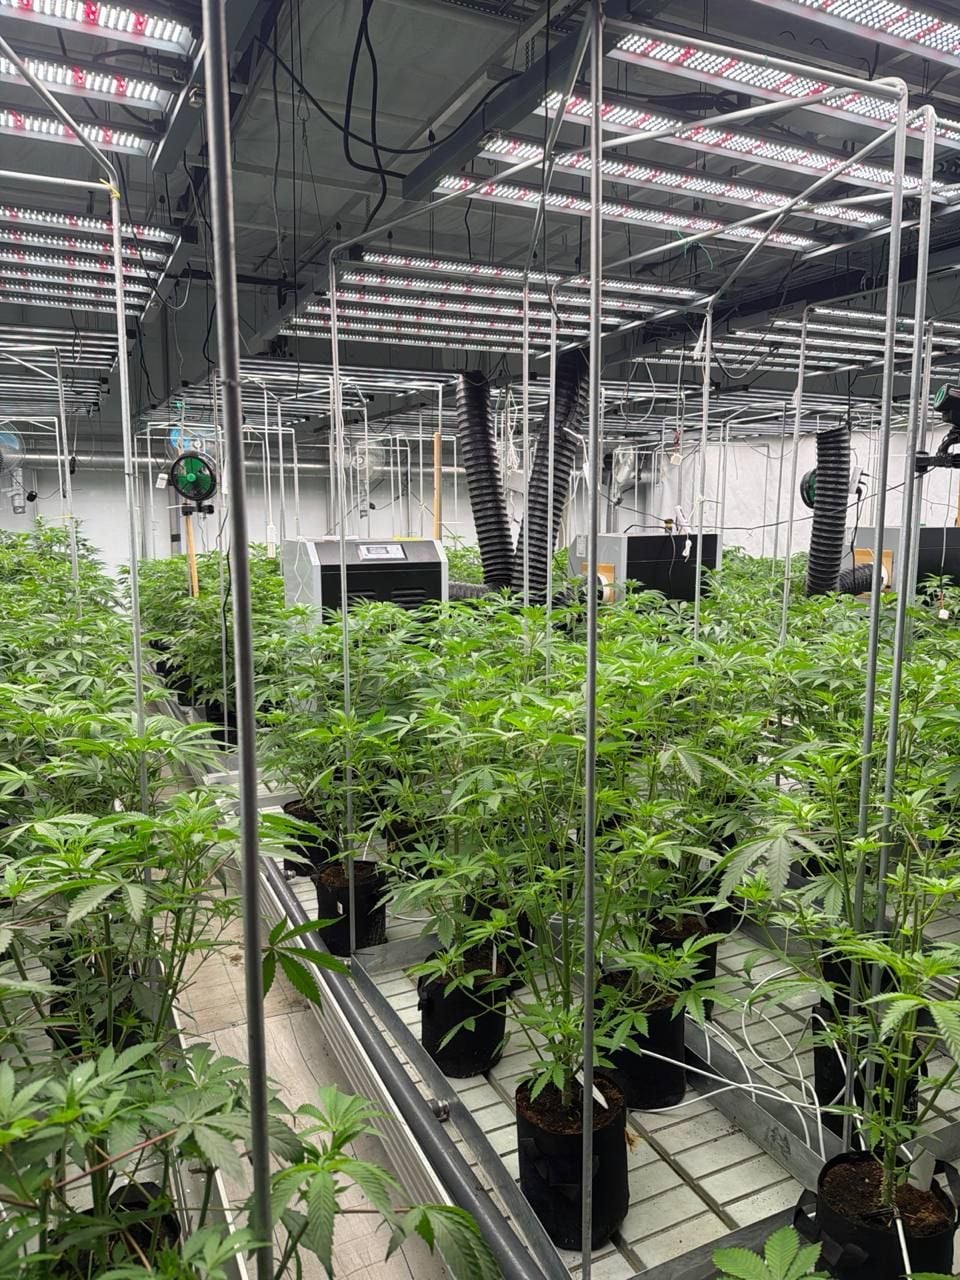
While we were focused on rooting and transplanting the clones, the original mother plants continued to grow vigorously. They have now become noticeably bushier and require another round of defoliation and topping before moving on to the next stage.
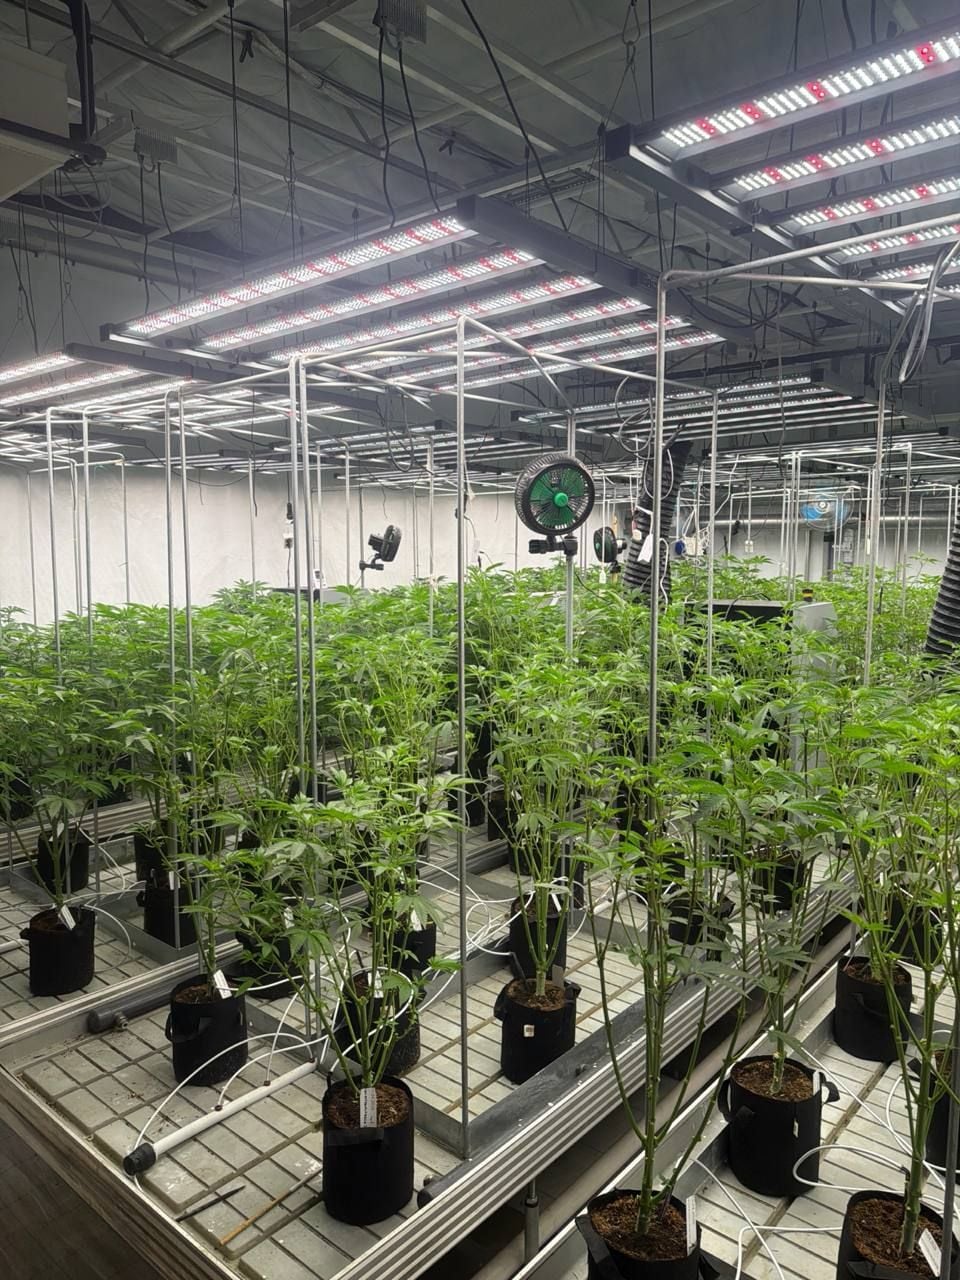
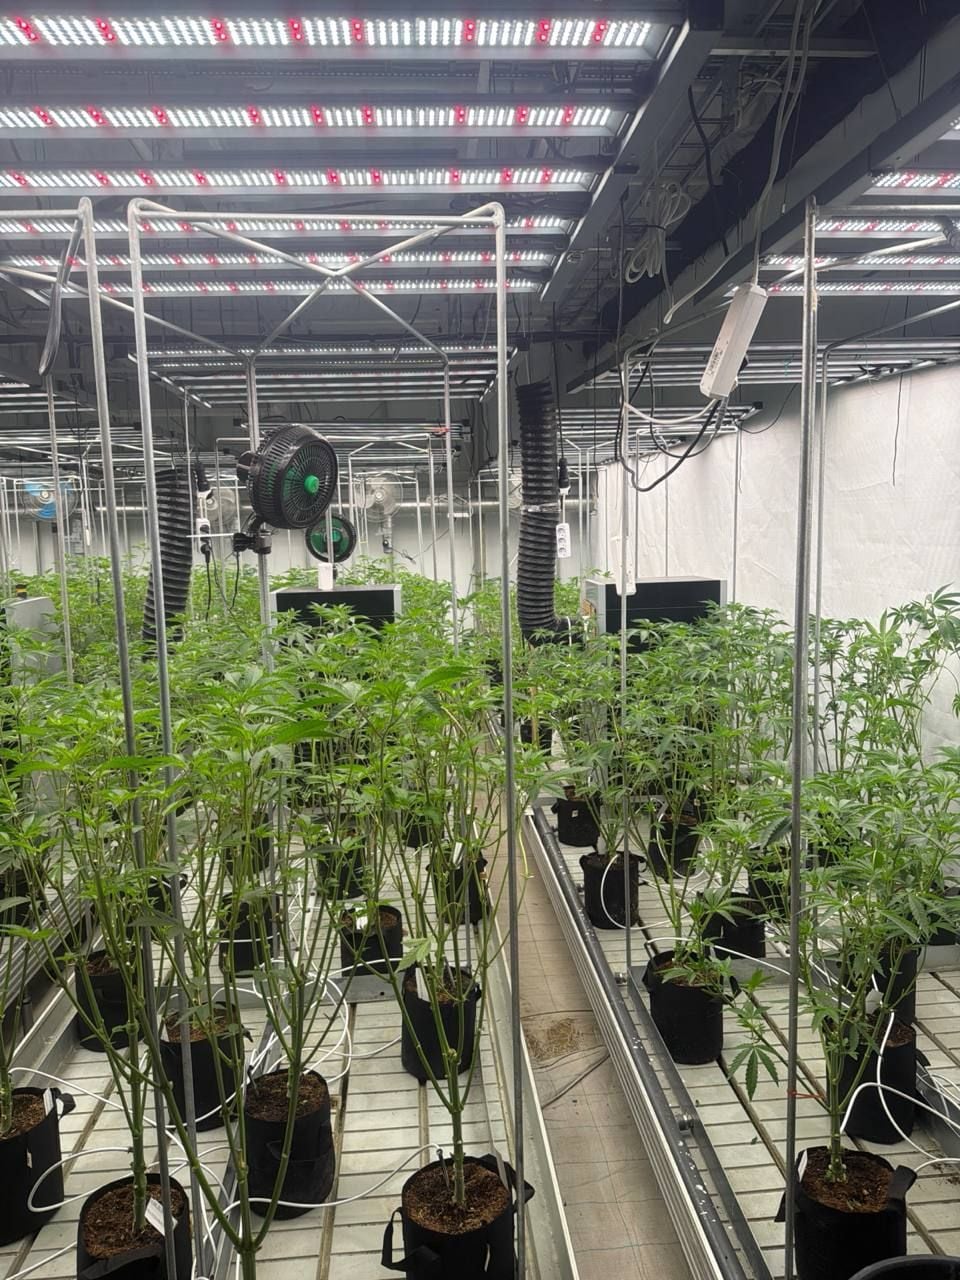
With the preparation complete, the plants are ready to transition into flowering. Defoliation and topping have created a uniform canopy, while lower growth and unproductive flowering sites have been removed. This not only improves airflow and makes humidity easier to manage, but also redirects the plants' energy toward the strongest colas, ensuring more uniform development throughout the canopy.
Begin Flowering.
Just one week after switching the light cycle to 12/12, the plants have entered the flowering stage and are developing rapidly. During this short period, they have produced a significant amount of new foliage, creating a dense canopy that would eventually restrict light penetration and reduce airflow if left unmanaged.
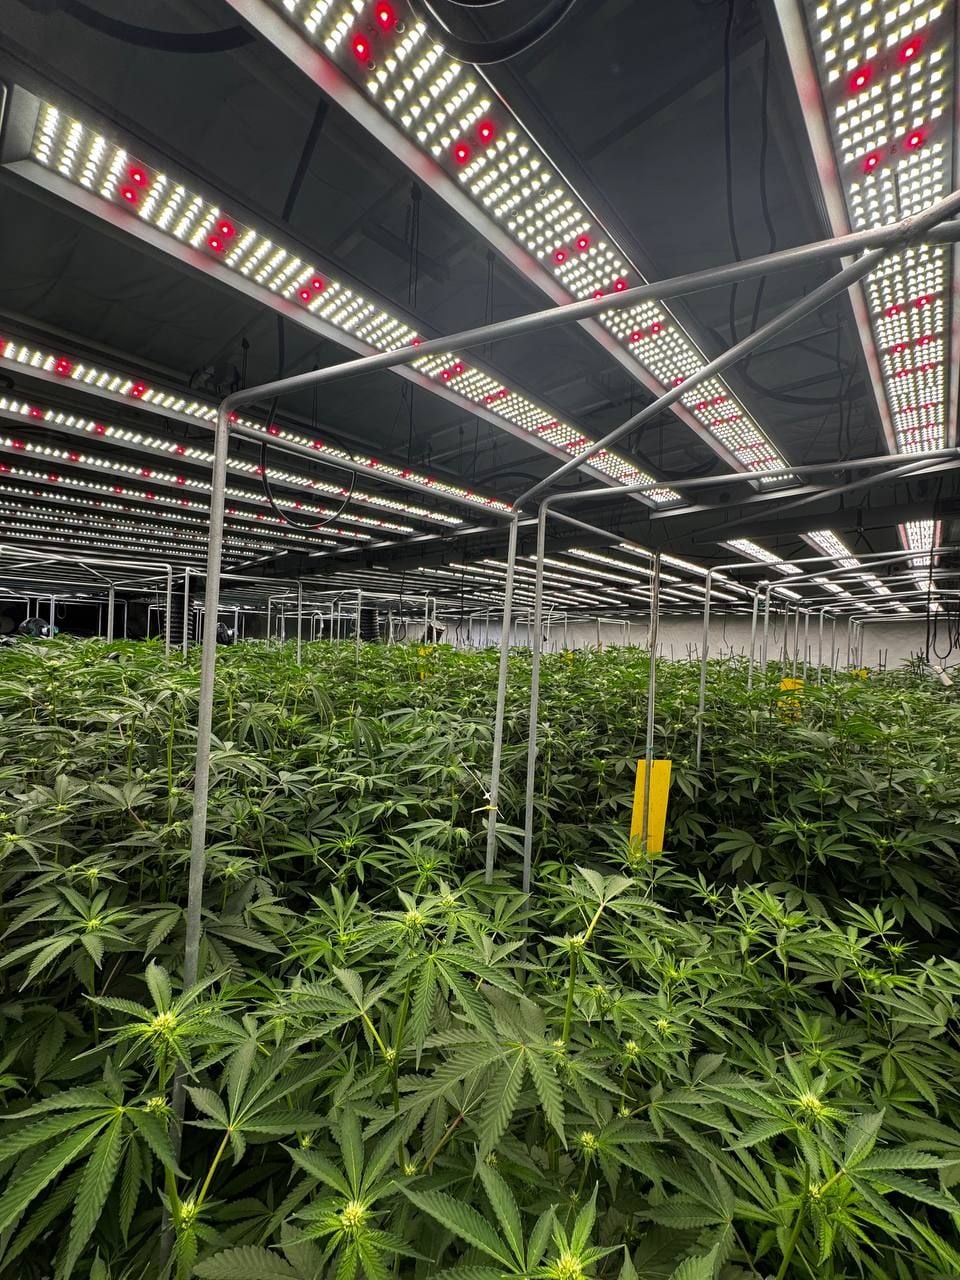
At the same time, the first flowers are developing quickly. The plants have begun producing large numbers of fresh white pistils, clearly revealing their sex and confirming a healthy, vigorous transition into flowering.
This is an important point in the cycle. A timely round of defoliation allows more light to reach the developing bud sites, improves air circulation throughout the canopy, and helps direct the plant's energy toward flower production rather than excess leaf growth. With the stretch still underway, maintaining an open and even canopy will provide the best conditions for strong, uniform bud development over the coming weeks.
Canopy Management Complete
After several days of careful defoliation and staking, the work is finally complete, and the results speak for themselves.
Every unstable plant has been securely supported with stakes, ensuring that each branch will be able to carry the increasing weight of developing flowers throughout the remainder of the cycle.
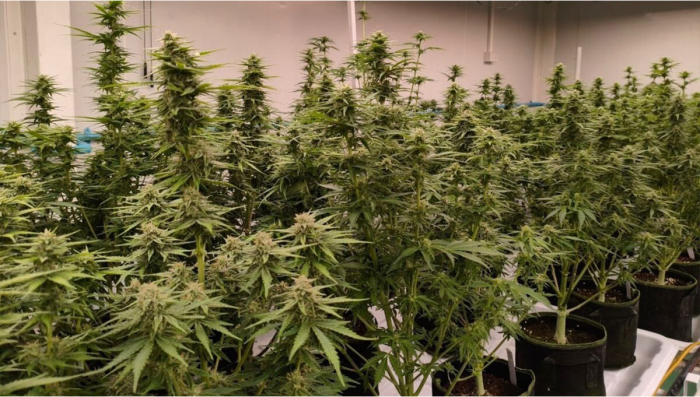
The canopy has also been thoroughly cleaned. Excess foliage has been removed to maximize light penetration, allowing every flowering site to receive direct, unobstructed light. Despite the high planting density, none of the plants are touching each other, giving each one enough space to develop without unnecessary competition.
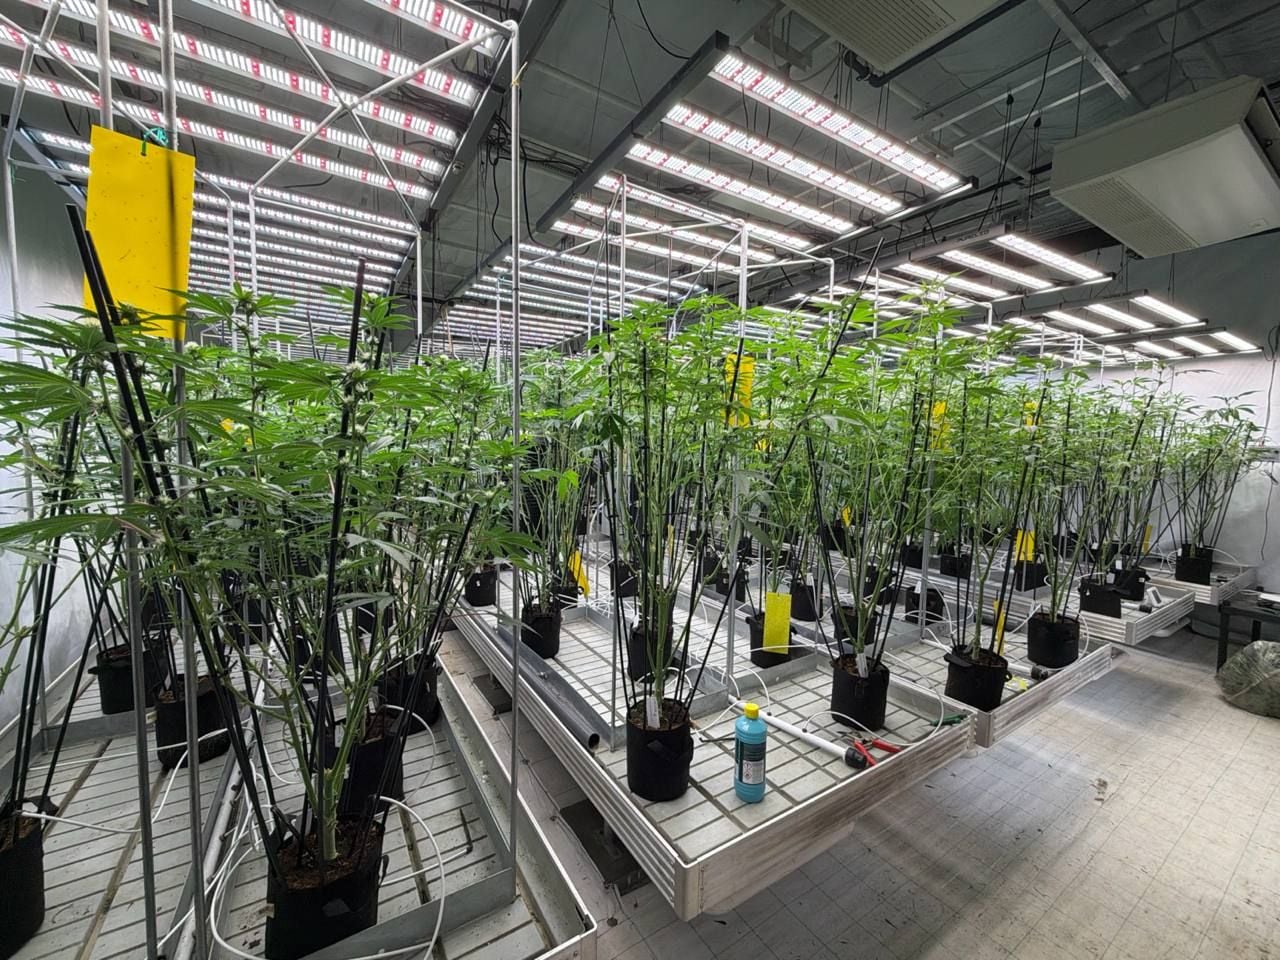
Airflow between the rows has improved significantly, creating a healthier environment and making humidity easier to manage as flowering progresses. This not only reduces the risk of future problems but also helps the plants focus their energy on producing strong, uniform flowers.
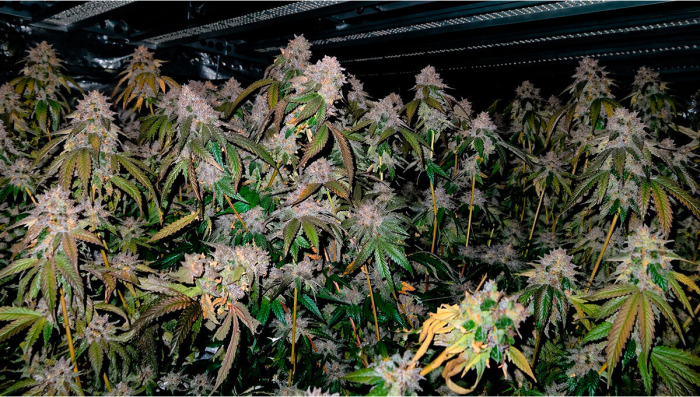
At this stage, the entire room looks exceptionally healthy. The canopy is even, the plants are vigorous, and everything is in place for the weeks ahead as flower production begins to accelerate.
Mid-Flowering Defoliation
After several more weeks of active flowering, the plants have become dense enough that it is time for another thorough round of defoliation.
At this stage, we open the canopy once again, removing excess foliage to restore access to light across all the flowers and ensure sufficient airflow between the plants. As the flowers continue to swell, maintaining an open and well-ventilated structure becomes increasingly important.
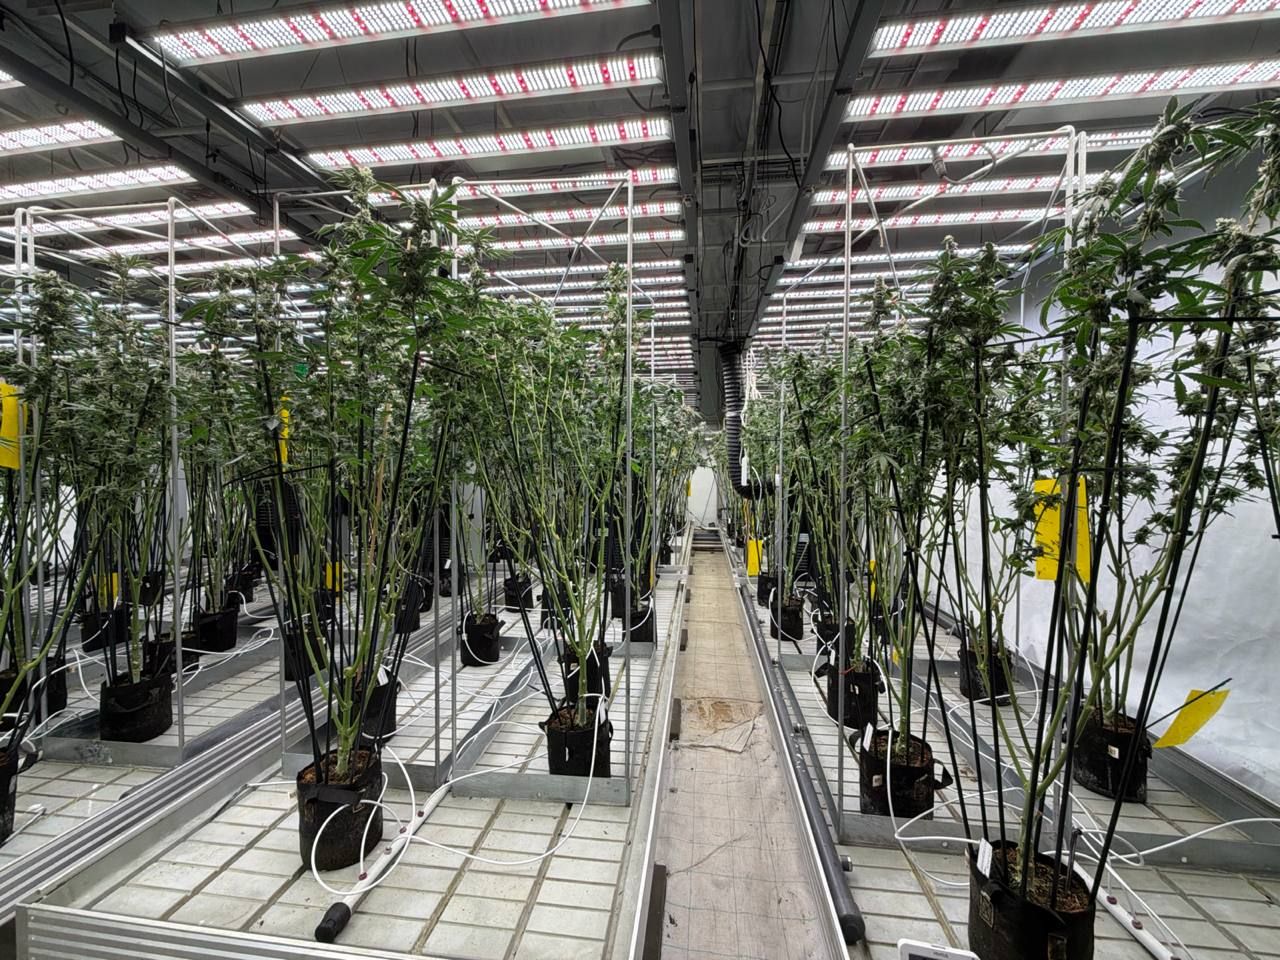
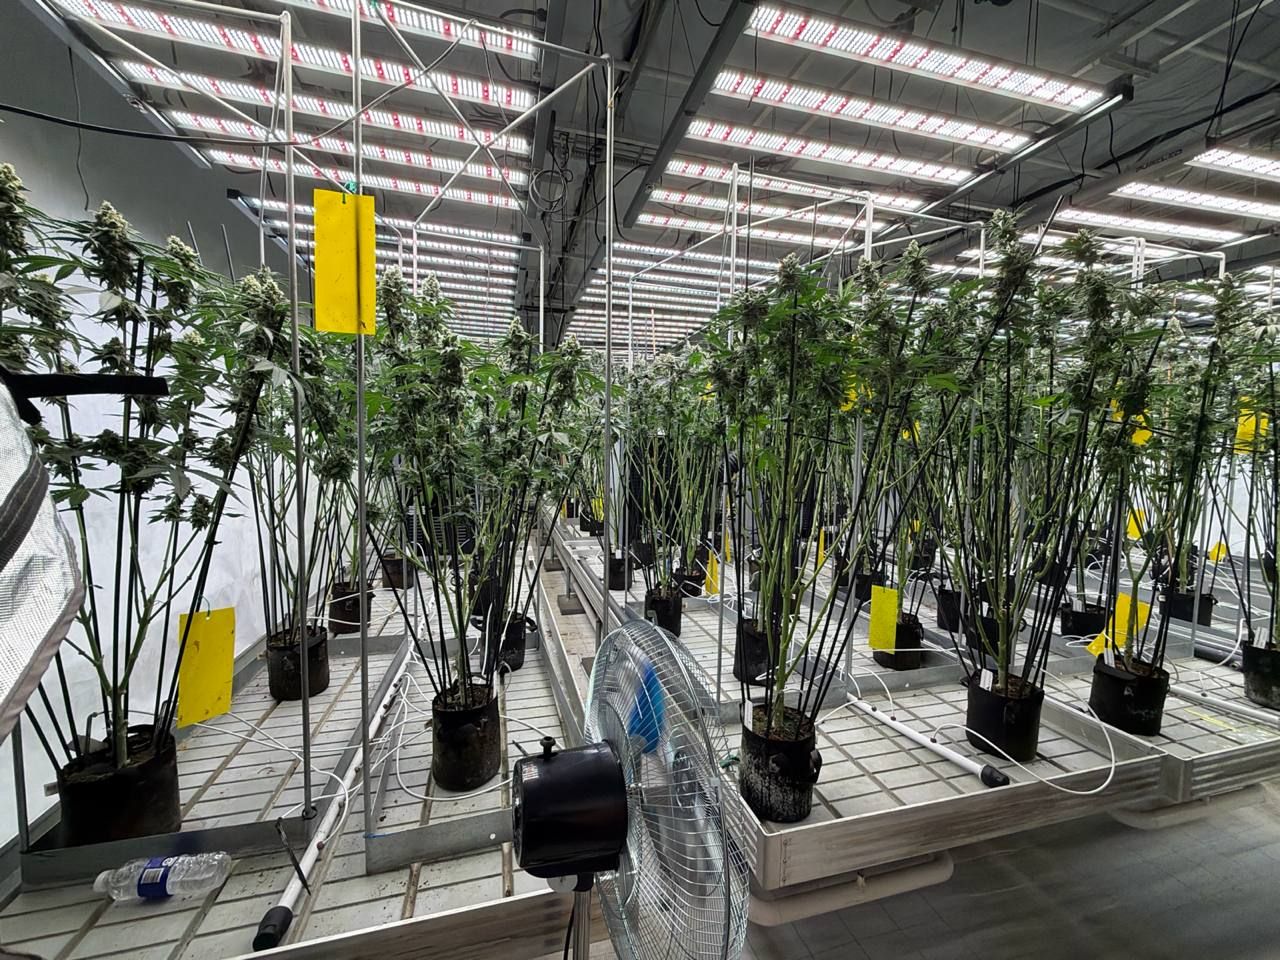
Always keep the plants' needs in mind throughout the cycle. Providing the right growing conditions will have a direct impact on the final result.
Good airflow and proper light penetration can help reduce the risk of mold developing on the flowers, promote more even ripening throughout different levels of the canopy, reduce the conditions that attract unwanted pests, and help prevent many of the other problems that can appear during flowering.
A healthy environment is the foundation for a successful finish.
Final Stage of Flowering
And here we are — the end of the testing phase.
The range of aromas filling the room at this stage is simply impossible to put into words.
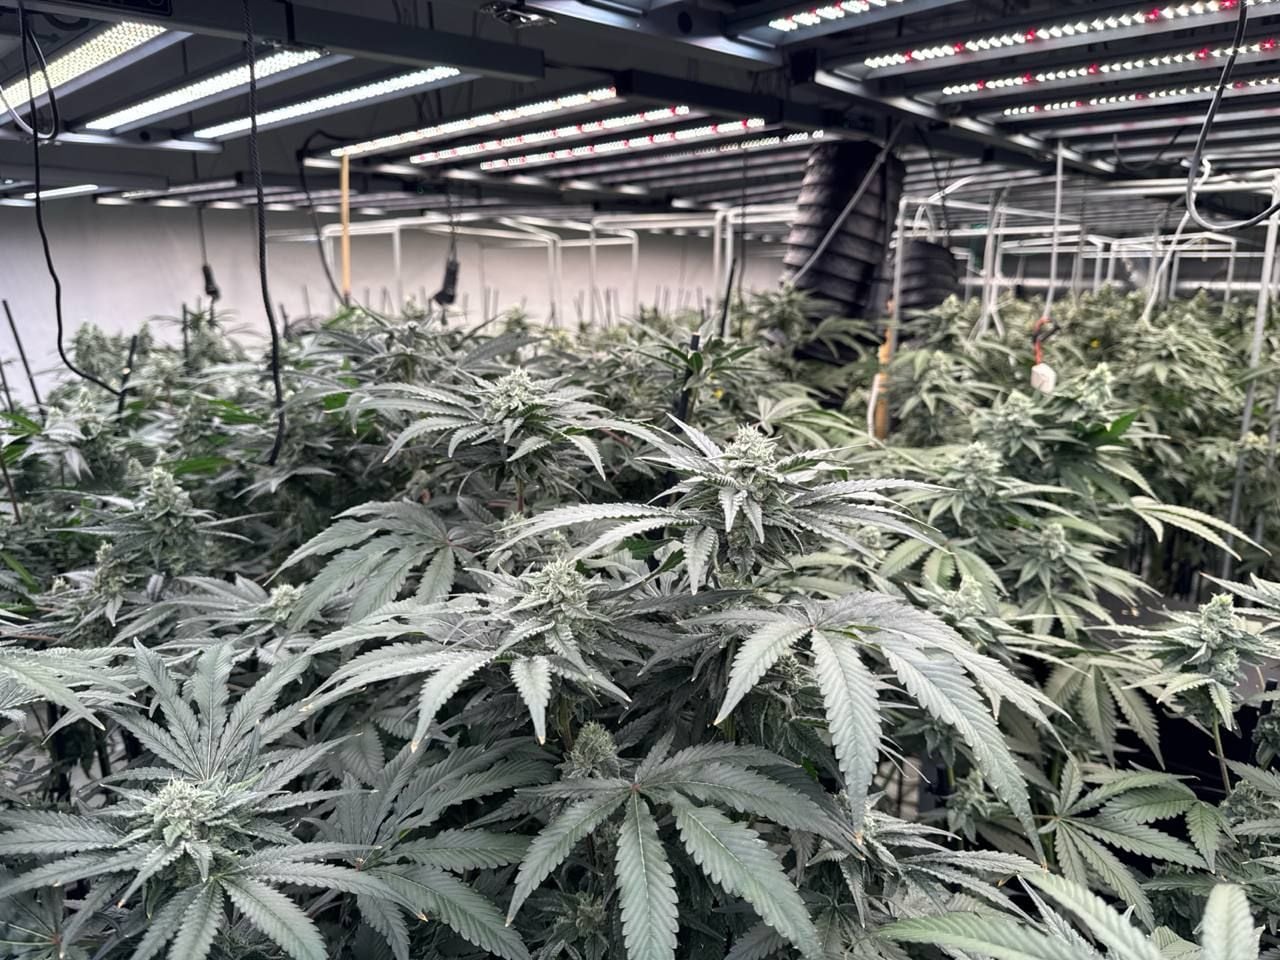
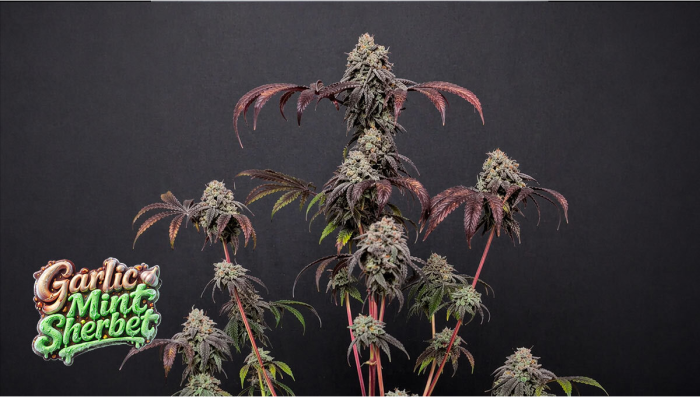
The flowers have now reached a sufficient level of maturity, and each variety and phenotype has developed its own distinctive aroma. This is the point where we go back through our records and document the individual characteristics of each plant: flower structure, shape, appearance, and its unique terpene profile.
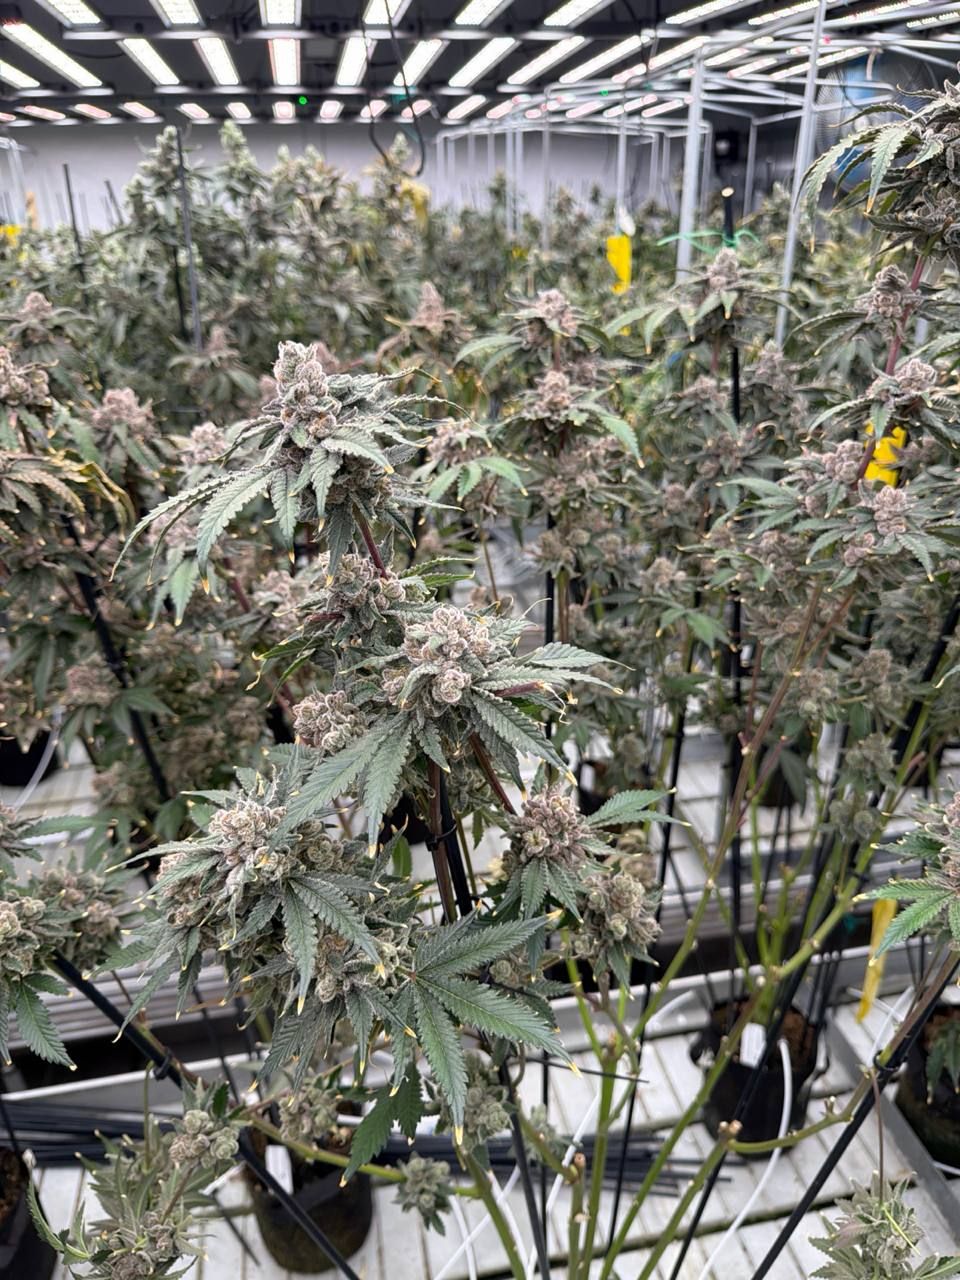
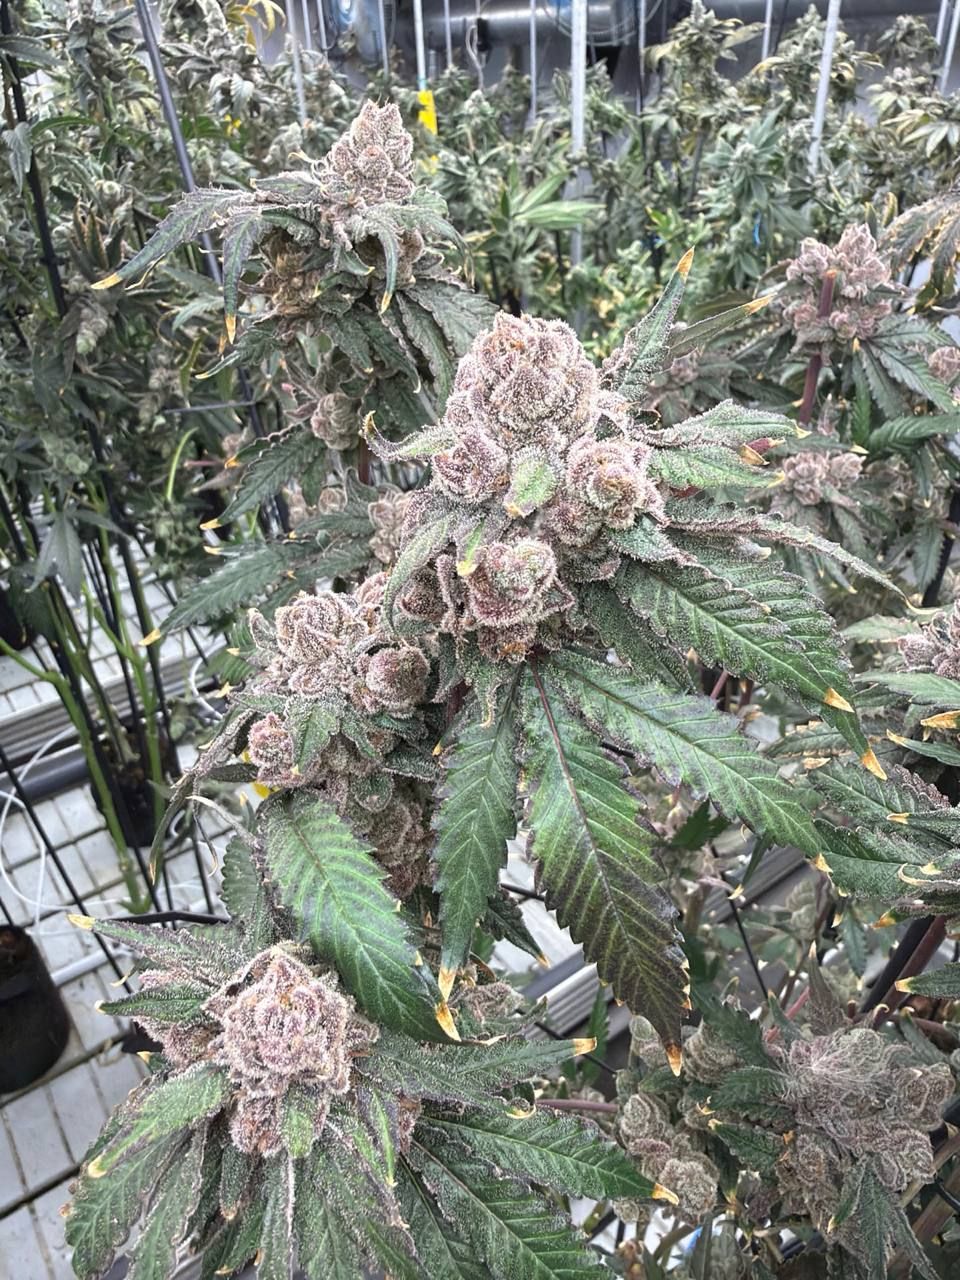
We record all of this information for a very important reason. First, we compare the aroma we observed at the end of flowering with the aroma of the fully dried flowers. This gives us a better understanding of how well each phenotype retains its characteristic profile after drying.
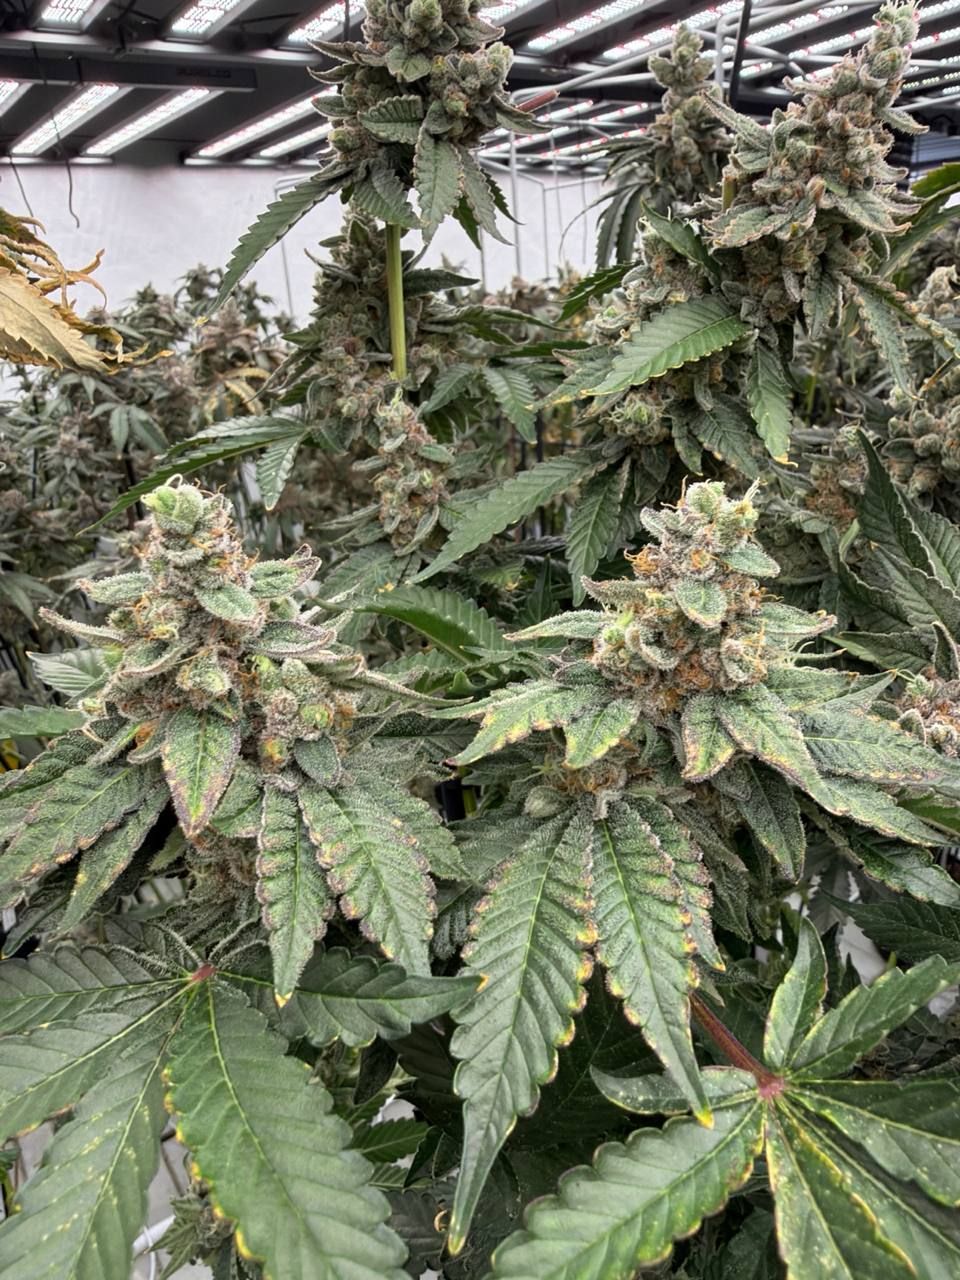
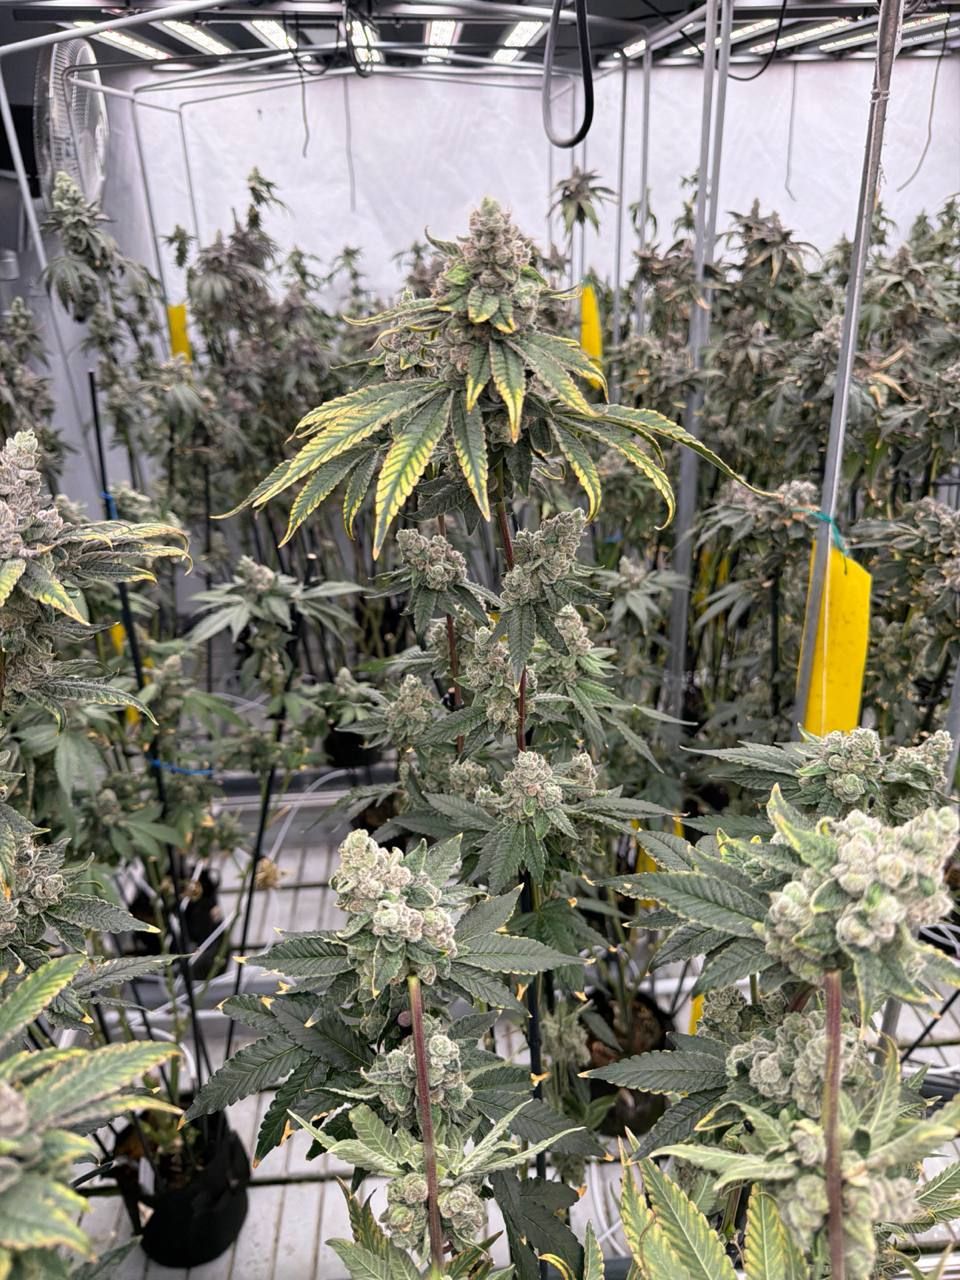
At the same time, we evaluate the plant as a whole. Does it meet our expectations? Does it have any significant weaknesses? How did the strain and its individual phenotypes respond to stress? How well did they maintain their aroma throughout the process? And did they develop the distinctive flower structure and characteristics we were looking for?
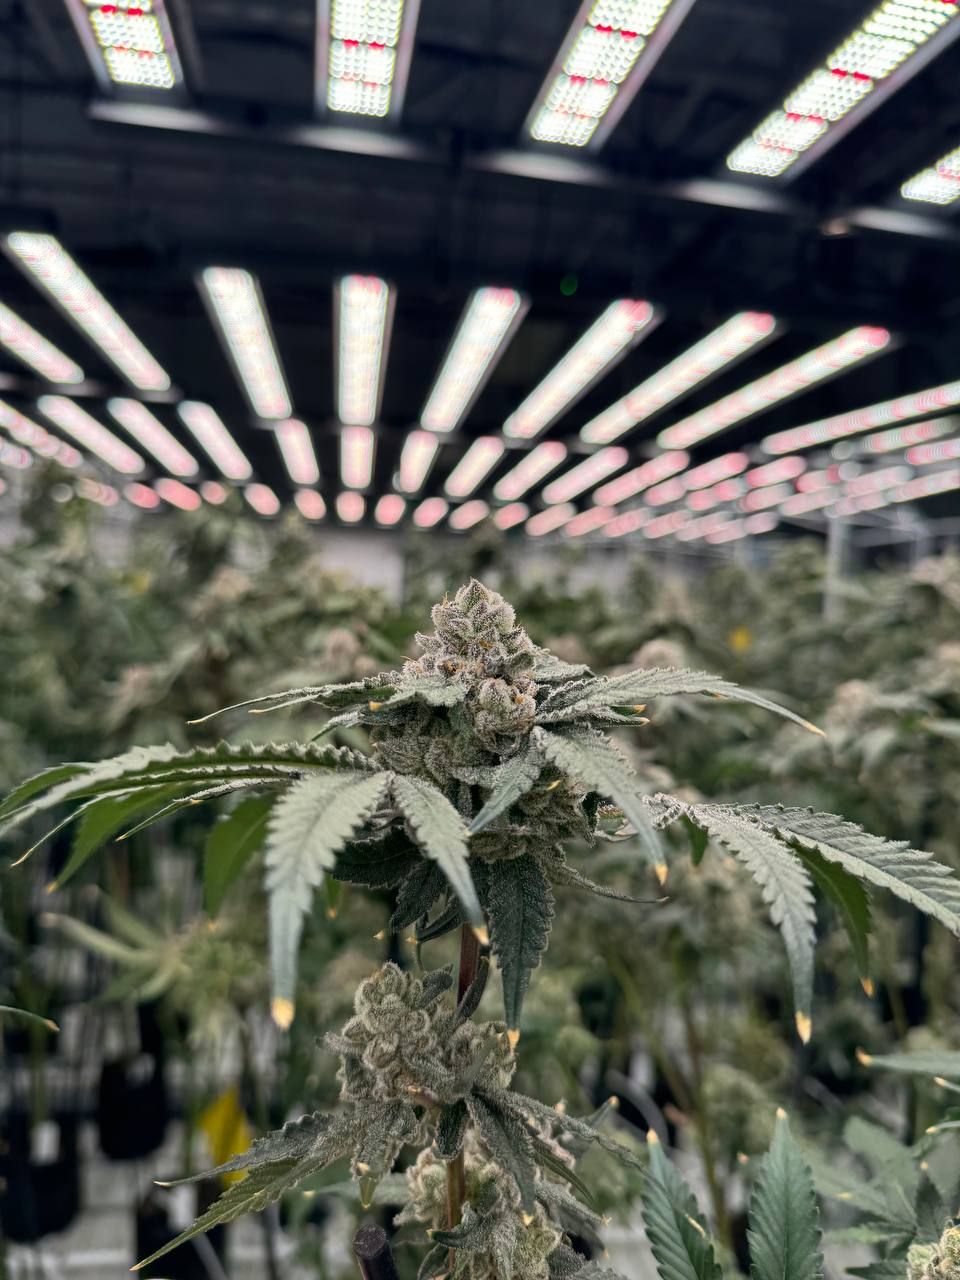
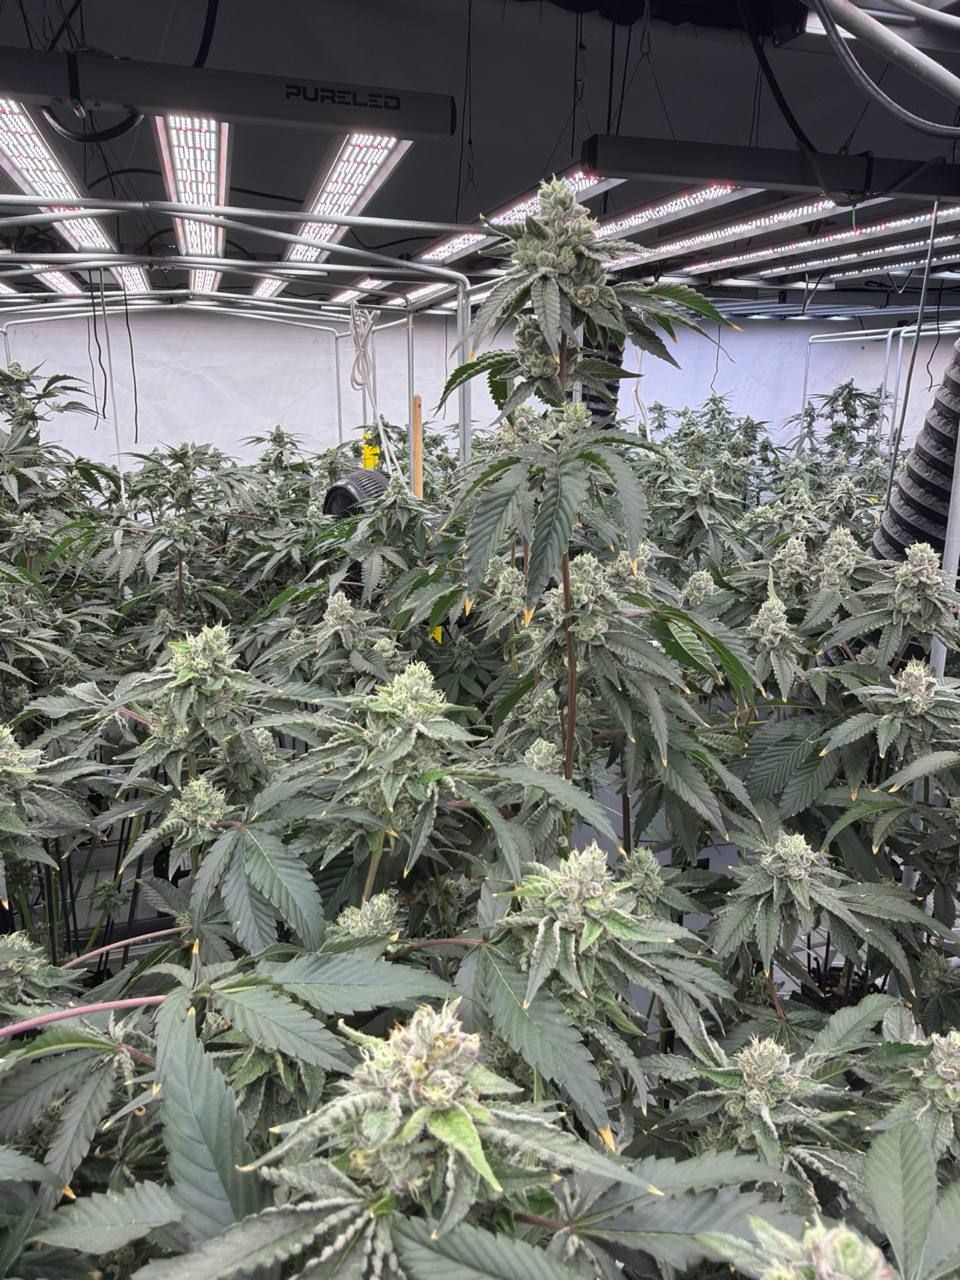
Only when a plant consistently meets our expectations across these criteria can we consider continuing the work with that particular individual.
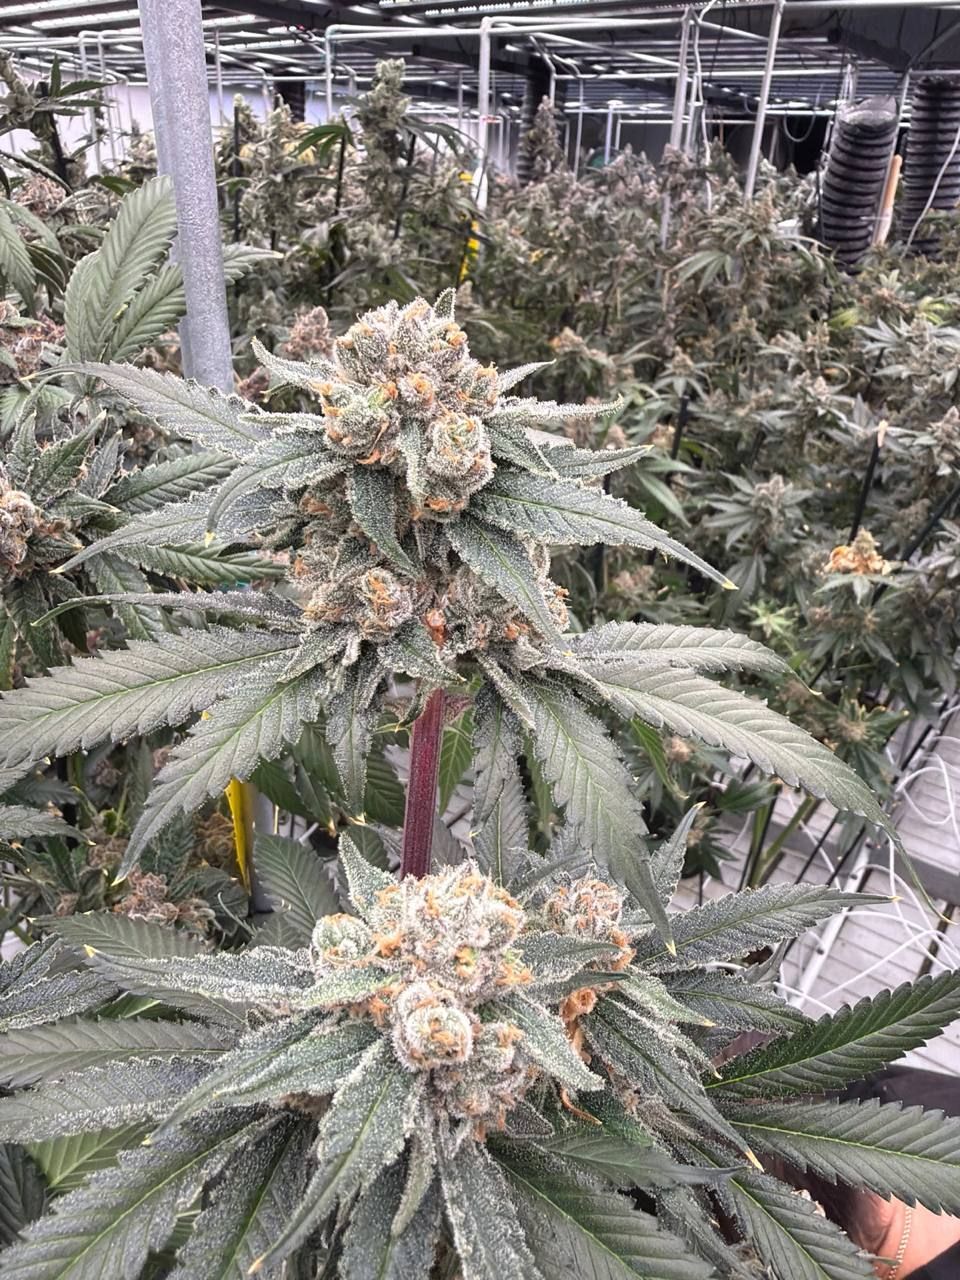
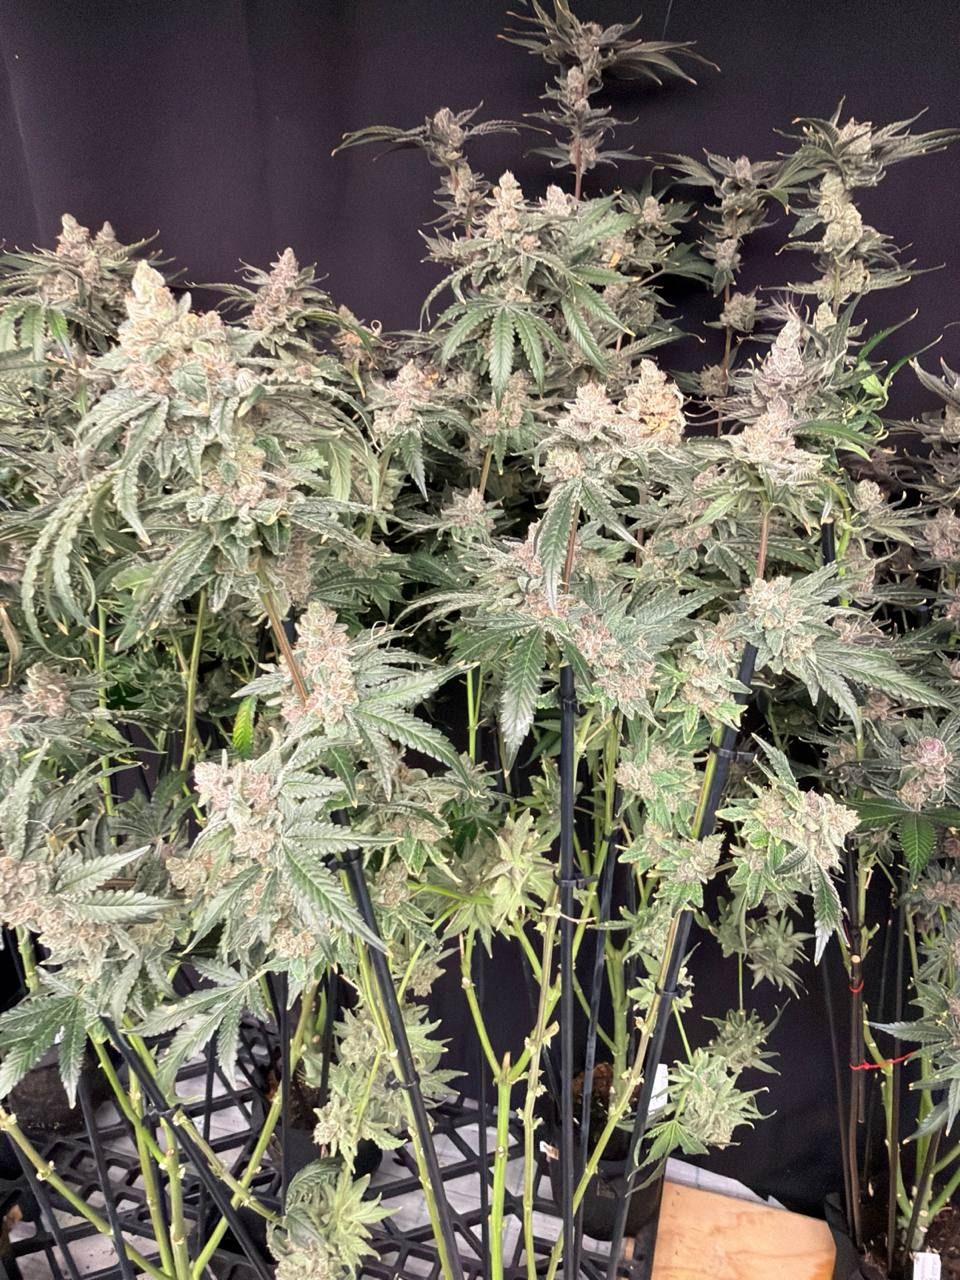
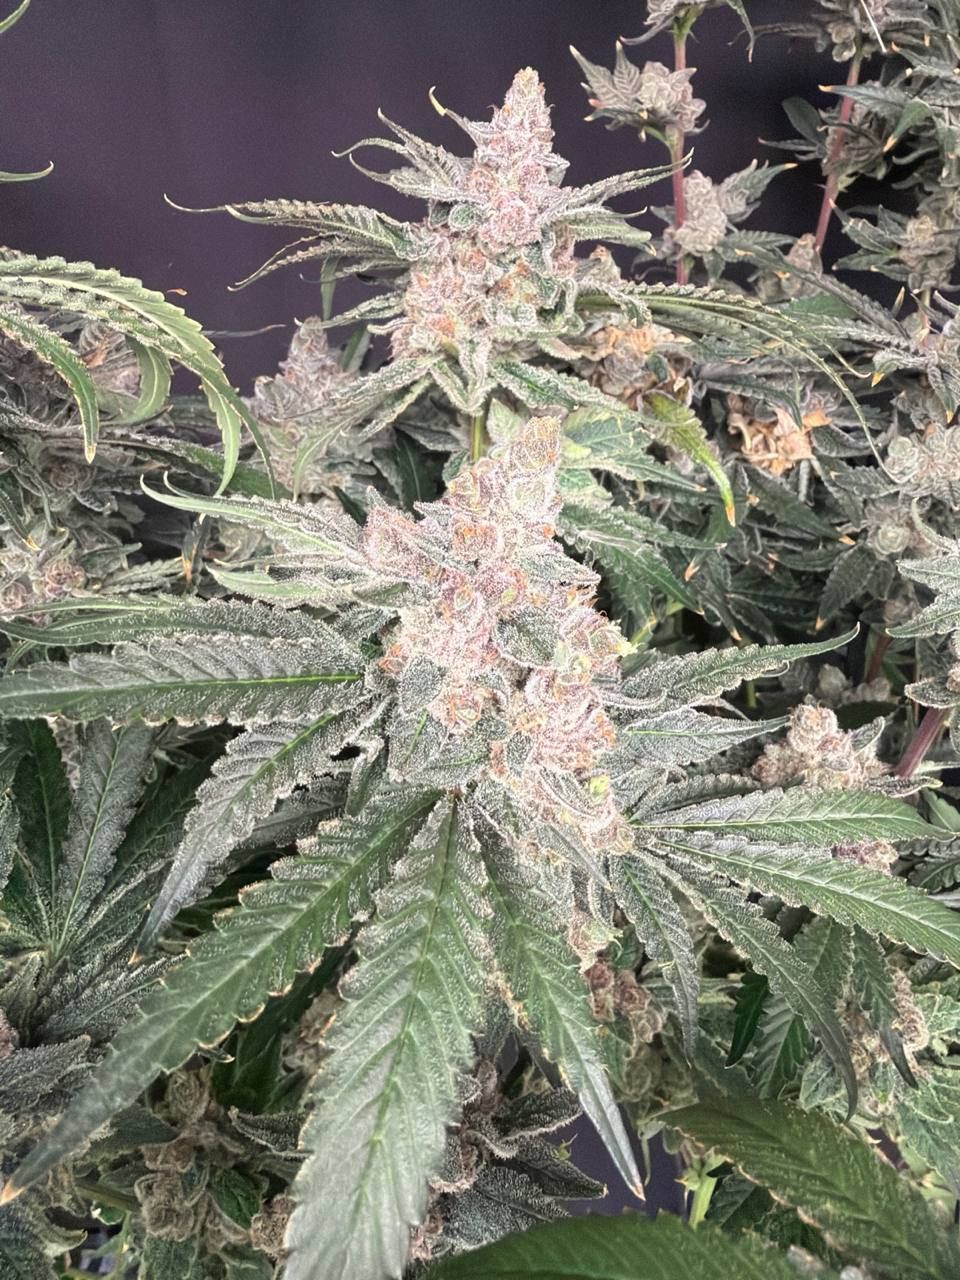
This is where the real selection begins — not simply choosing the most impressive plant, but identifying the phenotype that proves itself throughout the entire process.
The End of Testing — The Beginning of Selection
And with that, this testing cycle comes to an end.
We started with hundreds of plants, compared their development, structure, flowering, aromas, and individual phenotypes, and gradually narrowed the population down to the plants that truly stood out.
But the end of the flowering cycle is not the end of the work. The most promising phenotypes will now move into the next stage of evaluation, where we can continue testing their stability, preserve their genetics, and determine which individuals are truly worth carrying forward.
The strongest plants have now shown us what they can do. The next step is to find out which ones can do it consistently.
FAQ
FAQ
1. What is the purpose of this testing cycle?
The purpose is to evaluate new fast-flowering and photoperiod genetics under real growing conditions and identify the varieties and phenotypes that demonstrate the strongest overall performance.
2. How do you treat autoflowering and photoperiod plants differently at the beginning of the cycle?
Both are started in peat plugs, but autoflowers are transplanted as soon as the root tip appears, while photoperiod plants are allowed to develop a more established root system before being moved into coco.
3. How many plants were included in this testing cycle?
A total of 342 plants were successfully transplanted into the system. After the initial selection, 285 of the strongest individuals were retained for further evaluation.
4. Why are clones taken from the selected plants?
Cloning allows us to preserve promising phenotypes as genetically identical copies. This gives us the opportunity to continue testing and breeding with specific individuals without losing their genetics.
5. How many clones were produced during the selection process?
More than 2,000 clones were taken from over 200 carefully selected mother plants and placed into controlled propagation conditions.
6. Why are plants topped and defoliated before cloning?
The goal is to encourage stronger lateral growth and create multiple well-developed shoots. This helps produce more uniform and high-quality cuttings for preserving the selected genetics.
7. Why is canopy management important during flowering?
Defoliation and structural training improve light penetration and airflow throughout the canopy. This helps maintain a healthier environment and promotes more uniform flower development.
8. What characteristics are evaluated during the final flowering stage?
We evaluate flower structure, shape, overall appearance, aroma, terpene profile, stress resistance, and how consistently each phenotype maintains its characteristics throughout the cycle.
9. Why do you compare the aroma before and after drying?
The comparison helps us determine how well each phenotype retains its characteristic aroma after the flowers have fully dried. Aroma retention is an important part of evaluating the quality and consistency of a phenotype.
10. What makes a phenotype worth continuing with?
A promising phenotype must prove itself throughout the entire cycle. We look for strong development, stability, distinctive flower structure, desirable aroma, good stress response, and consistent expression without significant weaknesses. Only the individuals that meet these criteria are considered for further breeding and genetic development.
Comments