How to Make Cannabutter: The Full Guide

- 1. First things first: calculating the thc dosages
- 2. Decarboxylation
- 3. Making the butter
- 3. a. Ingredients and tools
- 3. b. Step 1: grinding the decarbed buds
- 3. c. Step 2: melting the butter
- 3. d. Step 3: adding the weed
- 3. e. Step 4: draining the cannabutter
- 3. f. Step 5: cooling it down
- 4. Cannabutter machines
- 5. Cannabis-infused coconut oil - the healthier vegan-friendly alternative to cannabutter
- 6. Can you store cannabutter in the fridge?
- 6. a. What about freezing your cannabutter?
- 7. The bottom line
Making cannabis-infused edibles is something every marijuana consumer feels tempted to try at least once. And while you can probably purchase pre-cooked edibles at a nearby coffee shop, depending on your country of residence, making your own homemade edibles is a fun experience for sure. This is, of course, unless you end up burning your buds, or worse, feeling absolutely nothing.
The absolute key to getting perfect weed edibles, that actually do the job of getting you high, is making the cannabutter (cannabis-butter) for your recipe correctly. It only takes 5 steps, a cup of water, a cup of butter, and 7 to 10 grams of marijuana.
Although the process can be a tad tricky, you don't really need to be a master in the kitchen to get a great magic butter for your edibles. All it takes is organization and a whisk of patience. The most common mistake people make when cooking cannabutter for their homemade edibles is skipping the decarboxylation process. Not putting your flowers through the decarboxylation process could be the reason why your marijuana edibles fail to get you the desired effects. Make sure you follow through with our guide on how to properly decarb your buds.
Before you get cooking in the kitchen, it’ll help to reaffirm why you’re going to all this effort. Different cannabis users opt to use edibles for different reasons. Many people simply don’t like the idea of inhaling smoke or vapor, whereas some prefer the increased potency that cannabis edibles have to offer. But why do they hit so hard? Well, it all has to do with how the body processes cannabinoids. When you smoke or vape weed, THC and other cannabinoids enter the bloodstream through small sacs in the lungs known as alveoli—the site of gas exchange that enables us to breathe in oxygen and expel carbon dioxide. Because inhaled cannabinoids enter the bloodstream so quickly, they offer a rapid onset of effects. THC quickly gets shuttled through the blood-brain barrier and into the brain where it binds to CB1 receptors and leads to a surge in the feel-good brain chemical dopamine.
Orally ingested cannabinoids, on the other hand, go down a much different route. Following ingestion, cannabinoids have to survive the throes of the digestive system. Here, only a small portion of these molecules are absorbed into the blood. This might seem off-putting to some, but those that make it through end up exerting a much more intense psychoactive experience. Absorbed molecules of THC are transported to the liver—the major detoxification organ of the body. Here, the liver converts THC into a much more potent molecule known as 11-hydroxy-THC. This process takes some time, which means edibles take anywhere between 30–90 minutes to take effect. However, because 11-hydroxy-THC hits so hard, the experience lasts longer and offers a much more severe high.
1. First Things First: Calculating the THC dosages
Before we continue, another important aspect you should definitely consider when you decide to make your own edibles is to calculate your THC tolerance and the perfect doses for your magic baked goods.
Not every person will get the same effects on the same amount of edibles, so if you're not sure about this point we recommend taking a look at this article on how to calculate the perfect THC dosage for your edibles. Once you’ve successfully calculated what is the perfect amount of THC for your cannabis edibles then you're ready to head into the kitchen.
2. Decarboxylation
As we have mentioned before, this is the most essential and yet the most overlooked part of the cannabutter-making process. When omitted, this could result in weak or even inactive edibles, big bummer. Decarboxylation matters because raw cannabis flowers contain almost no THC at all. Yes—you read that correctly! It seems counterintuitive, but cannabis plants don’t actually make THC. Instead, their metabolic pathways create the precursors to cannabinoids known as cannabinoid acids. Each cannabinoid has its own corresponding cannabinoid acid. For example, THC exists as THCA in raw cannabis and CBD exists as CBDA. Those chemicals feature a different molecular structure in the form of a carboxylic acid group that consists of additional carbon, oxygen, and hydrogen.
Because they possess a different shapes, they behave in different ways in the body. For example, THCA impacts cannabinoid receptors in a different manner than THC, meaning it doesn’t produce a psychoactive effect. You could eat all of the raw cannabis flowers that your jaw would allow and still not feel a thing! However, decarboxylation solves this process. This seemingly complex term refers to the ejection of the carboxylic acid group. In the case of THCA, this leaves THC behind.
To achieve decarboxylation, we need to apply heat. Applying a lighter flame to the tip of a joint or a bong bowl solves this, as does turning up the oven high enough for a suitable amount of time while cooking. By putting your marijuana through the decarboxylation, or ‘decarb’, process you’ll ensure you get the most out of your cannabis flowers’ psychoactive effects. It is through the decarboxylation process that the cannabinoids present in your cannabis, such as the famous THC and CBD, are activated, which is exactly what we want if we want to get the ‘high’ feeling. When smoking or vaporizing marijuana, the decarboxylation process happens instantly due to the high temperatures that the buds are exposed to. For example, this is how Tetrahydrocannabinolic, THCA, the raw cannabinoid turns into THC, the active component that produces the well-known cannabis effects.
When it comes to edibles, we need these two famous cannabinoids, THC and CBD, to be still present in what we consume so that our bodies can absorb them through our digestive systems. In order to decarb the buds for making the cannabutter what you’ll need to do is take your buds and preheat them before you start mixing them with the butter.
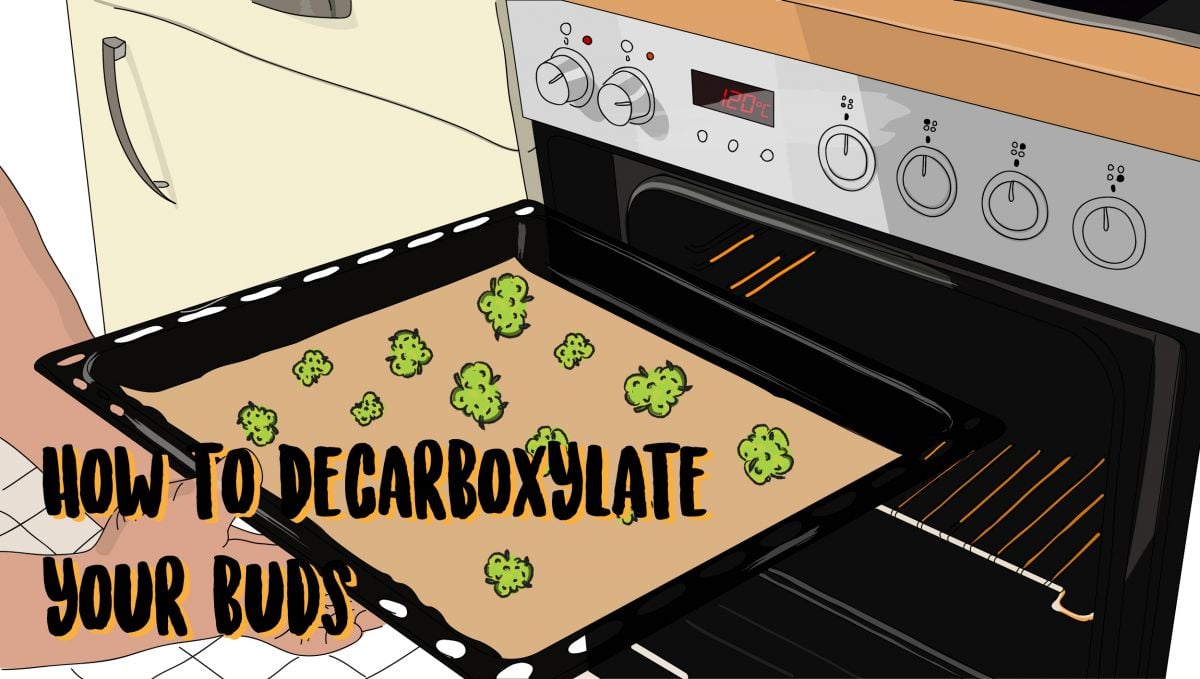
While some people might rather decarb the buds by soaking them directly into the hot butter, this will result in a stronger weed flavor on your edibles, which may not sound so bad right now, but when you take a bite of those tasty-looking brownies and realize it tastes as if you had just taken a bit off a raw bud you’ll understand what we meant. So, how do we decarb our buds? The process includes time first, for curing the flowers; and high temperatures. To decarboxylate your marijuana, take a clean oven tray, place a sheet of baking paper on it and spread your buds. Set your oven between 110-130°C and insert the tray inside for about 20-40 minutes, depending on the amount of heat you've set, we always recommend low and slow to prevent any tragedies.
Extra AdviceKeep in mind that the older or drier the cannabis buds are, the less time it could take them to go through the decarboxylation process.
Turn the buds every 10 minutes by shaking the tray so that they are exposed equally. Pull them out before they get burned.
3. Making the Butter
While butter is a great option for making your cannabutter due to its versatility, there are also other alternatives to do it, hello vegans. Some ingredients such as coconut oil, olive oil, or other fatty ingredients will also do the job. However, try to avoid using margarine.
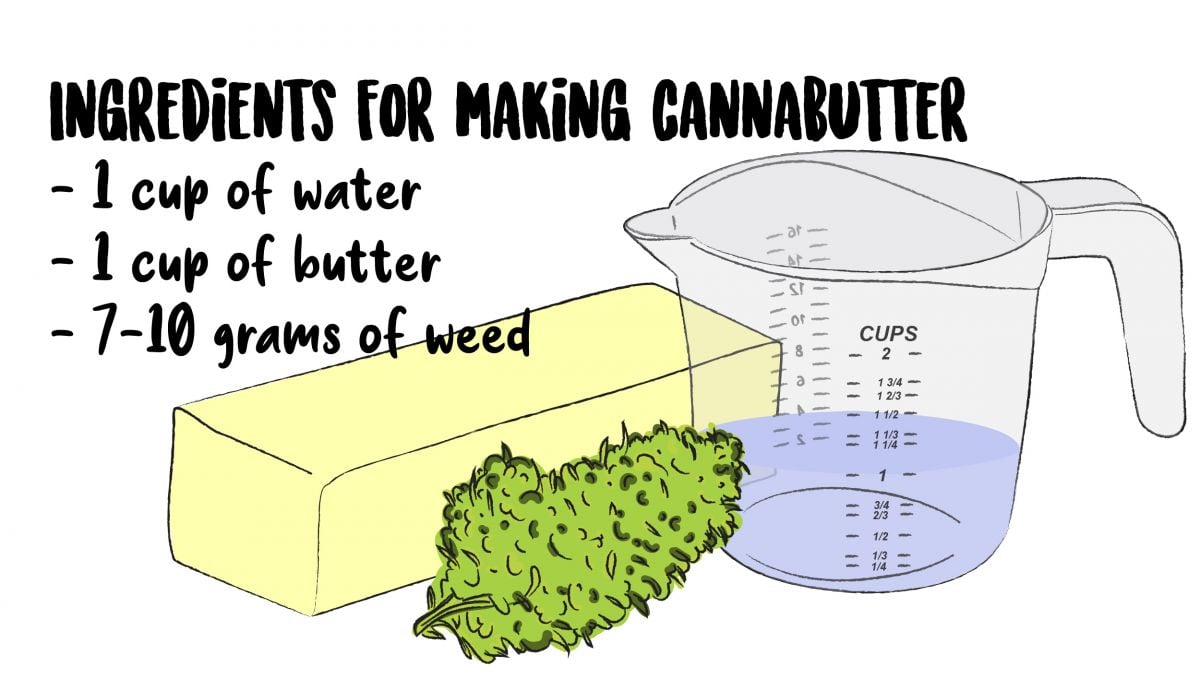
Ingredients and tools
- 1 cup of butter
- 1 cup of water
- 7-10 grams of decarboxylated marijuana
- Saucepan or casserole
- Cheesecloth
Step 1: Grinding the Decarbed Buds
Just like almost every weed consumption method, the first step will be grinding your decarbed weed. Pay attention that you don't over grind your marijuana, which will be extra dry, or else it will be a nightmare trying to get the small particles strained out of your butter afterward.
Step 2: Melting the Butter
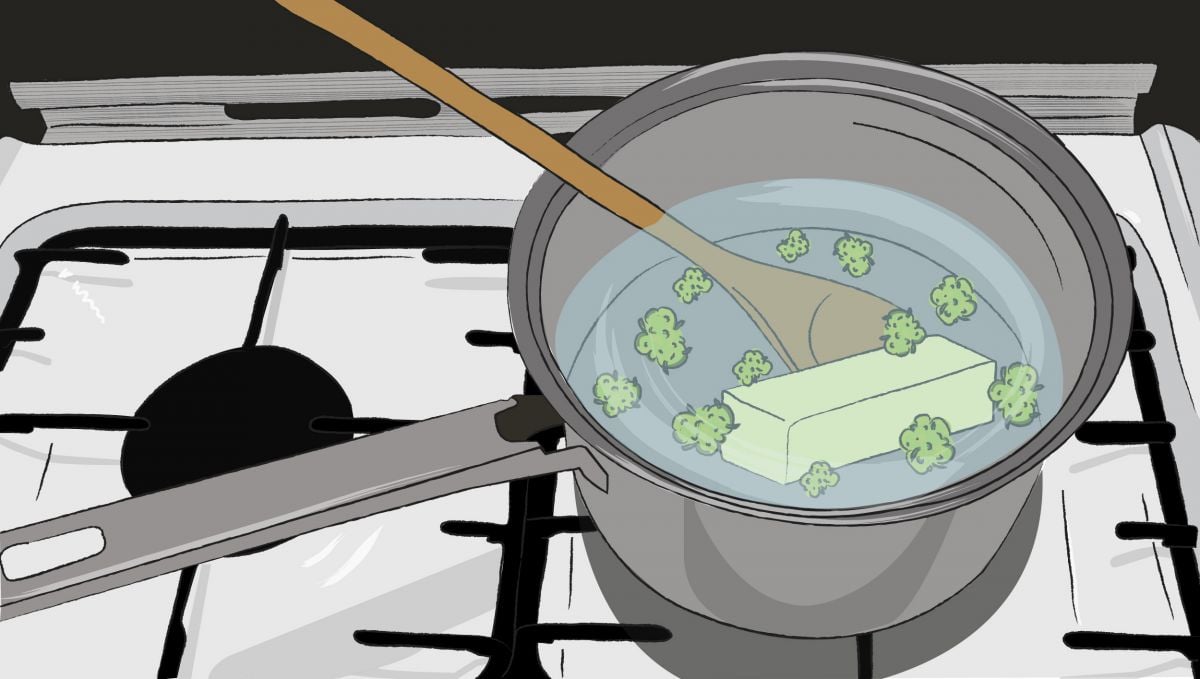
Take the cup of water and the butter one and throw them into a saucepan. Simmer on low, letting the butter melt.
Step 3: Adding the Weed
As the butter begins to melt, pour your grinded decarboxylated cannabis into the mix. Keeping the heat low, higher than 70°C, and lower than 95°C. Continue to simmer the mix for about 2-3 hours, stirring occasionally and never letting it get to a boiling point.
Step 4: Draining the Cannabutter
You probably won’t want any crispy and bitter leaves on your edibles. Therefore, once you've let your butter sit and cook for the necessary amounts of time, grab a cheesecloth funnel and set it over a jar, bowl or plastic box container. Allow the mix enough time to properly strain. You can try adding pressure as long as you make sure no bad-tasting particles fall into the butter.
Step 5: Cooling it down
Put the mixture into the fridge and let it go solid again. Once it’s become solid enough, the excess water will be separated from the butter, which you can then get rid of by carving the butter out with a knife or spoon.
4. Cannabutter Machines
If you don't trust your cooking skills and you don't want to risk wasting your buds on a failed cannabutter attempt then purchasing a cannabutter machine might be the best option for you.
These magic machines are a product of both the increasing popularity of cannabis edibles consumption and marketing masterminds who never miss the chance to make money.
Okay, perhaps we were a bit harsh on these products given cannabutter machines are not only good for making cannabutter but for making lotions, oils, grain alcohols, and other products too. With them, you can make any kind of herbs oil you'd like to make.
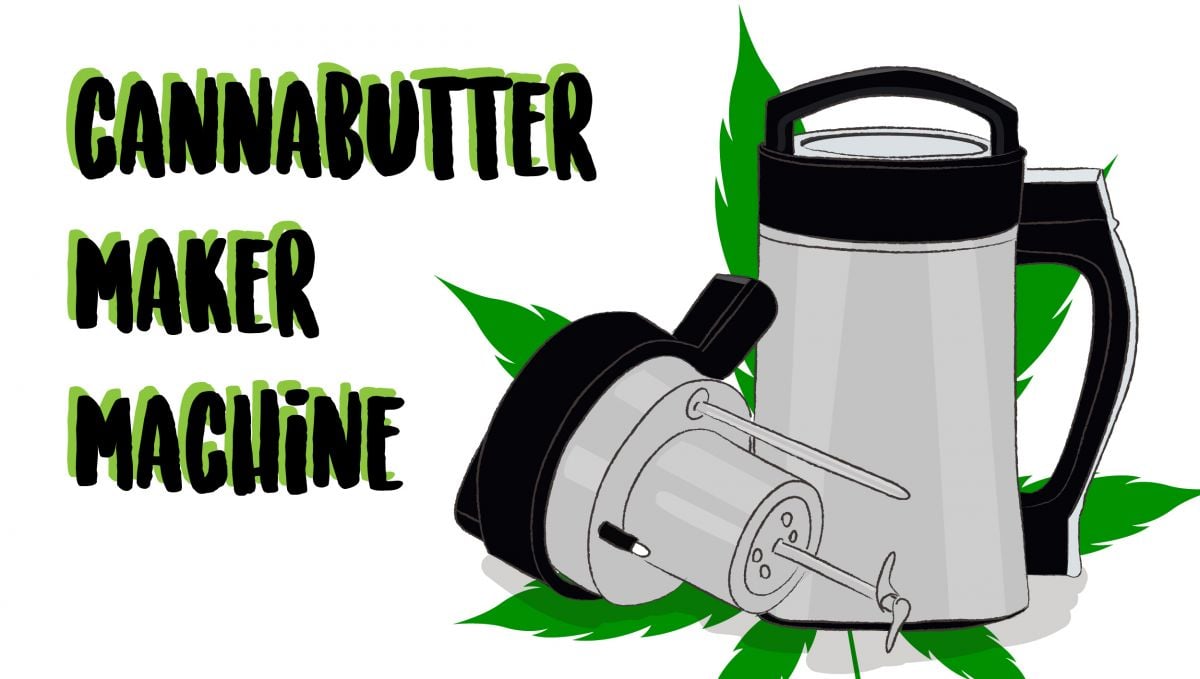
Cannabutter machines basically consist of a combination of a botanical extractor, a blender, a digital thermostat, and a heating unit. It takes it two hours to make your cannabutter, although we should point out that you will still need to decarb your marijuana before putting the cannabutter machine to use.
5. Cannabis-Infused Coconut Oil - The Healthier Vegan-Friendly Alternative to Cannabutter
Cannabutter is a pretty fantastic option for making a huge range of edibles, but you know what's even better? Even tastier? And just as easy to make? Cannabis-infused coconut oil, that's what. And it is not only healthier and better tasting (personal preference based, obviously), but it's also more versatile as it is usually slightly less flavored than traditional butter. It also has a higher fat content than butter, meaning the cannabinoid content is converted and captured more effectively.
Plus, by using coconut oil instead of butter, everyone (including vegans and vegetarians) can indulge in whatever savory or sweet treat you decide is on the menu. And as it has zero dairy content, it has a much longer shelf life than butter - as long as you carefully strain all of the plant material out of the final product. Look, if you are a butter lover - and while I know have just spent two paragraphs on how much tastier canna-coco-oil is than butter, is there anything better than a freshly toasted slice of sourdough slathered to the brim with fresh cannabutter? I think not - then go right ahead, my friends! Both work the same magic in the long run.
But, if you're interested in cannabis-infused coconut oil, let's run through the best way to make it. Keep in mind, while the above recipe will work just fine for butter or oil, this is a different method that you can use for both cannabutter and oil. It's very similar, but in this one you let the whole batch simmer for much longer, which increases the total amount of both cannabinoids and terpenes in the final product.
Ingredients
- 14 to 28 grams of decarbed cannabis. This can be bud, but if you have any trim left over from your last grow, why not just use that? Keep in mind, the weight is no more than a guide. The range of potency now found in trains is huge, so use your common sense. The 28-gram number is quite a lot, so if you are using super high potency flowers then you may want to drop that down to below even 14 grams. It is really all about experimentation here;
- 1 liter of good quality extra virgin coconut oil;
- 3 liters of filtered water.
Equipment
- A slow cooker or crockpot. You can use a normal saucepan, but for the best results and a much easier process, we suggest using a slow cooker;
- A fine metal sieve, like you would use to get the clumps out of flour before baking;
- Cheesecloth - optional, but a good idea if you have some at hand;
- A silicon spatula;
- A large metal or glass bowl;
- An empty jar to hold the infused oil.
Method
1. Before you forget, decarb your weed. Make sure you have broken the buds down a bit if you are using flower, and remember to shake the pan every ten minutes to stop and over cooking issues with the decarb process. If you are using trim, there's no real need to grind it up.
2. Add the water and oil to your slow cooker and turn it up to high. If you are using a saucepan and stovetop cooker, also set it to high heat.
3. Once the mixture comes to a rolling boil, turn it down to the lowest setting possible. You want it to be just simmering very slightly.
4. Once the heat has dropped down, it's time to add your weed.
5. Now comes the part where you are going to need a little bit of patience. We like to cook our infusion for a long time. In a slow cooker, we set it to low and let it slowly bubble away for up to 18 hours. If you are using a stovetop, then you can also go for this long. But, with the process of cooking gas right now, you can also opt to cook the mixture for as little as 6 to 8 hours.
6. Come back every 30 - 60 mins and give it a good stir. This might seem like a little bit of overkill, but the weed will naturally rise to the top of the liquid, so you want to give it a good stir every now and then to incorporate the bud or trim back into the mix. You will want to make sure the water doesn't fully evaporate also. If it's looking a little low, you can always add more water.
7. Once the cooking time has passed, turn off the heat and let the whole thing cool down to room temp. once cool enough to handle, grab your strainer and cheesecloth (if you have some).
8. Set the bowl under the strainer, line the strainer with the cheesecloth, and slowly and carefully pour the entire contents of the pot out into this straining apparatus.
9. Remember to give the whole thing a good squeeze, as there will be a bunch oil infused oil that wants to stick around with the plant material.
10. Once you are happy with the straining, grab the bowl with the water and infused oil mix and put it into the fridge or freezer. This will allow the oil and water to separate, with the infused oil solidifying on top.
11. Then it is as simple as removing the oil and reheating it until it is liquified, and then pouring it into whatever jar you intend to store it in.
6. Can You Store Cannabutter in the Fridge?
Once you’ve finished using your hemp-based butter you might still have some left, and throwing it away can never be an option. So if you're wondering if you can store your cannabutter inside the fridge, cheer up because the answer is yes. Unlike normal butter, which you can store in the fridge for extended periods of time, cannabutter shouldn't be stored in your refrigerator for more than one month. In order for it to last this long, it needs to be properly stored in an airtight container.
| Storage Method | Cannabutter's Life |
|---|---|
| Fridge | 1 month |
| Freezer | 1 1/2 months |
A trick to make your cannabutter’s life stay fresh for a longer period of time is adding a little salt to the mixture while it's cooling down.
What about freezing your cannabutter?
The magic butter’s properties won't be gone if you freeze it. So the answer is yes, you can freeze your green butter. By freezing your cannabutter you’ll extend it’s useful life 2 or 3 more weeks.
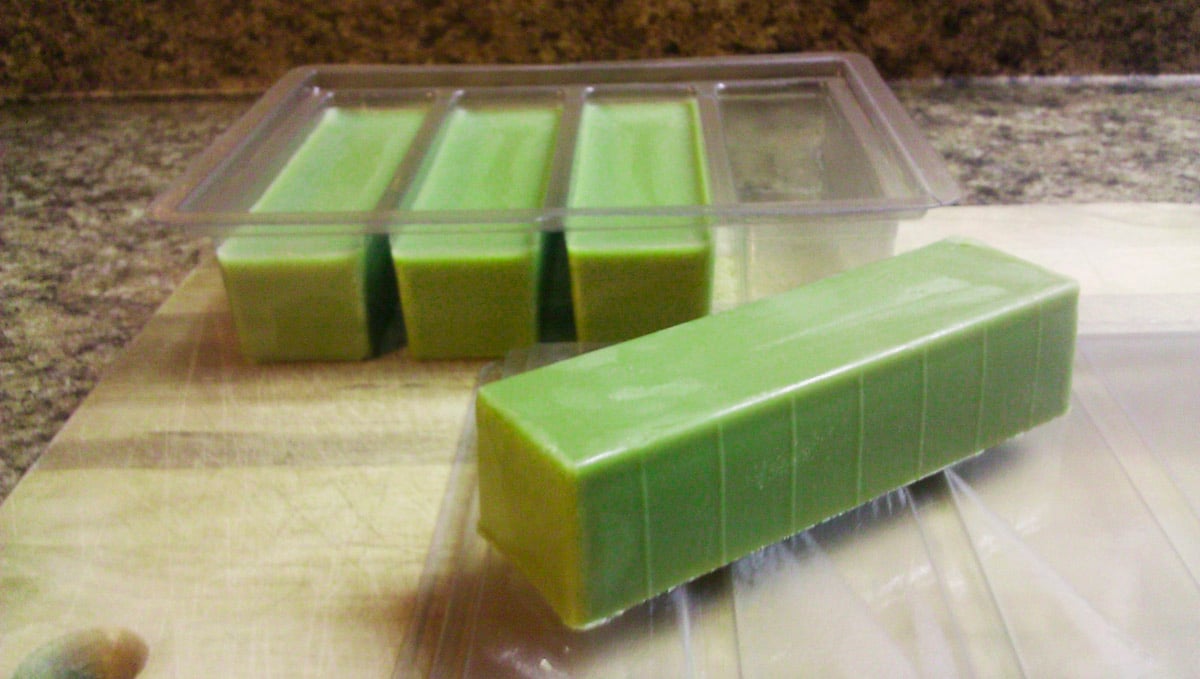
To properly freeze the cannabutter, we recommend placing the still liquid product in silicone ice trays and letting it freeze. Once it's frozen, take the butter sticks or cubes out of the trays and wrap them tightly into a plastic wrap before you return them into the freezer.
7. The Bottom Line
The best way to consuming cannabis edibles the right way is by being well informed. Before even starting the cannabutter cooking process, the first thing you should always calculate is the THC dosage of your edibles to get full control of the type of high you want to get.
Like most recipes, the best advice we can give you is to follow the instructions thoroughly and make sure you don't forget about the decarboxylation process, which if forgotten will ruin your whole experience.
So, what are you waiting for? Turn on your oven, chuck on your cooking apron, and get those edibles going! We can’t wait to hear about your final results! Please do comment below by sending us pictures or just tell us anything about your experience!


