What Is A Waterfall Bong And How To Make One At Home
- 1. What is a waterfall bong?
- 2. Normal vs waterfall bong, which one is better?
- 3. How to make a waterfall bong at home
- 3. a. Tools and materials you'll need to make a waterfall bong
- 3. b. Step 1: making the bowl
- 3. c. Step 2: making the carburetor
- 4. How to use a waterfall bong
- 4. a. Step 1: grind your weed!
- 4. b. Step 2: fill the bowl and the base
- 4. c. Step 3: screw the lid, light the bowl and watch the waterfall!
- 4. d. Other great homemade bong options
- 5. Waterfall bong faqs
- 6. The bottom line
When it comes to us stoners, we're really true craftsmen or women, there's no arguing it. In its most traditional forms of consumption, smoking marijuana always requires the help of some skillful hands to do the job. In fact, every stoner experience will always have that touch of homemade love that makes each one of them so special. Whether it is rolling a simple and easy joint or cooking some delicious and laborious cannabis edibles, there's always something enjoyable in putting our hands in to create something beautiful.
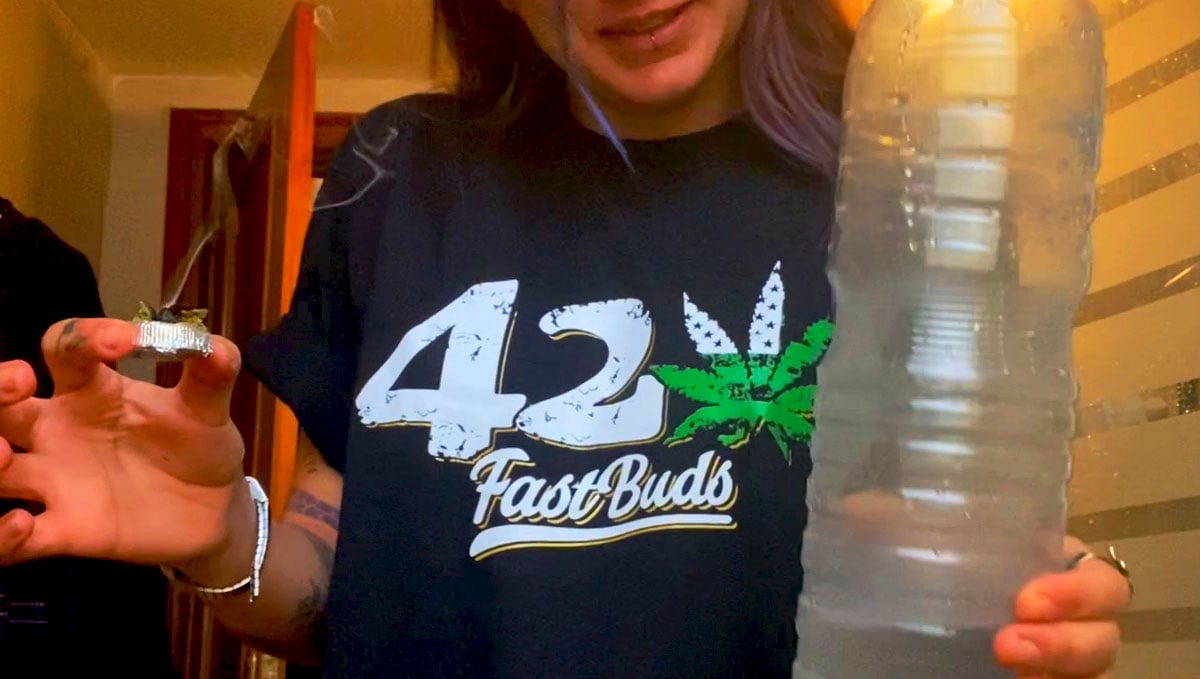
So, since we enjoy so much getting crafty, as well as trying anything new related to the stoner world, we're always looking out for new ideas to put into practice. After growing and harvesting your cannabis seeds, there are several ways to enjoy the fruit of your labor. In this article, we're going to learn what's a waterfall bong and how to make one at home.
1. What Is A Waterfall Bong?
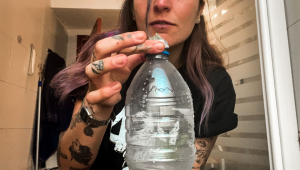
A waterfall bong is a stoner smoking device quite similar to the gravity bong, which, if you're also not familiar with then check out the following article explaining precisely what it is. Both the gravity and waterfall bongs work drawing smoke into the device by changing the air pressure, each in their own way. And exactly in this way in which they change the air pressure resides the main difference between these two.
A gravity bong needs to be pulled upwards, out of the water to create a vacuum effect, kinda like a smoke syringe. A waterfall bong, on the other hand, changes the air pressure too, but via a hole through which the base's water flows out so that smoke is drawn into the smoke chamber. And although this smoking device is quite fun to use, and it can indeed get you higher than the normal bong since we tend to take way bigger rips than we'd normally do, this doesn't mean it's necessarily better.
2. Normal Vs Waterfall Bong, Which One Is Better?
So, when it comes to the different types of bongs, identifying which one is the best option can be quite a difficult task, in the first place because we can't get rid of everyone's own personal preference and taste. However, when we take a look at the facts and leave the colors behind if we compare the normal, everyday bong and the waterfall, there's a clear winner, and it's the normal one. Why? Well, when we use a normal bong as we know them, the smoke travels into the bong through the water and then up through the tube and into our lungs.
Thanks to this pass that the smoke makes through the water, its quality is improved, therefore, we inhale a cleaner and more pure smoke, which results in a, let's say an overall healthier smoking experience. In fact, many bongs come with prebuilt percolators and diffusers aimed directly at making the water cool and filtering the smoke in an effective way. Since none of these qualities can be found in the waterfall bong, we can't really say that this is better than the other. However it still doesn't mean that you shouldn't try it, they are definitely fun and cool to try when you're bored at home or with friends.
3. How To Make A Waterfall Bong At Home
Making a waterfall bong at home can be quite simple and easy, and all it takes to do it is a couple of materials you'll most likely be able to find at home.
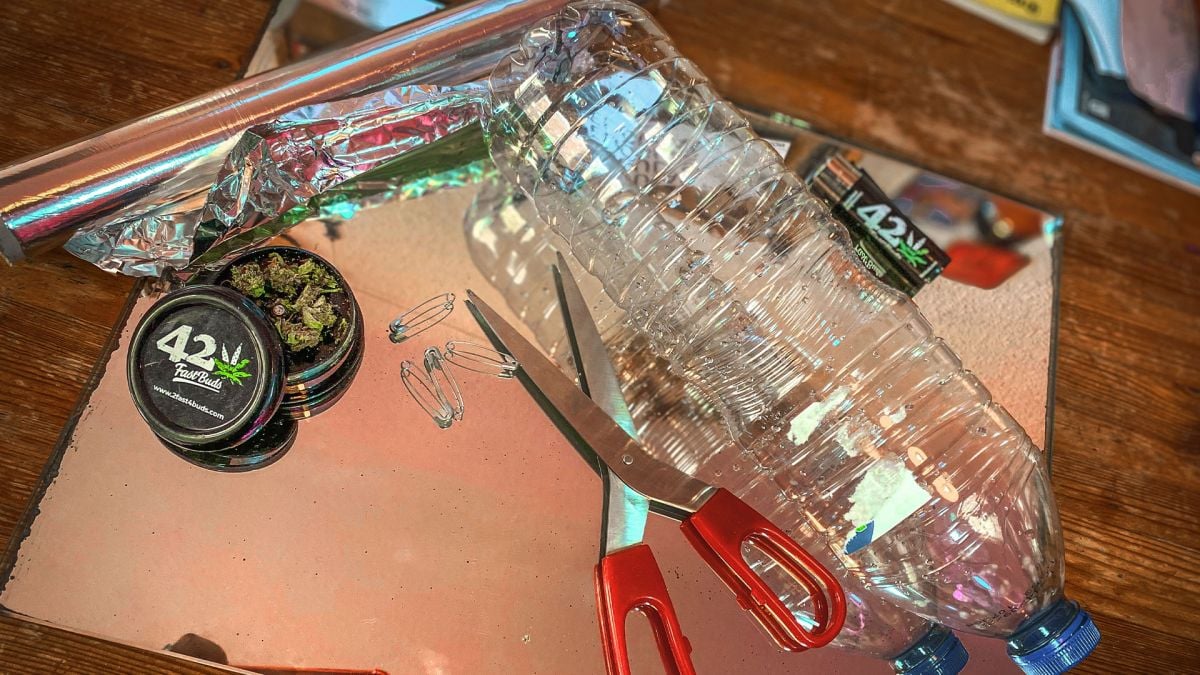
Tools and Materials You'll Need to Make a Waterfall Bong
To make a waterfall bong you need:
- 1 plastic bottle;
- A needle or any other thin poking object;
- A carving knife, or just any regular knife;
- Aluminum foil;
- And some marijuana, of course.
Once you've gathered all of the necessary instruments it's time to get our hands on the business and make some crafty smoking gadgets.
Step 1: Making The Bowl
The first step towards making your own homemade waterfall bong is building the bowl, which you can do in two different ways. The first way to make the bowl consists of tossing the plastic bottle's cap and, taking a piece of aluminum foil, place it over the bottle's neck to create a bowl shape covering its whole surface.
Warning!Make sure that the aluminum completely covers the bottle's neck and no plastic is left uncovered to burn as you light up. Burnt plastic is extremely toxic and it can cause major harms on the body.
Once the aluminum has covered the whole plastic, take the needle or poking object you have at hand and make small sparsed holes all over its surface.
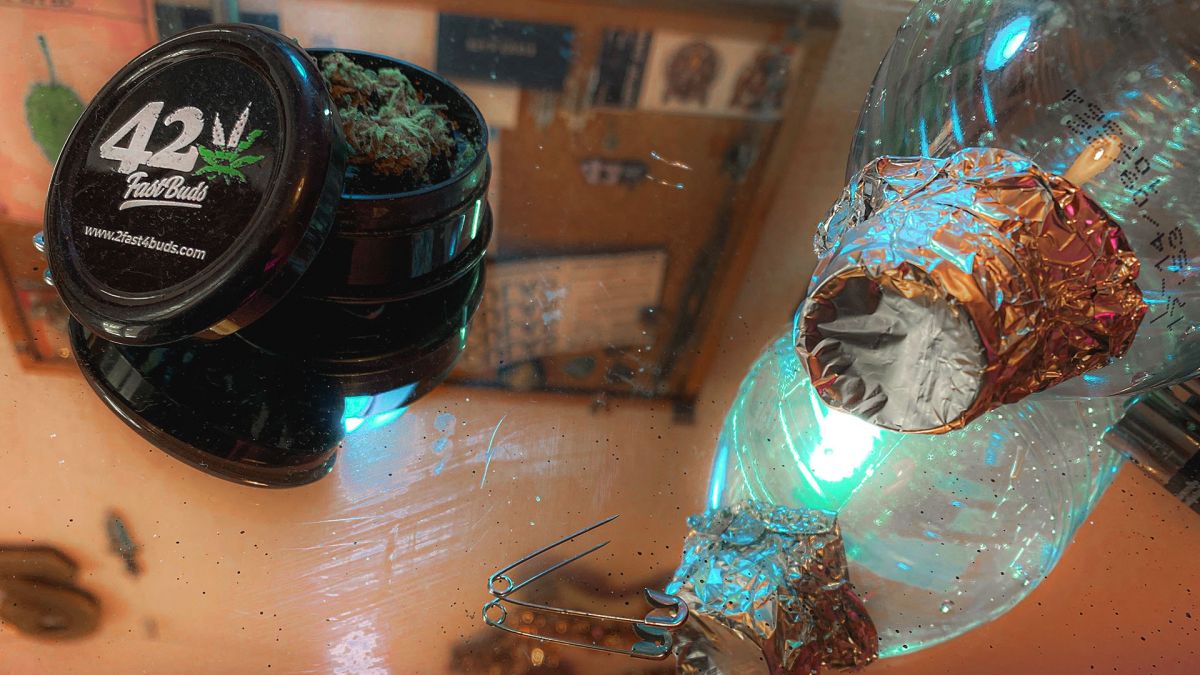
The second way of making the bong's bowl is slightly more complex, although nothing you can't handle, and it provides an easy smoking experience since it's more comfortable to use. Take the bottle's cap and with the knife, carve a hole in the center, where your buds will go. Then, take the aluminum foil and cover the entire cap with it, softly pushing with your thumb in the center to create the bowl. Now repeat the process of poking holes with the needle and your bowl is done!
Step 2: Making the Carburetor
Now it's time to make the carburetor. The carburetor, or carb, is the small hole, normally on the side or back of the bong or pipe that works as an airflow manager, you press your finger on it as you light up and release when you've had enough. But don't forget to inhale all those smoke remnants inside your device!

The carb is essential for any smoking device to work properly, so let's add this crucial part to our waterfall bong. Take your plastic bottle and carve or burn a small hole near the middle part. You can use a lit cigarette for this. That's it! Your waterfall bong is ready to use. Follow the next instructions on how to use it!
4. How To Use A Waterfall Bong
The how to use part of a waterfall bong can be a tad tricky and this is why: you have to make the waterfall, literally. This means that you should try to find a place where it's okay for water to spill, such as the kitchen's sink, on the grass outside, or in the toilet, where you can hotbox too for that added high. Once you know where you'll be able to smoke with no stress, you're good to go.
Step 1: Grind Your Weed!
Well, the first step you'll always need to follow to use marijuana in most of its forms of consumption is grinding your marijuana. Never underestimate the importance of the grinding, claimed the stoner bible.
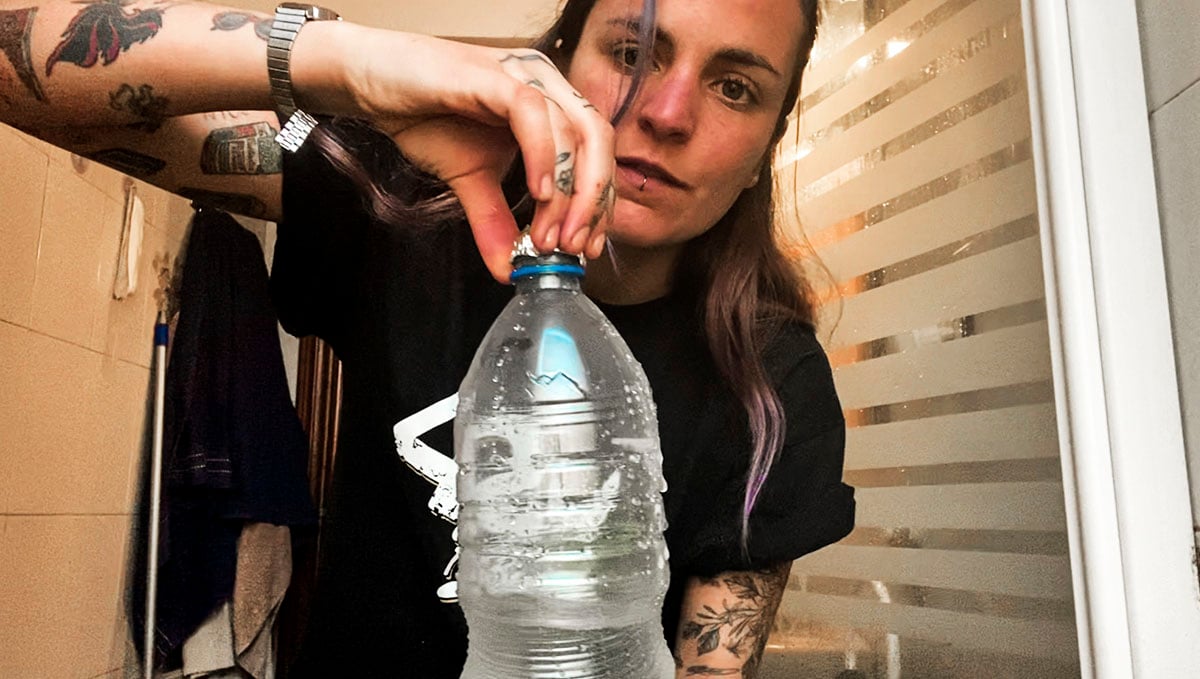
Grinding your weed buds ensures an easy, even smoke, without torching your buds or leaving unburnt pieces either, and most importantly, without having to light up every two puffs because it'd turned off, again.
Step 2: Fill The Bowl And The Base
Once you've grinded your buds, pack your bowl for a solid rip. Don't pack it too tightly or you might risk blocking the airflow and not being able to smoke.
Before you screw the lid-bowl back on the bottle, you'll need to fill up the bong with water. Covering the carburetor hole, fill up your homemade smoking device with water up to about a few centimeters above the hole.
Step 3: Screw the Lid, Light the Bowl And Watch The Waterfall!
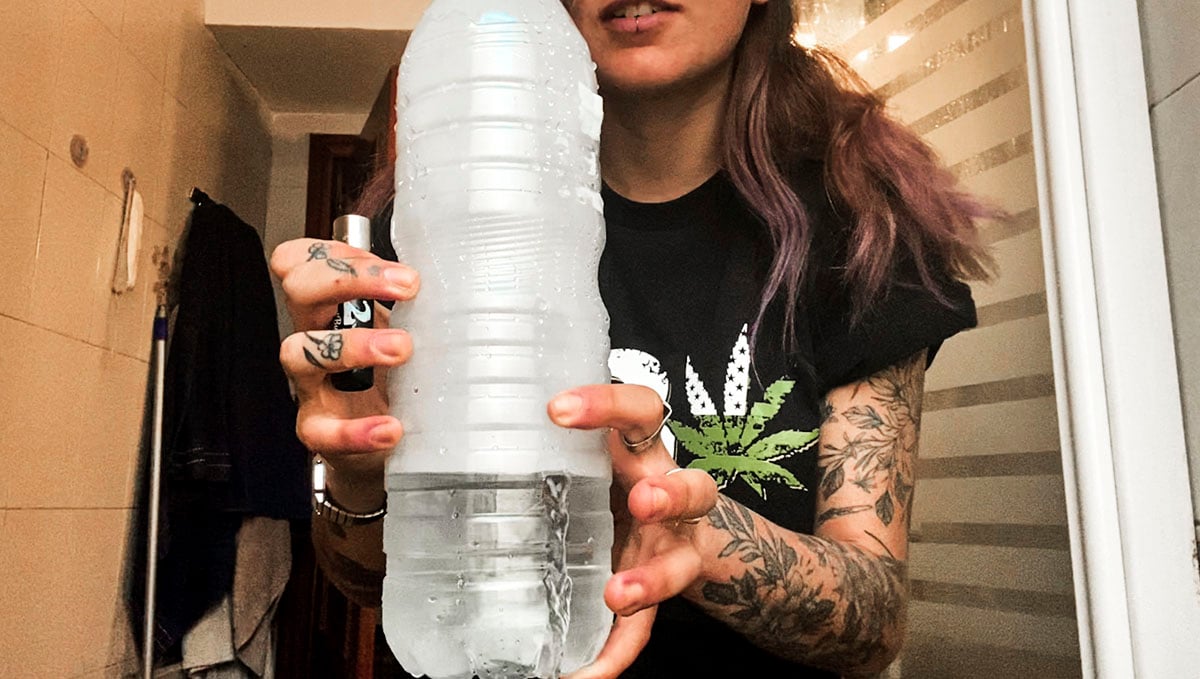
Finally, screw the lid back on your bottle, never letting go of the carb's hole, and get ready to light up! This is where it all gets exciting. The whole point of the waterfall bong is that, as the water is falling, the space it used to take will be replaced with smoke. So, as you light up the bowl, let go of the carburetor and empty the water completely out as you get a full smoky bottle. Cover the carb again once all the water is out.
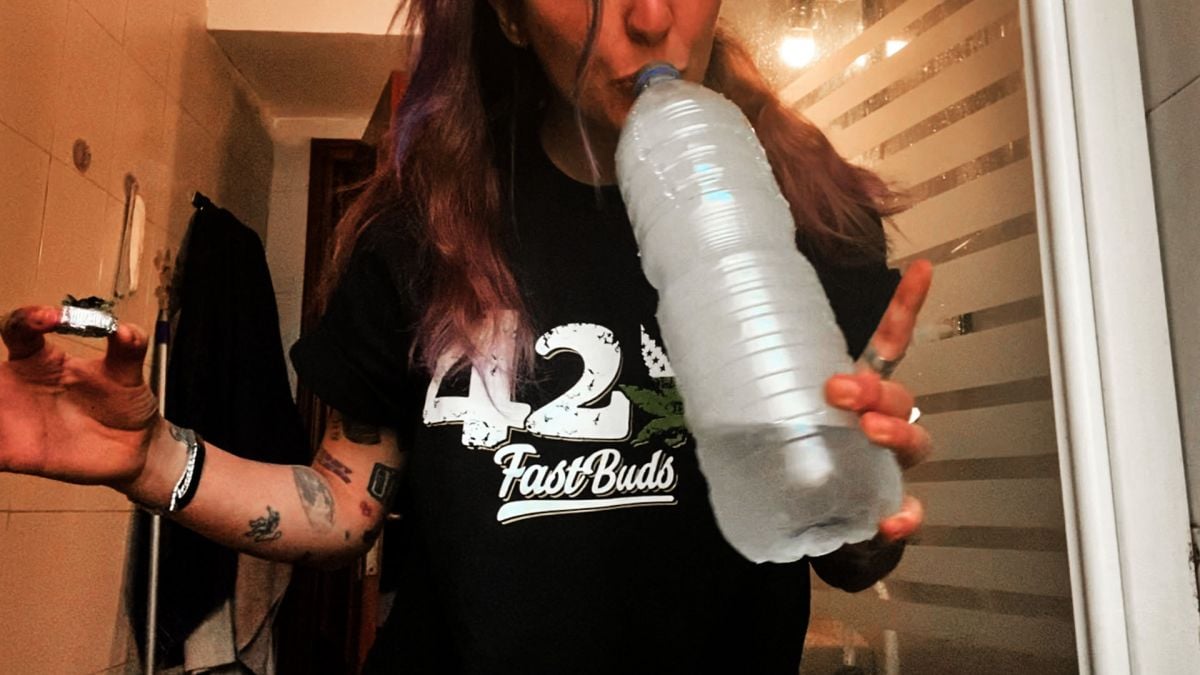
Unscrew the lid and smoke all that steam, and get ready for a nice trip! Voilá, you've just tested your own homemade waterfall bong!
Other Great Homemade Bong Options
So, there we go! A full guide on building a waterfall bong. If you've never had the chance to hoof down a big old bowl outta one of these, we can't recommend it more highly. But how about other ways to make a water pipe/bong/bubbler in your very own living room? Let's run through the most common homemade bong options and quickly talk about how to construct each one.
The Classic Gatorade Bong
This probably isn't the healthiest way to inhale your ganja, but it is definitely one of the most popular. It’s also a great starter project for anyone who has never tried their hand at building a bong before. To build this classic bong you will need:
- A Gatorade bottle
- Aluminum foil
- A 6-inch piece of garden hose for a downpipe
- A Lighter
- Something to poke a hole in the lid (a drill bit or something sharp)
- Scissors
- Tape, Blutac, or a candle
Instructions:
1. First up, you are going to make the two holes - one for the downpipe, and one for the carb. These need to be made on opposite sides of the bottle, with the downpipe hole being about 3 inches from the bottom of the bottle and the carb hole an inch or so above (but on the other side of the bottle).
2. To do this, we recommend using some sharp scissors to carefully poke a small hole in the bottle. You may need to use a twisting action to punch through the plastic, and once you have you want to keep twisting until the hole is about the size of a classic hole punch. Don't rush, otherwise, the scissors may slip and cut a slice in the bottle and wreck the whole thing.
3. Once the holes are made, grab your lighter. Carefully hold the hole for the downpipe just above the flame, and melt the hole so it starts to slowly get bigger. Again, don't rush this. If the whole gets too large it can be close to impossible to get a got airtight seal around the downpipe.
4. Once you think the hole is just smaller than the downpipe circumference, grab the pipe and shove it in while the plastic is still warm and malleable. This should create a perfect seal around the hose, and make the bong fully airtight. If there are any air leaks, use tape, blutac, or candle wax to seal them up.
5. Next, it's time to make the bowl. Grab your aluminum foil and rip off a 6 x 6-inch piece. Fold this over twice to create extra strength, and then use your pinky finger to mold the bowl into the downpipe. Use a pin to poke a few small holes so the smoke can enter the bong.
6. Don't worry if you don't have any aluminum foil handy, as there is actually a better way. Grab a soda or beer can and, with the scissors, cut out a 2 x 2-inch square. Next, cut a perfectly round circle out, using all of the 2 x 2-inch square. Next, cut a 'Pac Man' mouth out of the circle. Then all you have to do is twist this creation into a cone shape, snip the pointy end off to create a hole, and work the can bowl into the hose downpipe. This works better than aluminum foil as it creates a good air seal.
7. Fill that bad bi*** up with a few inches of water, and get smoking!
The Gravity Bong
The next option is to make a ‘gravity bong’. This style of waterpipe uses gravity to pull smoke down through the tube when you take a hit. You can set one up with any bottle or other container (plastic is best) that has a cap on top – either a two-liter soda bottle or any other kind of container that you can turn into a makeshift gravity bong. To make your gravity bong, cut the bottle all the way through near the bottom. Take the top off, make an aluminum foil bowl that fits perfectly into the mouth hole of the bottle, and poke a few small holes through with a needle or pin.
Then, you are going to need a bucket filled three-quarters full of water. place the bottle into the water so that only the upper third is left dry, pack the bowl full of your favorite Fast Buds strain, and slowly start lifting the bottle while lighting the bowl. The vacuum created will pull the smoke down into the bottle, and once you reach the top the container should be totally filled with delicious cannabis gloriousness. At this point, all you have to do is carefully lift the bowl off the mouthpiece and suck up all the smoke! Gravity bongs provide an extremely intense smoking experience, so make sure to use caution when taking your first hit!
5. Waterfall Bong FAQs
Is a waterfall bong the same as a gravity bong?
No, both waterfall and gravity bongs function in a similar way but they’re not the same. A waterfall bong refers to a bong with a hole at the bottom through which bong water flows out, causing a change in pressure. On the other hand, a gravity bong is pulled out of the water, creating a vacuum that causes smoke to flow into the smoke chamber. So basically, the difference is the way the water flows.
Can waterfall bongs get you higher?
Not necessarily but waterfall bongs usually have a bigger chamber so they can hold more smoke than regular bongs. On top of that, you’re absorbing all the smoke in one hit which helps get stronger effects. If you’re looking to get a stronger effect, make sure to buy good-quality flowers with at least 20-23% THC and a good amount of terpenes.
Are these types of bongs worth making?
It depends on your tolerance. If you’re a beginner, it’s not recommended to start with a waterfall bong as it’ll probably be too much for you but those with a medium or high tolerance should definitely try making one as it’s lots of fun, cheap, and very easy to make.
Is it safe to use water bottles to make a waterfall bong?
Most homemade bongs and other smoking devices are made with plastic bottles and plastic bottles contain polyethylene terephthalate (PET) which can release harmful chemicals when heated. When using bottles to make a bong, these chemicals can make their way into your lungs. Now, it’s still unknown how this can affect your health, this is why it’s highly recommended to go for glass or silicone bongs, just as a precaution. So if you’re planning on making your own waterfall bong at home, keep in mind it could have risks.
6. The Bottom Line
Get out of the way every now and then, don't stay in the comfortability of the usual joint or pipe, and do something nice for yourself, such as a homemade smoking device or edibles, repeat to yourself, you're great and you deserve making this bong. We know it can take some time to build these crazy stoner devices, but don't even try to tell us that you didn't have fun with it, because we're sure you did. Now you'll always have memories of that time you tried the waterfall bong with this or that friend and got oh so stoned. So c'mon! Time to get crafty and pull out your artisan skills. Don't forget to leave comments and photos of your creations!




Comments