










The Ultimate Guide to Growing Autoflowering Cannabis: A Comprehensive Step-by-Step Guide


- 1. Introduction
- 2. Choosing the right autoflowering cannabis seeds
- 3. Optimal growing conditions
- 3. a. Soil and nutrients for autoflowers
- 3. b. Optimal lighting for autoflowers
- 3. c. Watering autoflowers
- 3. d. Temperature and humidity
- 4. Germination and planting
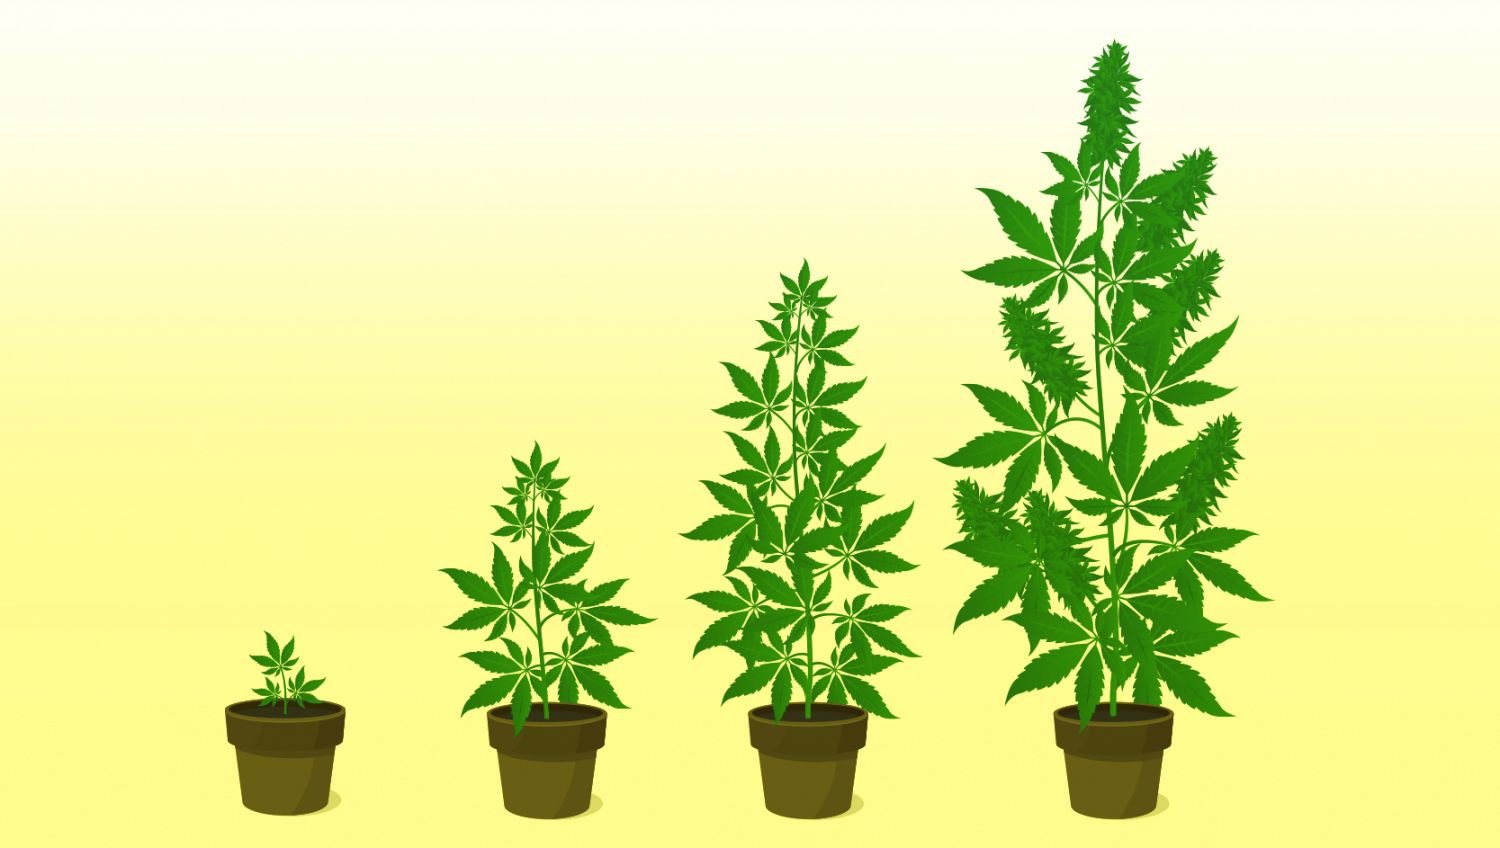
- 5. Vegetative and flowering stages
- 6. Harvesting, drying, and curing
- 7. Common problems and solutions
- 8. Additional tips for success
- 9. Advanced growing techniques
- 9. a. Plant training techniques
- 10. Harvesting techniques
- 11. Final thoughts
Introduction
Welcome to the ultimate guide for growing autoflowering cannabis. This comprehensive step-by-step guide will provide you with all the information you need to successfully cultivate autoflowering cannabis plants from seed to harvest in 2026. Whether you're a novice or an experienced grower, our expert tips and detailed explanations will ensure you produce a bountiful harvest with ease.
Choosing the Right Autoflowering Cannabis Seeds
Before you begin growing autoflowers, it's essential to choose the right seeds. With numerous strains available, it's important to consider factors such as flowering time, yield potential, and desired effects, and most importantly, how resilient and easy to grow the strain is. How easy a strain is to grow isn’t something every grower needs to prioritize, but for beginners, it’s extremely important, as resilient, easy-to-grow strains can make the difference between a successful and a failed harvest.
Strains such as our Lemon Tree Auto and Purple Lemonade Auto, for example, are not only resilient by nature but have also been developed through years of selective breeding, giving beginner growers an advantage.
Resilient strains can not only thrive in adverse conditions but also withstand common beginner mistakes.

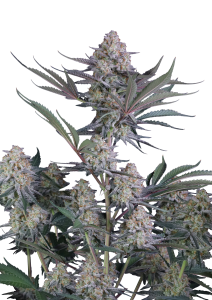
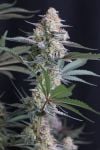
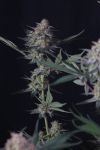
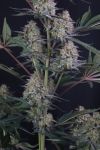
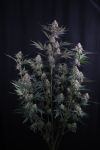
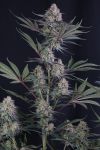
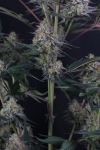
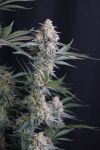
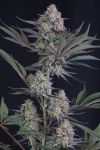
If finding the right strain for your first cultivation cycle is all you were looking for, go for either of the two mentioned above, and you’ll have an excellent experience. However, if you’re looking to learn more about the whys and hows, we’re here to help you make an informed decision, so consider the following aspects when selecting your seeds:
The Flowering Cycle of Autoflowers
Autoflowering strains typically complete their life cycle in 8-10 weeks. Some strains may finish earlier, while others take longer. This happens because plants may exhibit slightly different phenotypes in response to environmental conditions. That’s not to say that this is necessarily good or bad, but rather that plants grown in less-than-ideal conditions may struggle a bit more and take longer to develop.
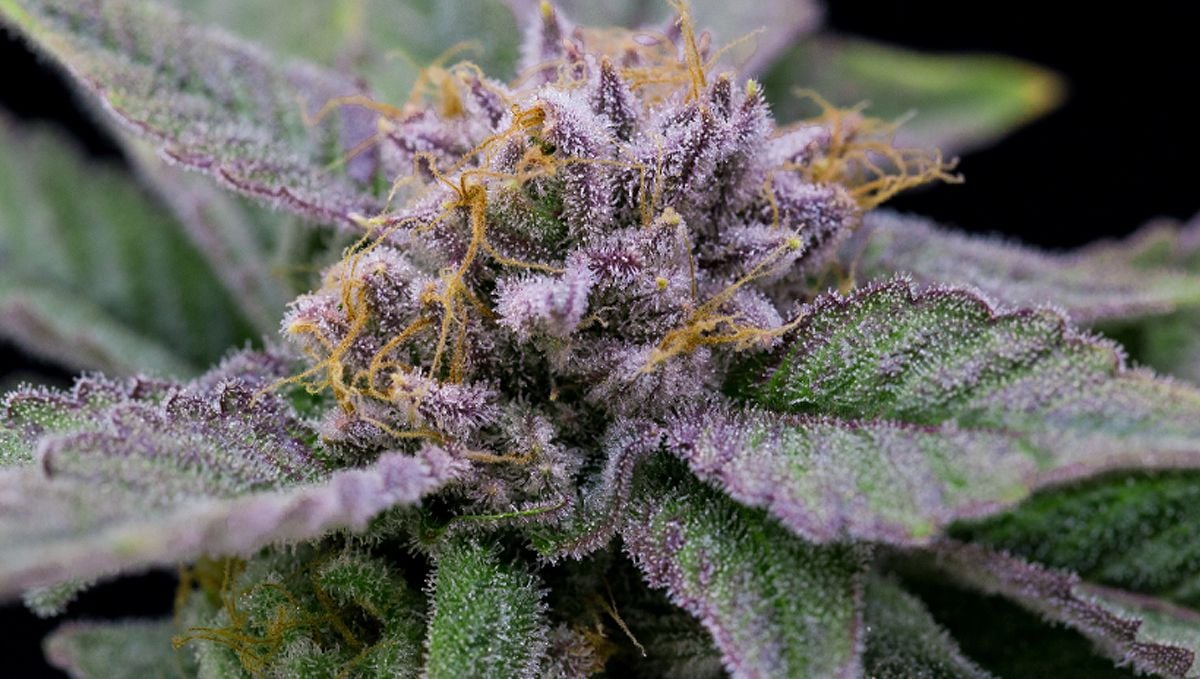
So when making your decision, be sure to choose a strain with a flowering time that suits your needs, preferences, and environmental conditions.
Autoflower Yield Potential
Yield potential is an important consideration for most growers and yields can vary greatly from auto to auto. No one wants to take care of a plant for three months only for it to yield 10 grams, but at the same time, no one wants to grow a plant that yields 1,000 grams of low-quality flower. So, try to find strains that suit your consumption needs while producing acceptable yields and maintaining the desired effects and potency. If in doubt, always choose quality over yields.
Desired Effects: terpenes and cannabinoids
Each strain offers unique effects, ranging from energizing and uplifting to relaxing and sedating. Research different strains and choose one that aligns with your personal preferences or medical needs. Remember that the effects of a strain come from the combination of cannabinoids, terpenes, and other chemical compounds found in cannabis. This is particularly useful to keep in mind because sometimes there isn’t enough information available about a strain’s effects, and the available information may not always be accurate. Since everyone is different and may experience the effects slightly differently, learning about the effects of individual terpenes and how they interact with cannabinoids such as THC and CBD can give you a better idea of what effects to expect.
Growing Difficulty: resiliency and hardiness
Some strains are more challenging to grow than others, and some strains are more resistant to pests and diseases than others. If you're a beginner, opt for strains that are easy to cultivate and can thrive in a wide range of different environments and, at the same time, are resistant to pests and diseases.
Optimal Growing Conditions
Creating the ideal environment for your autoflowering cannabis plants is crucial for a successful harvest. While autoflowers can withstand harsh conditions, the goal isn’t simply for the plant to survive but to thrive and produce the best quality possible. To achieve this, you need to provide the right conditions. The following sections will guide you through the essential factors to consider when setting up your grow space.
Soil and Nutrients for Autoflowers
When growing autoflowering cannabis, it's crucial to choose the right substrate and provide the necessary nutrients. Remember that most fertilizers are designed for photoperiods, so when feeding autoflowers, it’s essential to feed them at ½ dosage unless you’re using products made specifically for autoflowers. Consider the following guidelines when selecting your growing medium and nutrients:
Growing Medium: Soil
Choose a well-aerated, light, and fluffy substrate mix that allows for optimal root development. Look for mixes containing perlite, coco coir, soil, or peat moss, as these materials promote drainage and prevent root rot.
A great method for beginners growing autoflowers is to use a bag of lightly fertilized substrate and a bag of heavily fertilized substrate. Fill the bottom half of a 10 L pot with the heavily fertilized mix and the top half with the lightly fertilized mix. This way, there’s no need to provide additional nutrients—just plain, pH-adjusted water from start to finish.
Alternatively, if you prefer growing in a light mix, you can start feeding at half the recommended dosage during pre-flowering. Avoid feeding during the vegetative stage, as this may cause nutrient burn.
Feeding autos: Nutrients
Autoflowering plants require a balanced nutrient profile consisting of macronutrients (nitrogen, phosphorus, and potassium) and micronutrients (calcium, magnesium, iron, and others). Use nutrients designed for autoflowers to ensure your plants receive the right balance of nutrients throughout their life cycle. If you cannot find autoflower-specific nutrients, follow the feeding schedule provided by the nutrient manufacturer, but adjust it to half dosage since autoflowering strains generally require fewer nutrients than photoperiod strains.
Optimal Lighting for autoflowers
Lighting plays a crucial role in the growth and bud development of autoflowering cannabis plants. Consider the following guidelines when selecting and setting up your lighting system:
The Light Spectrum
Autoflowering plants thrive under a full spectrum of light, which mimics natural sunlight. High-quality LED grow lights are recommended, as they provide the full spectrum of light and are energy-efficient. You can grow under fluorescent bulbs or HPS/CMH bulbs, but nowadays high-intensity, full-spectrum LEDs provide the best bang for your buck.
The Light Schedule
Autoflowering plants do not rely on specific light cycles to initiate flowering, unlike photoperiod strains. Therefore, they can be exposed to a constant light schedule of 18-24 hours of light per day throughout their life cycle.
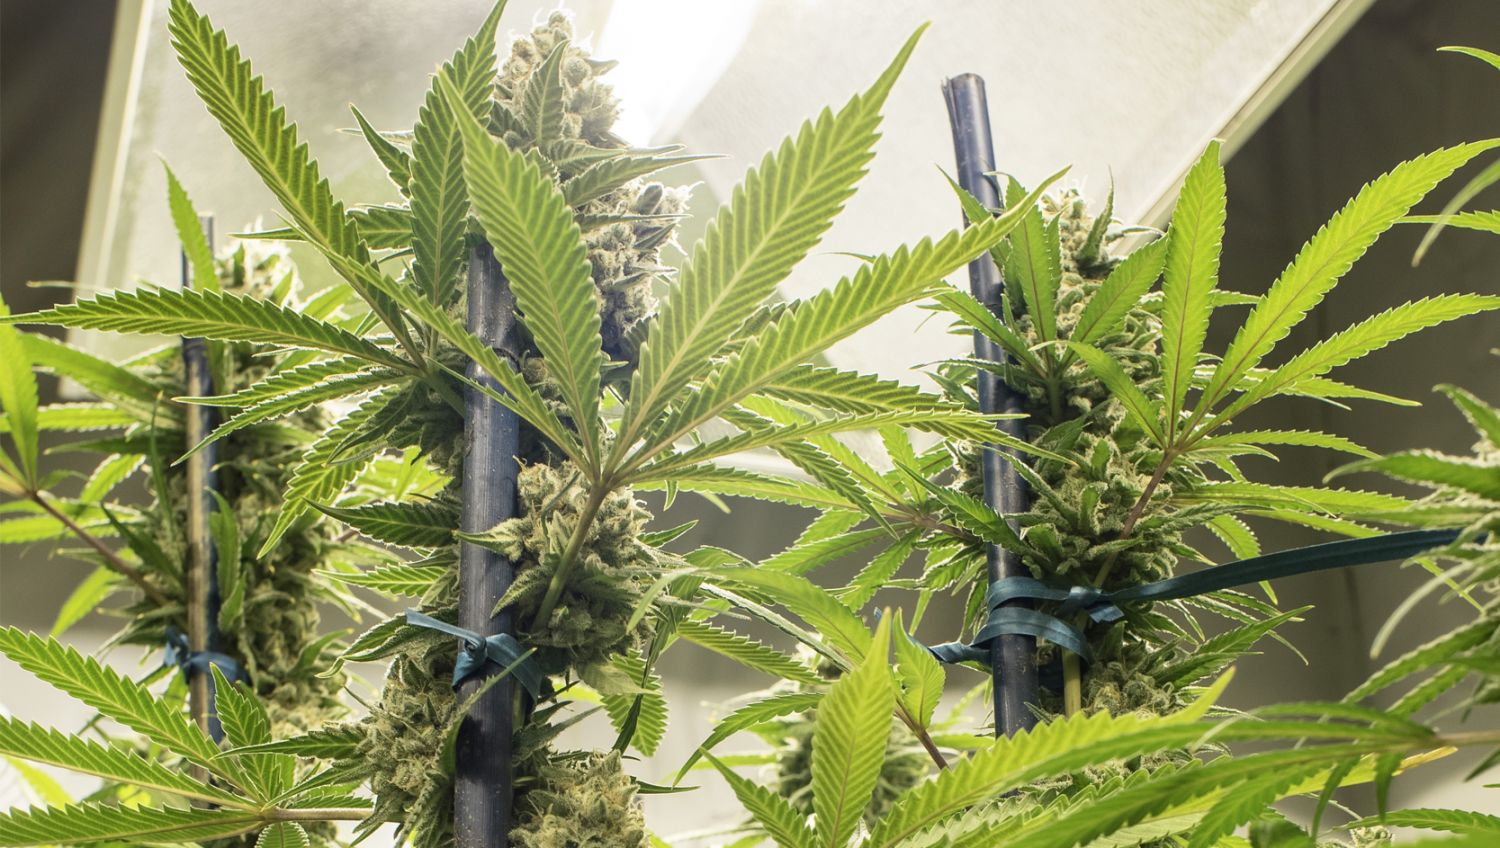
Generally, providing an 18/6 light cycle provides the best result. You can adjust the light cycle based on the season; that is, during cold winters, run the light cycle at 20/4 to keep the plants warmer, and a 16/8 light cycle, for example, during summer to keep temperatures down as much as possible. A light cycle of 24 hours of uninterrupted light is not always recommended, as darkness allows for some energy conservation and plant rest.
The Light Intensity
Ensure your plants receive adequate light intensity by adjusting the distance between the light source and the plant canopy, or by dimming down or up the light intensity.
An overly high light intensity can cause light stress and bleaching, while insufficient intensity can lead to slow growth and weak plants. Follow the manufacturer's guidelines for optimal light height and adjust as needed throughout the grow. If you wanna be 100% sure your plants are getting exactly what they need, use a PAR meter to measure PPFD and adjust as necessary based on the chart below.
Watering Autoflowers
Proper watering is essential for healthy autoflowering cannabis plants. Over-watering can lead to root rot, while under-watering can cause nutrient deficiencies and slow growth. Keep the following tips in mind when watering your plants:
Watering Frequency
The general rule is to water your plants when the top inch of the soil is dry to the touch. However, this method is not to be trusted blindly since the top of the soil usually dries much faster than the bottom.
The frequency of watering will depend on factors such as pot size, plant size, and environmental conditions. Be prepared to adjust your watering schedule as your plants grow and develop. If in doubt, use a soil moisture meter or lift the pot to feel its weight and figure out how dry or wet the soil is.
The Different Watering Methods
Water your plants slowly and evenly, allowing the water to be absorbed by the soil and reach the roots. Avoid overwatering; that is, watering too often and before the soil dries out. This can lead to waterlogged soil and root rot. Instead, aim to keep the soil consistently moist but not soggy.
Keep in mind that overly dry soil can also be an issue, as it may become hydrophobic and have difficulty absorbing water. In cases like this, it’s ideal to use products such as yucca extract, which contains saponins that keep the substrate from becoming hydrophobic and help absorb water more effectively.
Temperature and Humidity
Maintaining optimal temperature and humidity levels is crucial for the health and productivity of your autoflowering cannabis plants.
Follow the chart below to create the ideal environment for your plants:
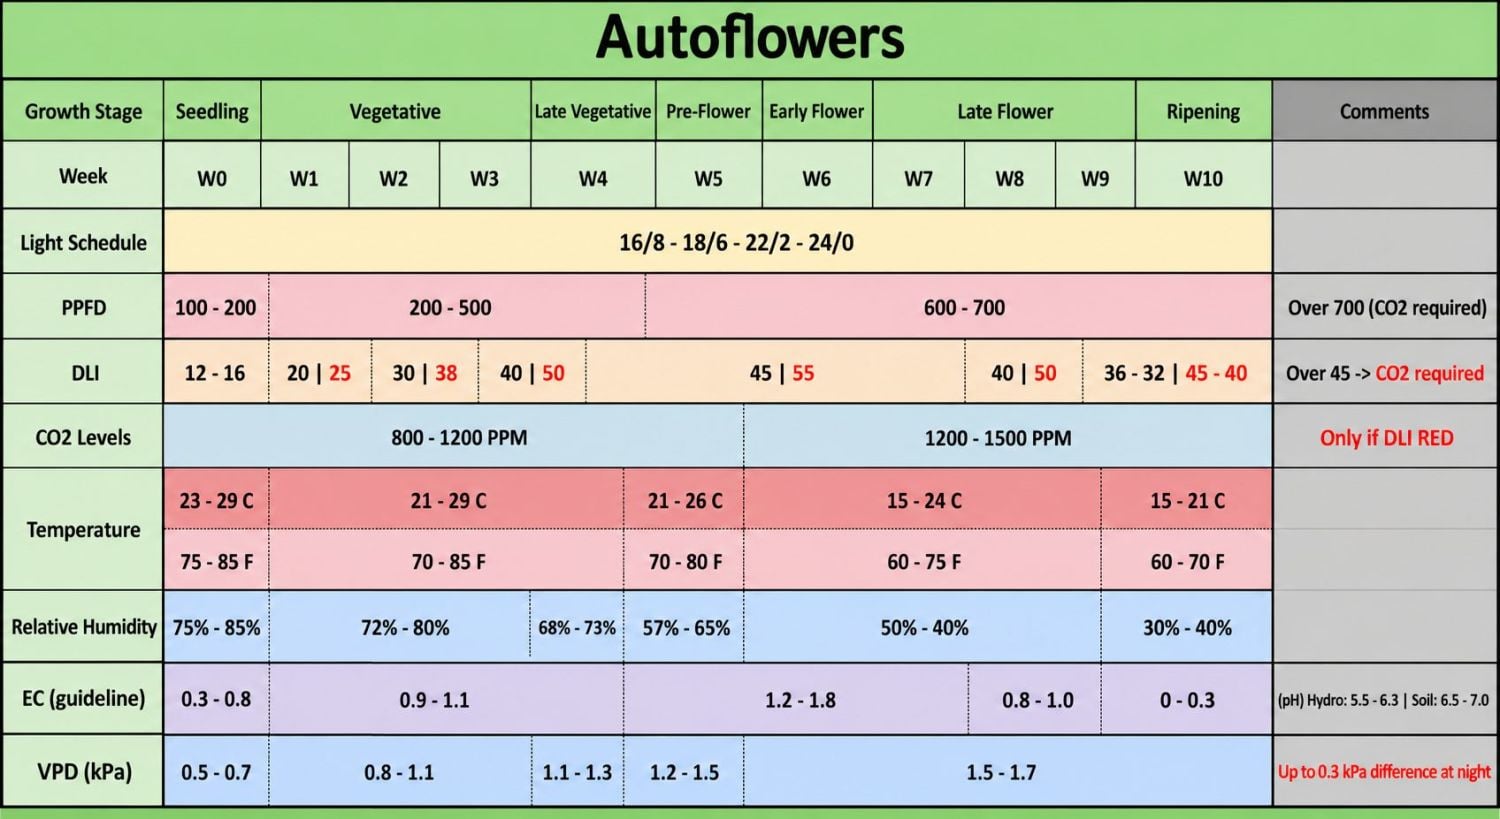
Ideal Temperatures for Autoflowers
Generally speaking, autoflowering cannabis plants thrive in temperatures between 59-77°F (15-25°C). Ensure that your grow space maintains a consistent temperature within this range for optimal growth and development. However, for optimal results, the range shouldn’t be as wide, as each stage of plant growth requires a specific temperature and relative humidity range. For the vegetative stage, aim for 21 - 29 Celsius (70 - 85 Fahrenheit), and for the flowering stage, aim for 15 - 24 Celsius (60 - 75 Fahrenheit).
Be cautious of extreme temperature fluctuations, as they can stress your plants and negatively impact their growth.
Ideal Humidity levels for Autoflowers
Maintain relative humidity levels under control throughout the entire grow cycle to prevent issues with diseases. During the seedling stage, higher humidity levels of around 80% can be beneficial, while lower humidity levels of 60 - 70% are recommended during the vegetative stage, and 40 - 50% during the flowering stage to prevent mold and mildew.
Germination and Planting
To successfully grow autoflowering or any type of cannabis plant, you must first germinate your seeds and plant them properly. Follow these steps to ensure a successful start to your grow:
Germination Methods
There are several methods to germinate cannabis seeds, including the paper towel method, soaking in water, and direct planting. Choose the method that works best for you and follow these guidelines:
Paper Towel Method
Start by moistening a paper towel and wringing out any excess water. Place your seeds on the paper towel, spacing them evenly, then fold the paper towel over them to create a moist environment for germination. Place the folded paper towel inside a plastic bag or container, leaving it slightly open to allow for air exchange. Keep it in a warm, dark place at a temperature between 70–80°F (21–27°C). Check your seeds daily for signs of germination, which usually occurs within 24–72 hours. Once the taproot emerges, the seeds are ready to be planted.
Soaking in Water
Start by filling a glass or container with lukewarm water. Place your seeds in the water, making sure they are fully submerged, and allow them to soak for 12–24 hours in a warm, dark place at a temperature between 70–80°F (21–27°C). Once the taproot emerges, the seeds are ready to be planted.
Direct Planting
Start by filling your pots with the chosen soil mix, leaving about an inch of space at the top. Make a small hole, approximately 0.5 inches (1.3 cm) deep, in the center of the soil. Place the seed in the hole with the taproot facing down if it was germinated using another method. Gently cover the seed with soil and lightly press it down to ensure proper contact.
Planting and Initial Care
After germinating your seeds, it's time to plant them and provide the necessary care for a strong start. Water the planted seeds gently, making sure the soil remains moist but not waterlogged. Maintain a consistent temperature of 69–84°F (21–29°C) and a relative humidity level of 70–80%. Position your grow lights 18–24 inches above the seedlings, or aim for 100–200 PPFD to avoid light stress, adjusting the distance as the plants grow. Monitor your seedlings daily for signs of growth, nutrient deficiencies, pests, or diseases, and address any issues promptly.
Vegetative and Flowering Stages
As your autoflowering cannabis plants grow, they will transition through the vegetative and flowering stages. During these stages, your plants require different care and attention to ensure a successful harvest:
The Vegetative Stage
The vegetative stage is characterized by rapid growth and the development of leaves, stems, and branches. To support this growth, provide 18–20 hours of light per day, maintaining a consistent light schedule throughout this stage. Keep the temperature between 68–77°F (20–25°C) and relative humidity between 40–60%. Monitor your plants for signs of nutrient deficiencies and adjust your feeding schedule as needed. You can also train your plants using low-stress training techniques, such as LST (the tie-down method) or SCROG, to promote an even canopy and maximize light penetration.
The Flowering Stage
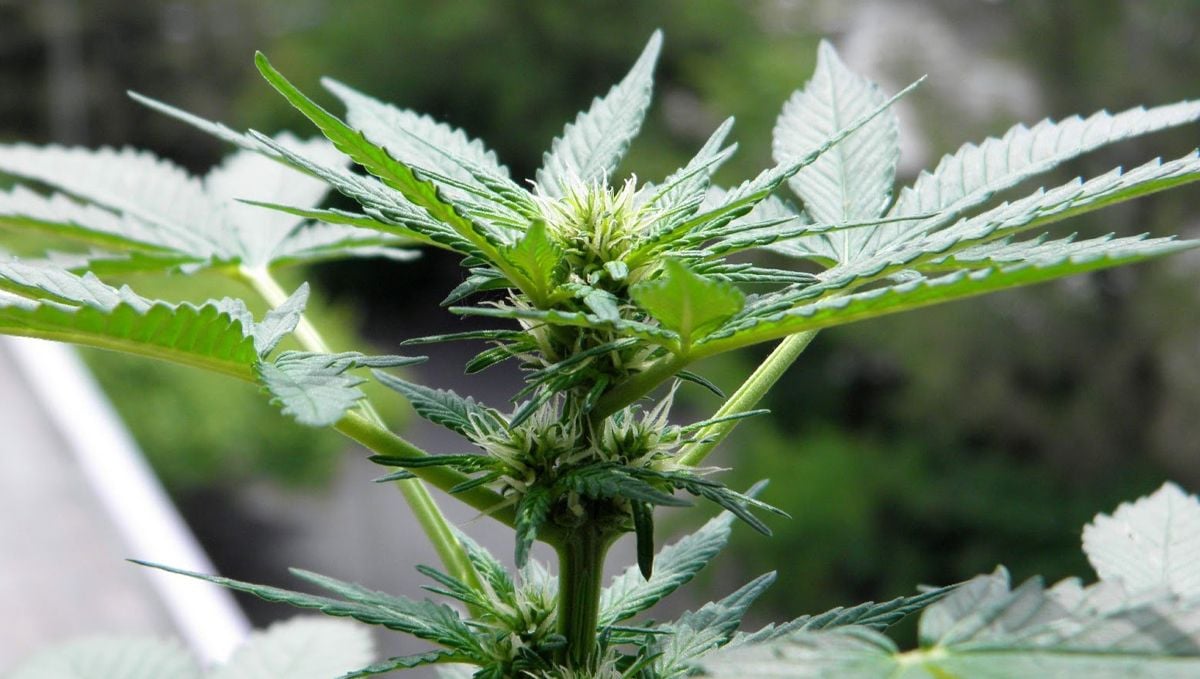
The flowering stage begins when your autoflowering plants start producing buds and continues until harvest. To ensure optimal bud development, continue providing 18–20 hours of light per day while maintaining a consistent light schedule. Keep the temperature between 59–69°F (15–21°C) and relative humidity between 40–50%. Switch to bloom-specific nutrients, which are higher in phosphorus and potassium, to support bud development. Avoid high-stress training techniques during the flowering stage, as they can negatively affect bud development and overall yield. Finally, monitor your plants regularly for signs of pests or diseases and address any issues promptly to protect your buds.
Harvesting, Drying, and Curing
Once your autoflowering cannabis plants have reached maturity, it's time to harvest, dry, and cure your buds. Following the proper techniques will ensure the best possible quality, potency, and flavor of your final product.
Harvest Timing
Determining the optimal time to harvest your plants is crucial for maximizing potency and yield. Look for the following signs to determine when your plants are ready for harvest:
- Pistil color: Harvest when 70-90% of the pistils have changed from white to brown or red.
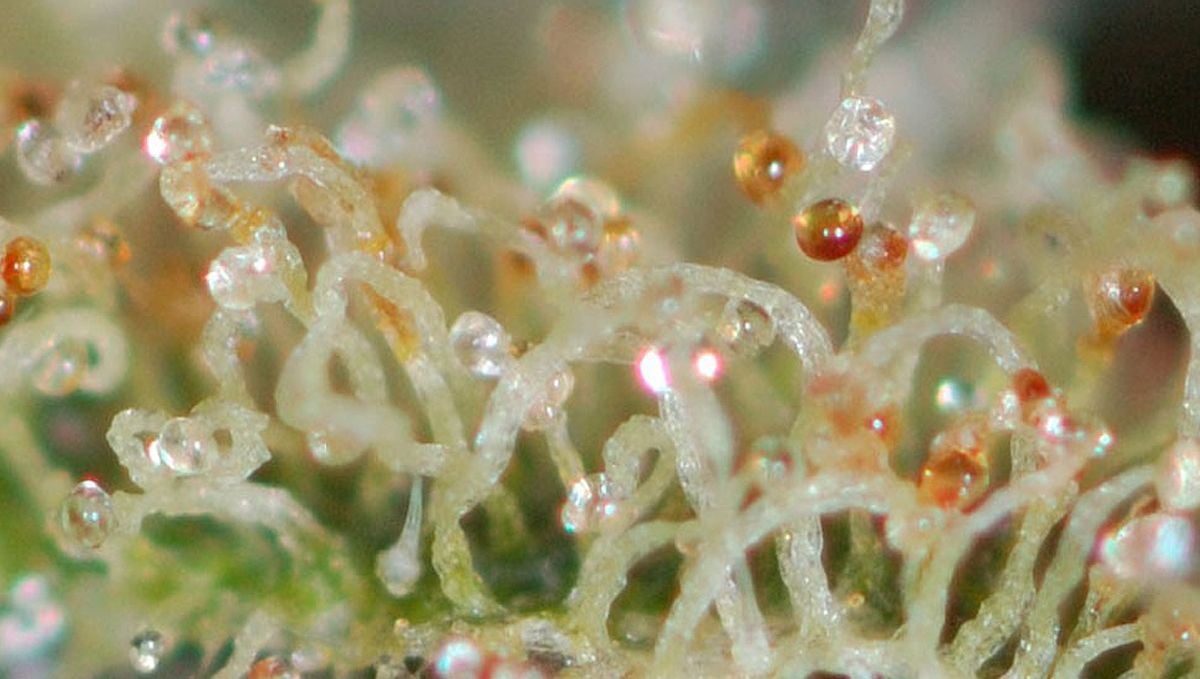
- Trichome color: Using a magnifying glass or microscope, examine the trichomes on your buds. Harvest when most trichomes have turned from clear to milky white, with some turning amber.
Harvesting
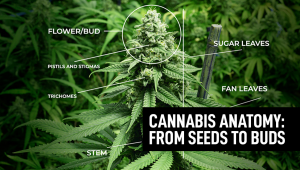
To harvest your cannabis plants, use sharp, clean scissors or pruning shears to cut the branches from the main stem. Next, remove the large fan leaves from the branches. Finally, trim the sugar leaves either before or after drying, depending on your preference and drying conditions.
Drying
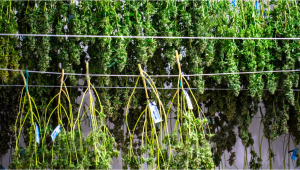
Proper drying is essential for preserving the quality and flavor of your cannabis buds. Go ahead and hang the trimmed branches in a dark, well-ventilated room with a temperature of 60-70°F (15-21°C) and a relative humidity of 55-60%. Allow your buds to dry for 7-14 days, depending on the size of the buds and environmental conditions. Monitor the drying process daily, checking for signs of mold or mildew. Your buds are ready for curing when the stems snap rather than bend when bent.
Curing
Curing your cannabis buds further enhances their flavor, potency, and overall quality. To cure your harvest, start by removing the buds from the branches and placing them in airtight containers, such as glass jars or plastic containers. Fill each container about ¾ full to leave enough room for air circulation. Store the containers in a cool, dark place at a temperature of 60–70°F (15–21°C), aiming to maintain a relative humidity of 58–62% inside the container. Place a small hygrometer inside to monitor humidity levels, and open the containers daily during the first two weeks to allow fresh air in and excess moisture to escape whenever the relative humidity rises above 62%. Repeat this process until the humidity inside the containers remains consistently within the 58–62% range. Continue curing the buds for at least 2–4 weeks; for optimal results, allow them to cure for 6–8 weeks or longer.
Common Problems and Solutions
Growing autoflowering cannabis plants, just like any other type of plant, can sometimes present challenges. This section will help you identify and address common issues that may arise during your grow.
Nutrient Deficiencies and Toxicities
Nutrient deficiencies and toxicities can cause various symptoms, such as yellowing leaves, stunted growth, and poor bud development. To address these issues, monitor your plants closely and adjust your feeding schedule and nutrient concentrations as needed. Use a pH meter to check the pH of your water and nutrient solution, ensuring it falls within the optimal range for cannabis (5.5-6.3 for hydroponic systems and 6.5-7.0 for soil). If necessary, use pH up or down products to adjust the pH levels.
Pests and Diseases
Pests and diseases can damage your autoflowering cannabis plants and reduce your yield. Some common pests include spider mites, aphids, and whiteflies, while common diseases include powdery mildew and bud rot. To prevent and treat these issues, maintain a clean grow space by regularly removing dead plant material and debris. Monitor your plants daily for signs of pests and diseases, and implement preventative measures to help keep pests at bay. If you notice an infestation or disease, address it promptly using an appropriate targeted treatment. Additionally, avoid overwatering and maintain proper humidity levels to reduce the risk of mold and mildew.
Environmental Stress
Environmental stress, such as extreme temperatures, fluctuating humidity, and inadequate light, can negatively impact the growth and yield of your autoflowering cannabis plants. To minimize environmental stress, maintain optimal temperature and humidity levels in your grow space, adjusting them according to each stage of plant growth. Provide a consistent light schedule and appropriate light intensity throughout the growing cycle. Monitor environmental conditions regularly and make adjustments as needed to ensure a stable growing environment. Additionally, avoid excessive light intensity or prolonged exposure to heat, as these can cause light stress and bleaching.
Additional Tips for Success
To further enhance your autoflowering cannabis grow, consider implementing the following tips and techniques:
Select High-Quality Genetics
Choose reputable seed banks and high-quality autoflowering cannabis strains to ensure a successful grow. Select strains with desirable traits, such as high yields, THC or CBD content, terpene profile, and high resiliency.
Optimize Your Grow Space
Create an efficient and organized grow space to facilitate a smooth grow. Ensure proper ventilation, temperature, and humidity control to maintain a stable growing environment. Choose suitable grow lights, such as LEDs or HPS/MH lights, to provide sufficient light intensity and spectrum for your plants.
Use Quality Soil and Nutrients
Invest in quality soil or growing medium, as well as cannabis-specific nutrients, to provide your plants with the necessary nutrients for optimal growth. Regularly monitor and adjust nutrient concentrations and pH levels to ensure your plants receive the right nutrients at the right time.
Monitor and Adjust
Regularly monitor your plants and growing environment, adjusting your environmental conditions through each stage and based on how your plants react. Always be prepared to address issues, such as pests, diseases, or environmental stress, to protect your plants and maximize your yield.
Be prepared to address issues, such as pests, diseases, or environmental stress, to protect your plants and maximize your yield.
Educate Yourself
Continuously seek knowledge and stay informed about best practices, new techniques, and industry trends to improve your growing skills. Join online forums, read articles, and engage with other growers to expand your knowledge and enhance your autoflowering cannabis grow.
Make sure to check forums for additional tips and strategies for a successful autoflowering cannabis grow. By implementing these tips, you can further optimize your grow and achieve the best possible results.
Advanced Growing Techniques
Implementing advanced growing techniques can help maximize the potential of your autoflowering cannabis plants. These methods can improve yield, potency, and overall plant health. Here are some advanced techniques to consider:
Plant Training Techniques
Training techniques can increase light penetration and create an even canopy, leading to more consistent growth and improved yields. Some popular training techniques include:
Low-Stress Training (LST)
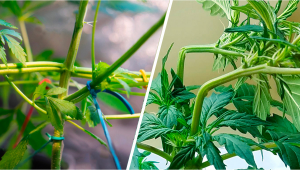
Low-Stress Training involves gently bending and securing branches to promote horizontal growth and create an even canopy. This method increases light penetration and can improve yields without causing significant stress to the plant.
Screen of Green (SCROG)
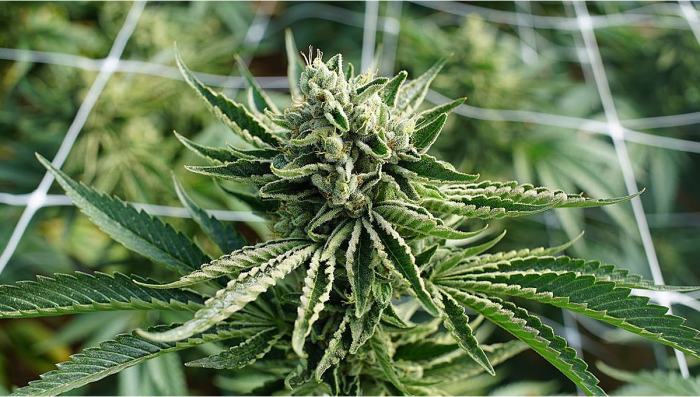
The Screen of Green technique involves placing a horizontal screen above the plants and weaving their branches through the screen as they grow. This creates an even canopy, allowing for better light distribution and potentially increasing yields.
Topping and Fimming
Topping and Fimming are high-stress training techniques that involve cutting the main stem or top of the plant to encourage lateral growth and bushier plants. While these methods can be effective, they may also cause significant stress to autoflowering plants and are not recommended for inexperienced growers.
CO2 Supplementation
Adding supplemental CO2 to your grow space can enhance plant growth and increase yields as long as you’re able to provide +1000 PPFD. To effectively supplement CO2, make sure to maintain CO2 levels between 1,200-1,500 ppm during the vegetative and flowering stages. Also, ensure proper ventilation and air exchange to prevent CO2 buildup.
Supplemental Lighting
Supplemental lighting, such as side lighting or under canopy lighting, can improve light distribution and penetration, potentially increasing yields. Some options to consider include:
1. Side lighting: Position additional lights on the sides of your plants to supplement the main light source and improve light penetration.
2. Under Canopy: Install these lights at around 30- 45 cm from the floor to distribute light from below, resulting in more even lighting and preventing popcorn buds.
Harvesting Techniques
Implementing proper harvesting techniques can help preserve the quality and potency of your cannabis buds.
Here are some harvesting techniques to consider:
Staggered Harvest
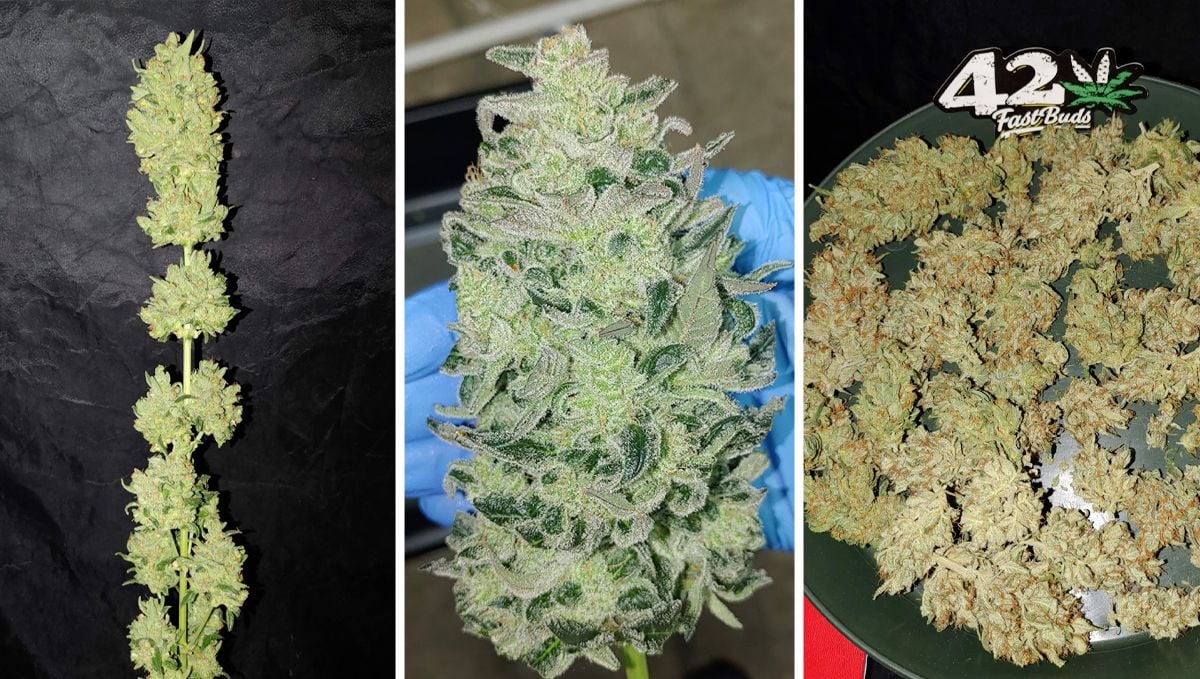
A staggered harvest involves harvesting the top buds first, allowing the lower buds to continue maturing and receive more light. This technique can improve overall yields and potency since you’re harvesting buds when they’re ready rather than all at once, which can result in underdeveloped buds being harvested too early.
Flushing
Flushing your plants by providing plain water without nutrients for 1-2 weeks before harvest can help remove excess nutrients and improve the taste and smoothness of your final product.
Dark Period
While this is a myth, leaving your plants with a prolonged dark period (24-48 hours) in complete darkness for 24- 48 hours before harvest can give you enough time to set everything up and make sure the drying space is clean and ready for use.
Final Thoughts
Growing autoflowering cannabis plants can be a rewarding and enjoyable experience, resulting in potent and high-quality buds. By following the guidelines outlined in this article, you can successfully grow autoflowering cannabis plants from seed to harvest. Pay close attention to your plant's needs, adjust your care practices as necessary, and enjoy the fruits of your labor. The above mermaid diagram outlines the key stages of growing autoflowering cannabis plants. By understanding and mastering each stage, you can optimize your grow and produce a bountiful harvest of high-quality cannabis buds. Happy growing!
FAQ
Autoflowering cannabis is a type of cannabis that begins flowering primarily according to its age rather than depending on a specific change in the daily light cycle. This trait is associated with Cannabis ruderalis genetics. Photoperiod varieties, by comparison, generally require changes in the duration of light and darkness to initiate flowering.
Autoflowers are known for completing their life cycle relatively quickly, but the exact duration varies considerably by genetics and environmental conditions. Generally speaking, most autoflowers will be ready for harvest in 8 to 10 weeks.
The main advantage is the ability to grow outdoors, independent of the season.
There isn't one universally ideal container size since autoflowers vary in size. The appropriate choice depends on the cultivar, available space, growing medium, irrigation method, and desired plant size. In any case, go for at least 7 to 10L pots for smaller strains and 12 to 15L pots for bigger strains.
Light requirements change as a plant develops, and more light is not automatically better. Autoflowers require a PPFD within the 200 - 500 range during the vegetative stage, and 600-700 during pre-flower and flower.
Autoflowers can be started in solo cups and transplanted before the first pair of three-fingered leaves fully develops. This means that, yes, they can technically be transplanted; however, it’s not recommended to disturb the roots by transplanting after this stage.
The most common problem is overfeeding. Always feed autoflowers at ½ dosage, and if starting in pre-fertilized soil, start feeding only on pre-flower.
Prevention begins with good hygiene. Keeping the growing area clean, inspecting plants regularly, maintaining appropriate environmental conditions, and avoiding contaminated plant material can all help reduce the risk of pests and disease. For an extra layer of protection, some growers use foliar sprays containing neem oil, peppermint oil, or other pest-control products as part of a regular preventive routine.
Post-harvest handling can significantly influence the effects, aromas, and flavors of harvested plant material. Once potency and aroma are lost, there’s no way to get them back. From the moment the buds are harvested, trichomes begin to degrade, putting you in a race against time to properly dry, cure, and store your harvest before its quality begins to decline.
There are many factors to consider, but two of the most important are environmental conditions and genetics. Great conditions can help plants reach their genetic potential, but they can’t turn poor genetics into exceptional genetics. Likewise, even the best genetics won’t perform to their full potential under poor growing conditions. Ultimately, top-quality results require both strong genetics and the right environment.


Comments