










Your First Grow Setup - How to Get Started Growing Autoflowering Cannabis

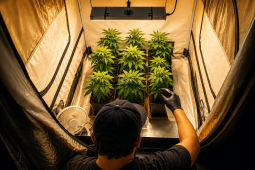
- 1. Growing autoflowers outdoors
- 1. a. Outdoors light source: the sun
- 1. b. Watering cannabis plants
- 2. Growing autoflowers indoors
- 2. a. The grow space
- 2. b. Lighting for indoor autoflowers
- 2. c. Analog or digital timer
- 2. d. Exhaust fan and carbon filter
- 2. e. Watering cannabis indoors
- 2. f. Different types of growing medium
- 2. g. Feeding autoflowers indoors
So it's 2026 and you're ready to start growing your own autoflowers, but you're not sure where to start. Searching on the internet seems to lead to an endless variety of choices regarding how, when, and where to grow your weed. You come away from your research more confused than when you started, but growing marijuana doesn't have to be that difficult or complicated. Stick to the basics, don't overthink it, and you can quickly grow massive autoflowering beasts with a minimum investment of both time and money. We'll start with the easiest way to grow ganja, outdoors, and then detail what you need to begin cultivating indoors.
1. Growing Autoflowers Outdoors
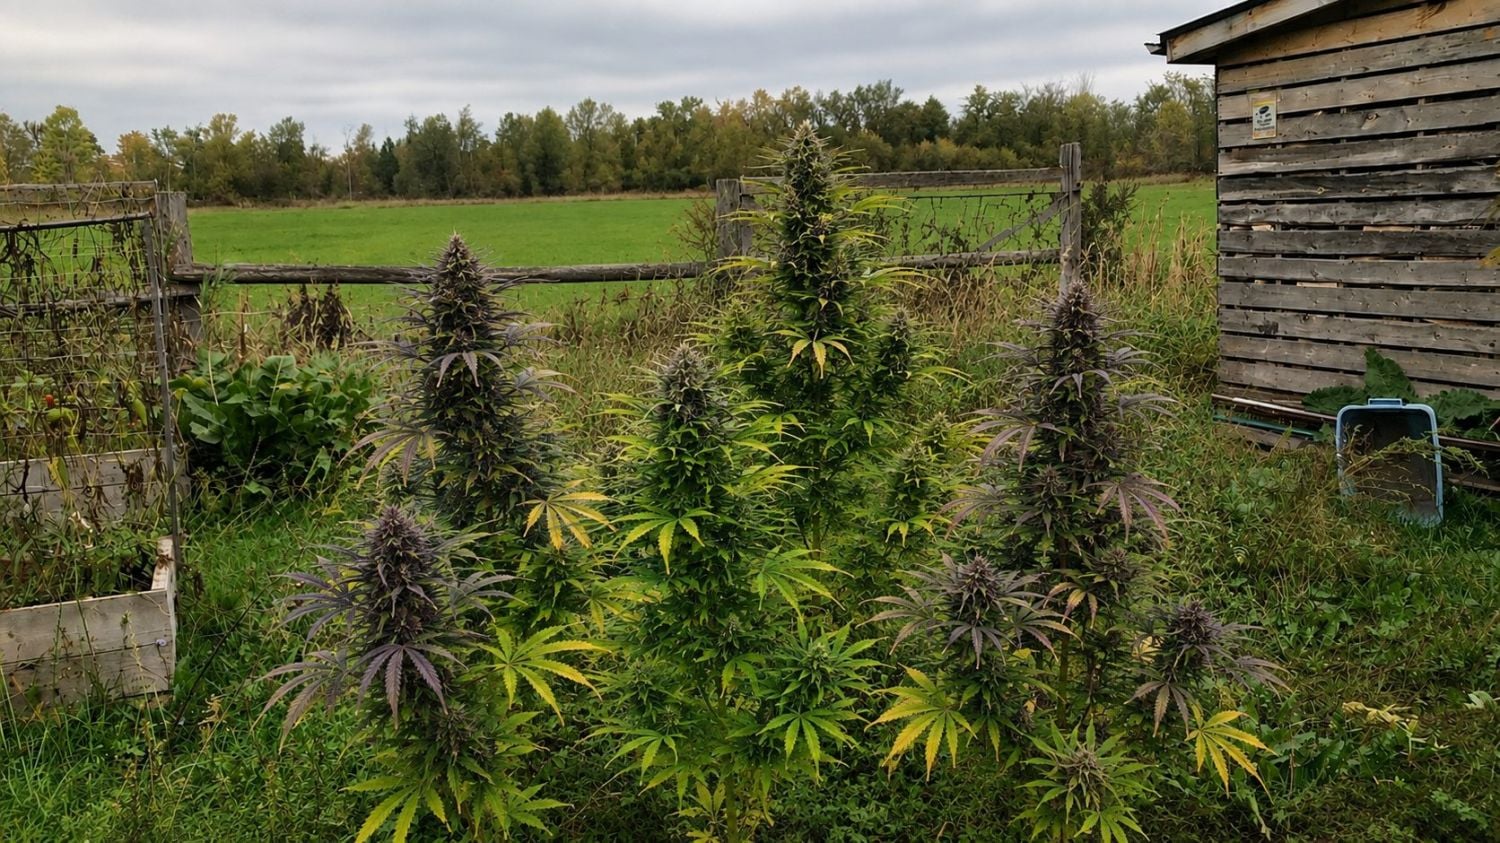
A cannabis seed is a machine that turns sunlight, dirt, and water into weed, and all three of those things are free or close to free if you plan on cultivating outdoors.
Outdoors Light Source: The Sun
Your plants should ideally receive a minimum of 6 - 8 hours of direct sunlight, but more certainly won't hurt them, as cannabis plants grown indoors get anywhere from 18 to 24 hours of uninterrupted full-spectrum light. There's no such thing as too much light when growing outdoors. Plant in a place where the morning and midday sun will shine directly on them. Of course, depending on your location you may need to balance direct sunlight with discretion. Fast Buds autoflowers grow well outdoors, whether it's in a greenhouse, backyard, apartment balconies or terraces, but not everyone lives in a place where you can display their hard work in plain view. Please stay safe and respectful of local laws and customs. If you have to sacrifice an hour or two of sunlight to protect your plant, or yourself, do it! Don't forget to check out the Top 10 Best Outdoor Cannabis Strains of 2026.
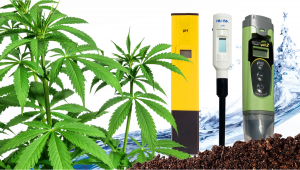
Watering Cannabis Plants
The water needs of your cannabis plants will change based on your location. In tropical, high-humidity conditions, you may need to water less frequently and use less water to prevent issues caused by overwatering. On the other hand, in drier climates, you will need to water your plants more regularly and use a greater amount of water.
One thing you need to keep in mind is that the pH of the water that you are feeding your plants is very important. No matter how nutrient-dense the soil (or whatever growing medium you are using) is, these nutrients only become available to a cannabis plant when supplied with water in the correct pH range. This ensures the root zone pH is correct, which allows for the uptake of nutrients
Ok, what is the correct pH range then?
Well, that all depends on if you are growing in soil, coco coir, or with a pure hydroponic setup. If you are reading this article, then chances are that you are looking to start cultivating for the first time, in which case we recommend growing in soil or coco-coir and leaving a full hydroponic grow for later in your journey. When using a soil-based substrate, it’s best to supply feed water with a pH of 6.0 to 7.0. With coco-coir, a range of between 5.5 and 6.5 is what is required, and this is the same for hydroponic growing techniques.
When growing cannabis, it’s important to test not only the water that goes in, but also the water that goes out, that is, the runoff. This allows you to get a good understanding of what the pH level is at the root zone. A pH meter will work perfectly and, depending on the make and model, will also allow you to measure the temperature and EC levels of the water you are supplying to your crop.
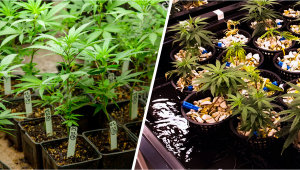
Soil is actually the medium we most commonly recommend for first-time growers because it acts as a buffer, making it extremely simple and forgiving to work with and giving beginners an advantage when mistakes occur.
2. Growing Autoflowers Indoors
Growing indoors takes more forethought and effort as you need to provide everything for your plants in place of mother nature. That means you'll need a dedicated spot in your home, a light source, water, an electrical timer, a carbon filter, and a fan. Don't miss our Top 10 Best Cannabis Seeds for Beginners of 2026.
The Grow Space
Most indoor growers have light-proof tents in which to grow their plants. This allows them to control light, humidity, temperature, and more without changing them in the rest of their home. Small grow tents, perfect for one or two autoflower plants, can be found online for under 60 Euros.
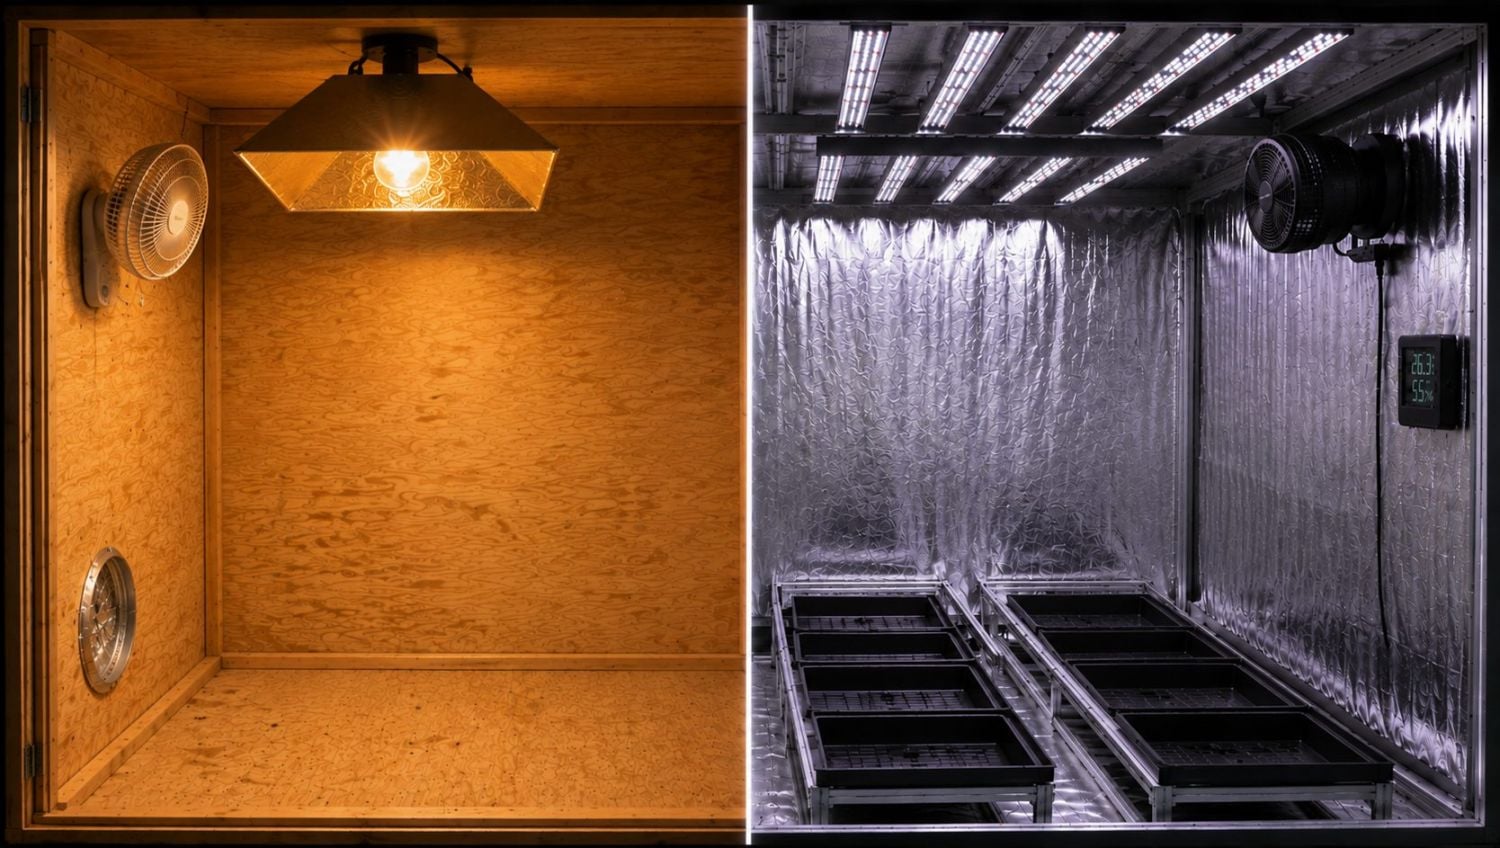
If a tent in your home is too conspicuous, you can always follow the great American college dorm room tradition and grow in a discreet closet. Alternatively, you can build your own stealth grow chamber and disguise it as you see fit. Is your home already filled with computer parts? Then a PC-tower grow box might blend right in. Work or know someone who works in a kitchen? You can build an easy-to-hide "spacebucket" from 5-gallon or 20-liter buckets commonly used in commercial kitchens. And last but not least, you can always make your DIY grow tent with plywood, among other materials.
Lighting for Indoor Autoflowers
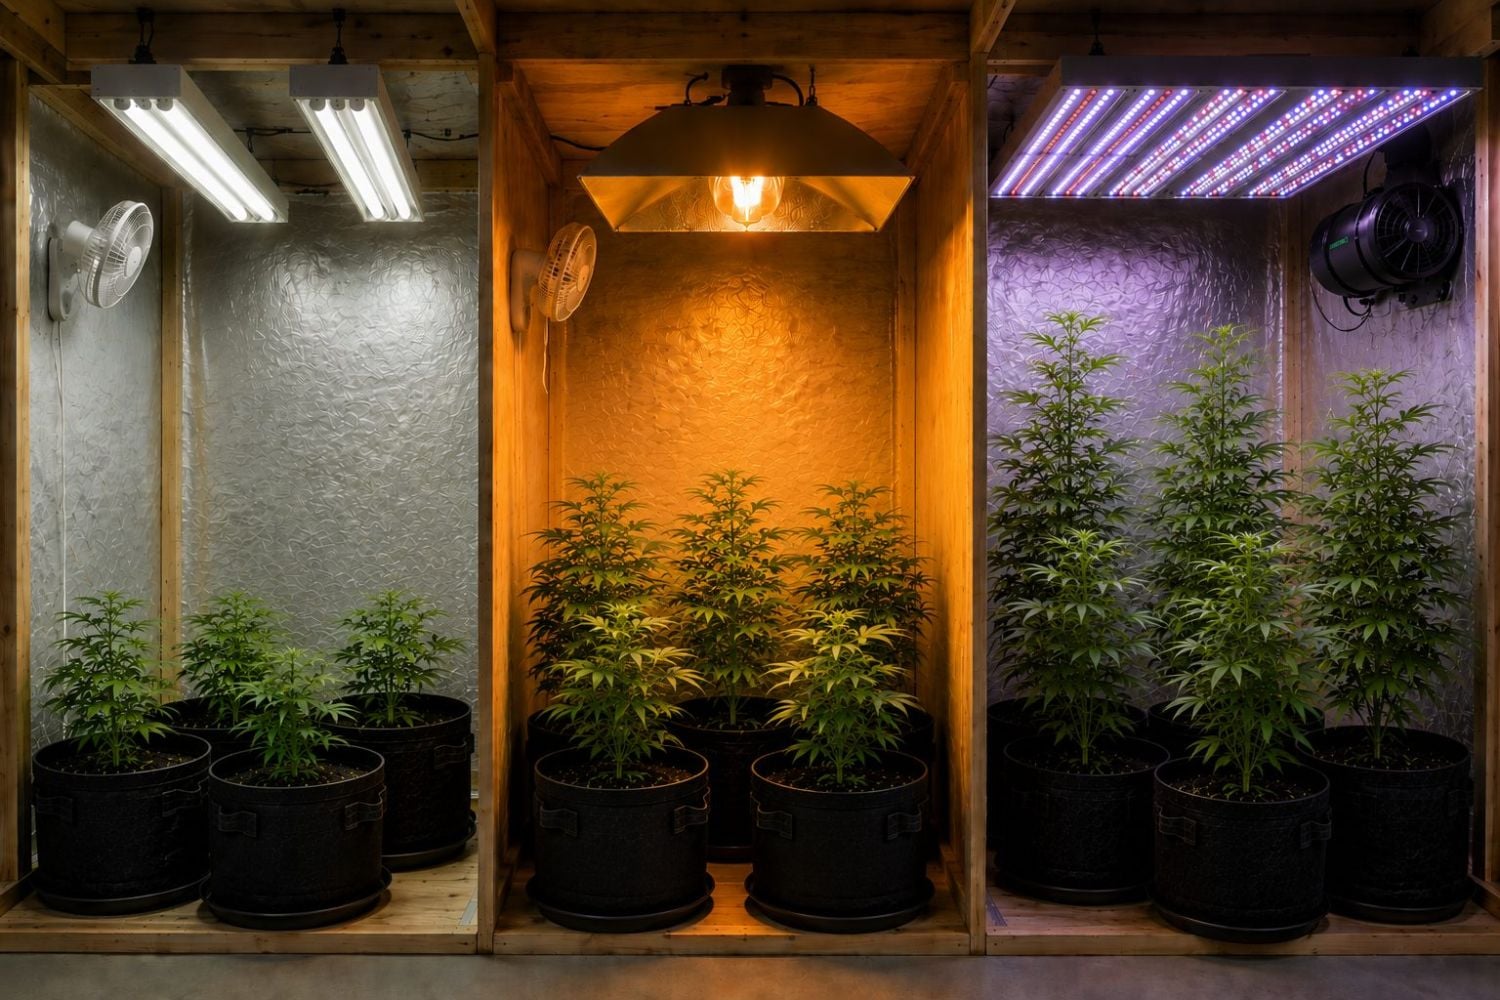
You'll need your own replacement for the sun if you're not growing outdoors. There are a few basic options to choose from.
Here's a brief rundown, but don't forget to check out our full article on cannabis lighting options.
Fluorescent Light Bulbs
Fluorescent lights come in a variety of forms, but all use modest amounts of electricity, are easy to buy at any hardware store, and they're inconspicuous as well. However, they are not generally recommended for larger grow spaces since they cannot reach down to the lower branches. They are better used for clones and small plants in a Sea of Green setup, for example.
HID (High Intensity Discharge) Bulbs
HID Bulbs use a lot of electricity, produce a lot of heat, and can significantly increase your yields compared to fluorescent bulbs. However, they take up a lot of space and are hard to fit in a stealthy grow space. On top of that, they emit a lot more heat than modern LEDs and do not deliver a full spectrum, so they might be cheaper but not as efficient as full-spectrum LEDs.
Full-Spectrum LED Lights
LEDs have come a long way. A single 100-watt full-spectrum LED light will power a one or two-plant tent while costing as little as $80, making it the cheapest, stealthiest option for private growers.
Analog or Digital Timer
Autoflower cannabis seeds will grow and flower regardless of light schedule. Many experienced growers recommend 18 hours of light followed by 6 hours of darkness, but 22/2 and 20/4 cycles are also common. If you're not running 24-hour lighting, you'll need an electrical timer to keep your schedule consistent. While the plants will survive anything you choose, too much light can hurt your plants, so you'll want to keep the schedule regular. Inconsistent light timing can stress your plant and lead to lowered yields or, even worse, hermaphroditic traits. Investing in a timer is a must!
Exhaust Fan and Carbon Filter
Good cannabis stinks. Growers may love its strong, pungent, and lingering odor, but the neighbors probably don't.
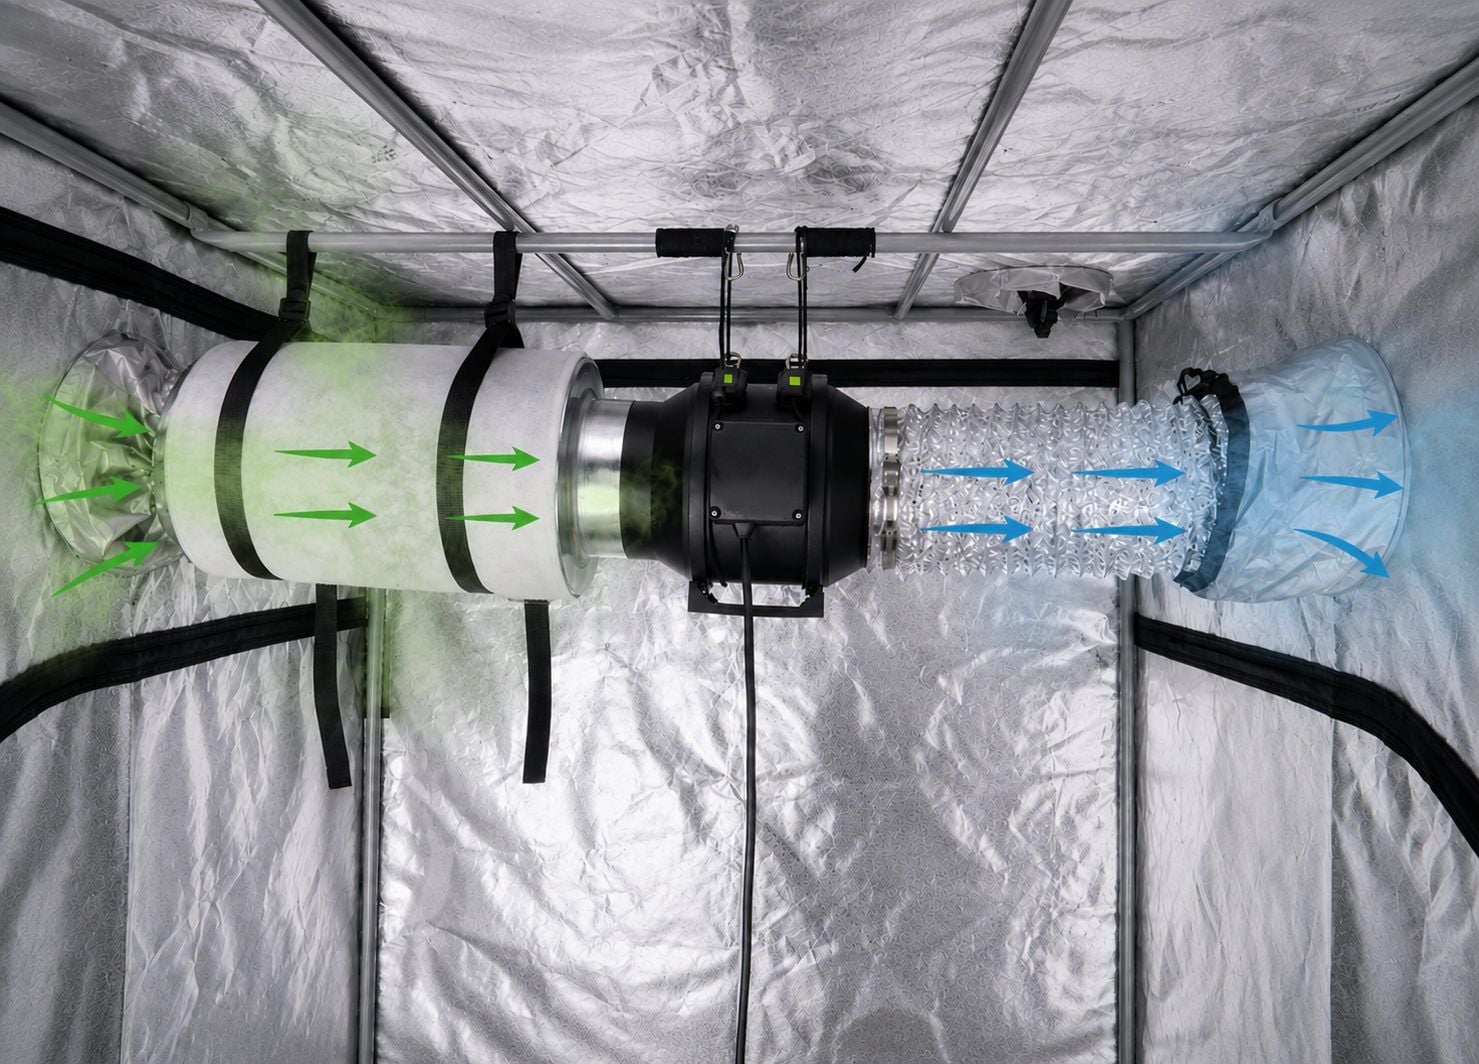
Be a good neighbor and protect yourself from nosy passers-by with a carbon filter and fan. This virtually eliminates all odor outside the tent, meaning you can grow with peace of mind.
Keep in mind that the size of the exhaust fan and carbon filter will depend on the number of plants and the size of the tent or grow space, so plan accordingly. A small exhaust fan and carbon filter may not be able to effectively remove odors from a large tent, while an oversized exhaust fan and filter for a small tent can be overkill and end up wasting money.
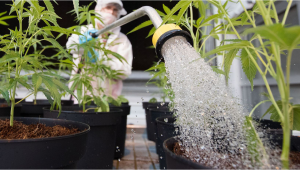
Watering Cannabis Indoors
You'll need to water your plants. Exactly when, how often, and how much depends on your growing medium. See below.
Different Types of Growing Medium
For your first time growing autoflowers, we recommend using pre-fertilized soil, such as a Complete Mix for the bottom half of the pot and a Light Mix for the top half. This approach helps minimize potential feeding mistakes, as the soil provides all the nutrients your plants need from start to finish. All you have to do is water them with plain, pH-adjusted water.
There are other high-maintenance options including hydroponics, but we're keeping it quick and straightforward. Fast Buds seeds produce massive yields when grown in properly selected soil.
Why Soil is the Best Substrate Option for Novice Cannabis Growers
Ok, so if you really want to go down the full hydroponic setup route, then by all means, go right ahead. But, it's best to keep in mind that the vast majority of hydro growers started out with a few soil or coco-coir crops first. That’s because soil and coco-coir are both still excellent substrates for growing cannabis, and are much more forgiving than hydro.
Soil is the most traditional medium used to grow cannabis since it is generally more affordable and provides a buffer that can help protect your plants from minor feeding mistakes.
It can range from soil that you purchase in bags at your local garden store to soil taken directly from your own garden, and both will do just fine (as long as the garden soil is good stuff). You want nicely textured soil, smells fresh, and already has signs of life. Dig up a patch from the garden and see if some juicy earthworms are floating about; that's a great sign of healthy soil.
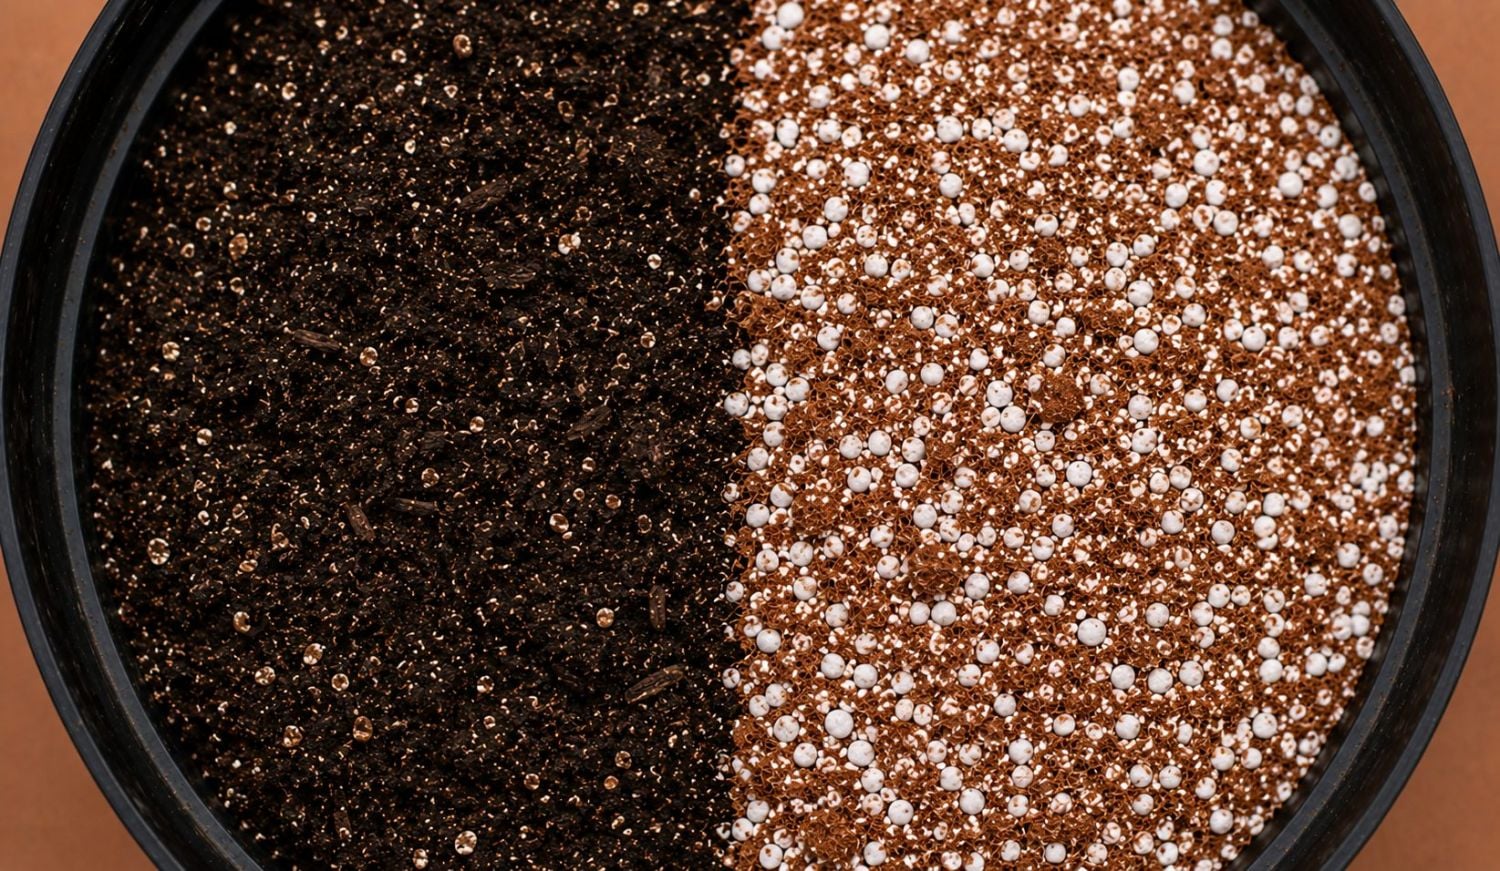
On the other hand, Coco-coir is a soil-less medium made from the outer husk of coconuts. It’s highly absorbent, totally inert) and generally easier to maintain than a hydroponic setup. This makes it an ideal substrate for novice growers, who don’t yet want to invest in a full hydroponic grow but want to benefit from some of the same advantages that hydro offers. Coco coir can offer similar growth rates and potency potential as hydroponics because it actually is a hydroponic method. It just acts much more like soil than hydro.
The other option is to mix the two, and this is what we suggest for new cannabis growers. By making a super soil mix that includes coco-coir (plus a range of other amendments), you give the plants pretty much the perfect environment to thrive. The addition of coco to the mix allows for much higher rates of oxygenation and moisture retention at the root zone, while also massively boosting the drainage capabilities.
Other additions that work magic in a soil mix include Worm castings, Blood Meal, Kelp Meal, Green Sand, Compost, Basalt, Bat Guano, Bone Meal, Wood Ash, Garden Mulch, Biochar, Gypsum, and Basalt.
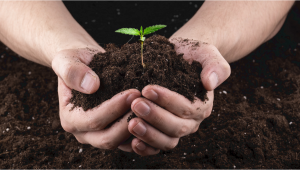
Do you need to add all of these amendments to grow cannabis? Nope, not at all. A simple mix of good soil, coco, compost, and perlite will work great.
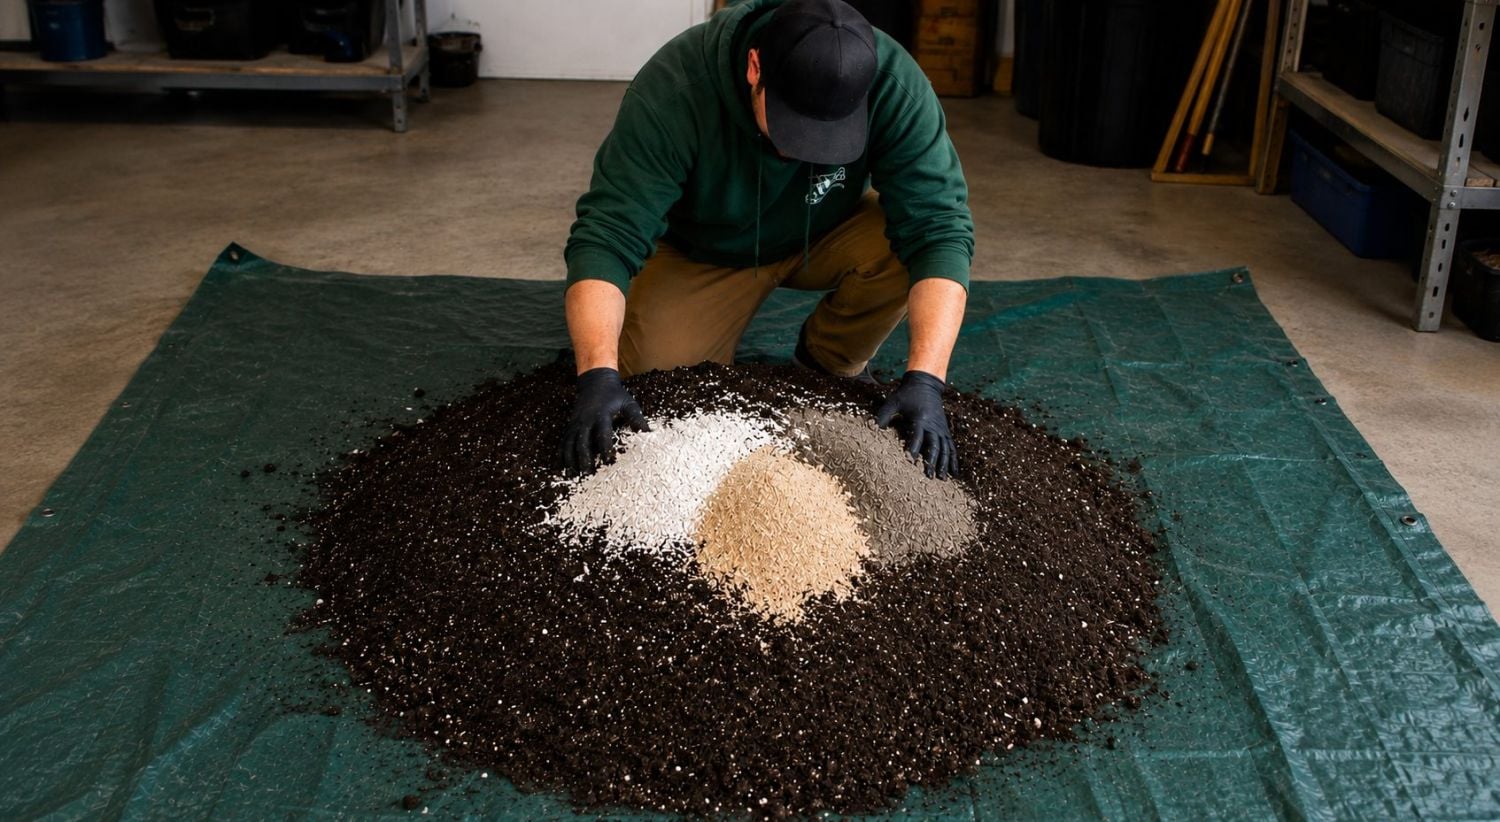
How about the ratio of these ingredients? For a simple, straightforward substrate mix, you can use:
- 30% soil
- 30% coco
- 20% compost
- 20% perlite
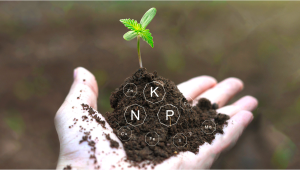
This should give the plants all the nutrients they need up to the vegetative stage, and then you can just add a light feed of either organic or synthetic nutrients. We usually stick with the organic options for this soil mix, as it lowers any chance of nutrient burn issues and offers the best outcomes for both aroma and flavor. And with organic practices, you don't need to worry about constantly mixing up feed water. It takes a huge amount of work out of it, which is what we want for new growers.
Feeding Autoflowers indoors
For your first grow, skip the nutes and invest your time in selecting the best soil possible. Spend your first grow getting to know the cannabis plant's lifecycle and keep it simple. If you've chosen the right growing medium, your plants shouldn't need any additional nutrition to offer a respectable yield.
As every setup provides different base nutrients, we can't make fertilizer recommendations that would apply to all our customers. If you absolutely must use nutrients for your first grow, be sure to ask the manufacturer how to use them with autoflowers. However, generally speaking, following the manufacturer’s feeding chart at ½ dosage works great.
That's all you need to get started growing! Be sure to follow Fast Buds on Facebook to stay up to date with all the latest grow tips, deals, and giveaways from Fast Buds!
FAQ
Yes. However, that is not to say that they are foolproof. Just like any other plant, it’s recommended to learn the basics, as they are living organisms and require proper attention and care.
This depends primarily on how many plants you intend to grow and the amount of space available. For beginners, it’s recommended to use a 40x40cm tent or a 60x60cm tent for anywhere from 1 to 4 plants.
Both play a vital role in maintaining a healthy garden, as plants rely on the right environmental conditions for transpiration and other processes necessary for healthy growth.
Common beginner mistakes include overwatering and overfeeding. Keeping your first setup simple makes it easier to identify and correct problems, which can be especially helpful for those just learning the craft.
Generally speaking, if you have zero experience, we recommend 2 to 4 plants. Starting with a small number of plants can make your first grow easier to manage and gives you a chance to become familiar with watering, environmental control, and general plant care.
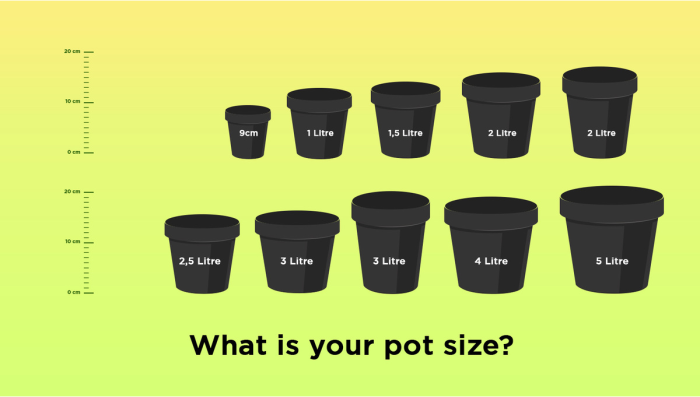
What size pots should I use for autoflowers?
The ideal pot size depends on the available space, growing medium, and expected plant size. Choosing an appropriately sized container gives the roots enough room to develop without unnecessarily taking up grow-space. However, make sure to use at least 7 to 10L pots to prevent root issues.
Make sure to check the manufacturer’s recommendations, as they will give you an approximate idea of the coverage area and the number of plants the light is suitable for.
Yes. A dedicated room, closet, cabinet, or other suitable space can also work. A grow tent simply makes it easier to create and maintain a controlled environment.
Autoflowering varieties generally have relatively short life cycles, although the exact time from seed to harvest varies depending on genetics and growing conditions; the average ranges from 8 to 10 weeks.
Complete kits can be convenient for beginners because they bundle many of the essentials together. Buying components separately, however, gives you more control over budget.

Comments