DIY Halloween Pumpkin Bong
- 1. The story behind halloween celebrations
- 1. a. Why pumpkins for halloween?
- 2. Starting the pumpkin bong
- 3. The texas drilling massacre
- 3. a. Carving the bowl on the pumpkin
- 3. b. Using an industrial bong's downstem
- 4. Time to test drive!
- 5. Munchies? time to trick or treat!
- 6. The bottom line
We are getting close to the spookiest night of the year, the night where the world gets covered in artificial spiderwebs, skeletons, and the most important, pumpkins! Yes, we are talking about Halloween, and no, we can not believe it's already October either.
While the small kids go out for trick or treating, us the older kids have other fun things to do as well. On such a special occasion, it calls for special activities, like making your own homemade pumpkin bong.
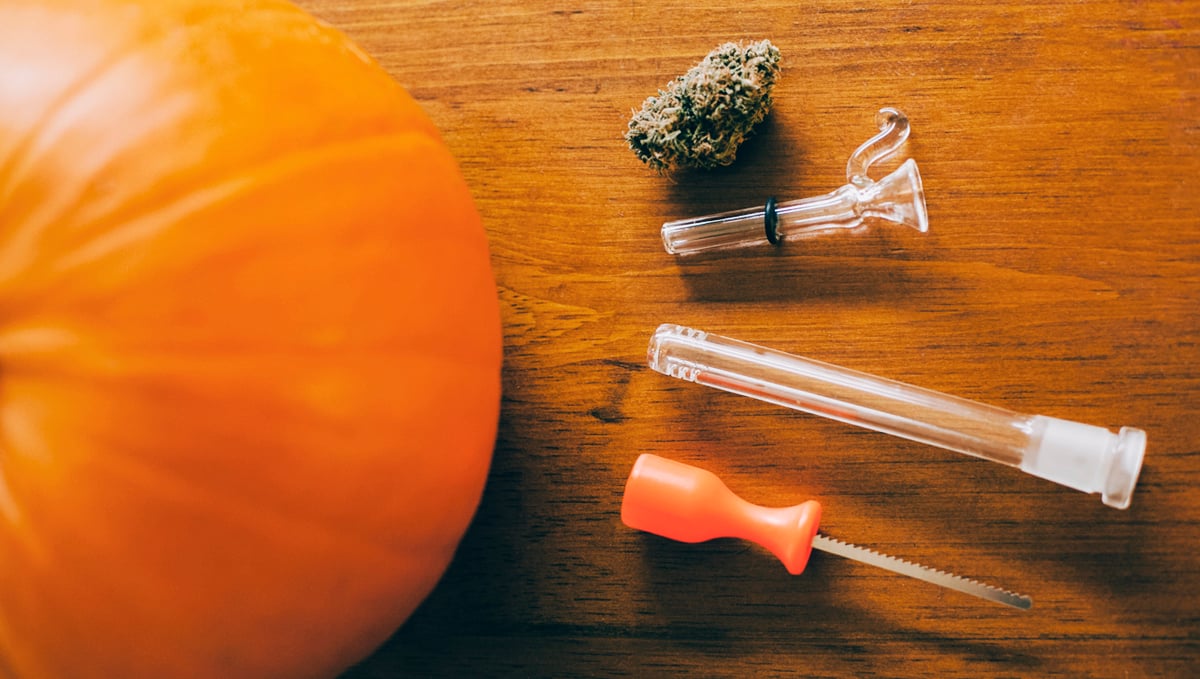
In order to make a Halloween pumpkin bong you will need:
- 1 pumpkin, any size;
- Downstem (optional);
- Drill, screwdriver, or any carving object of preference.
Making your homemade pumpkin bong is easy and will only take you a couple of minutes before you get to light up.
1. The Story Behind Halloween Celebrations
As we all know, Halloween is a holiday that takes place on the 31st of October each year. But sadly, that's the only thing most of us know. We don't know about you, but we would not like being mere victims of marketing and capitalism and make celebrations without being aware of the true spirit behind them.
Therefore, we thought it would be nice if we told the story behind the famous and spooky night of Halloween before we continued.
The origin of Halloween dates back to the time of the Celts, a community that occupied the lands now known as Ireland, the United Kingdom and northern France, two thousand years ago. This community carried the ancient festival of Samhain (pronounced sow-in) which took place from the 31st of October till the 1st of November, the day in which they celebrated the New Year.

This was the day that marked the end of the summer and the harvest (coincidence?) and the beginning of wintertime, the darkest, coldest time of the year which they associated with human death.
It was on the night of the 31st that the Celts believed the limits between the worlds of the living and the dead became blurred and ghosts rose up among them. And its this same night that evolved into Halloween as we know it today.
Why Pumpkins for Halloween?
The carved Halloween pumpkin lanterns, known as jack-o'-lanterns, were initially made by the Celts in the area now known as Ireland. People would carve spooky faces on these fruits to scare "Stingy Jack" and other evil spirits away. Stingy Jack is the main character of a famous myth about a drunk man, cough-cough, Irish, dealing with the devil, and so on...

Now that we've informed ourselves enough and we aren't simple vehicles of capitalism anymore, let's get into the fun of making your own pumpkin bong.
1. Starting The Pumpkin Bong
Before you begin, consider how much effort you are willing to put into your homemade Halloween bong, because to your luck, there are two methods for doing it.
As you might already know, pumpkins' hollow cavities are filled with slimy entrails and seeds, which are known as the "placental tissue". Did you know pumpkins are the plant version of ovaries? Us neither.
Scooping out the pumpkin's guts, as if you were a zombie, is a matter of choice. Although you don't necessarily have to take them out, be aware of the extra pumpkin flavor it will add to your bong hits.
If you opt for emptying out the guts to make your bong's cavity more spacious, keep in mind that once you have carved the hole around the stem to do so, the airtightness of your bong will be reduced, so you'll have to seal the cap back on. Again, it's all matter of personal choice.
2. The Texas Drilling Massacre
Once you have eaten out your pumpkin's guts, or not, it's time to make some holes to your future pumpkin bong. These holes are essential to assure the smoke travels from the bowl, through the pumpkin, and into your lungs.
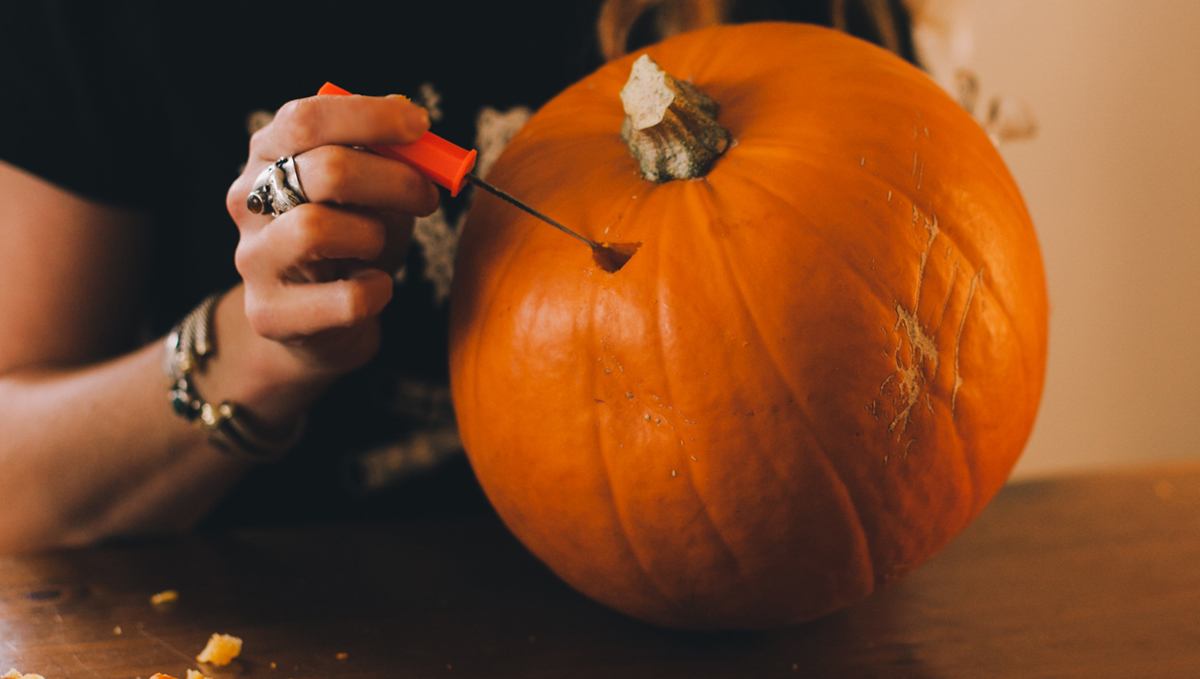
The first hole to make is the bong's bowl, which is sort of the bong's brain. In case you aren't familiar with the term, the bowl is the part of the bong where you set your weed. You have two options here: carving a built-in bowl or using a premade downstem from another bong. Let's explain both methods.
Carving the Bowl on the Pumpkin
In order to make the carved weed bowl, you'll need to carve a hole on the pumpkin itself. It's better to choose a spot near the top of the pumpkin so that the grinded marijuana doesn't fall out.
Start carving the hole but avoid breaking all the way through the pumpkin's walls or else you are going to have to cover it up and start again. Once you have your hollow carved bowl you'll need to add another small hole inside of it, or several smaller ones.
Warning: don't make the holes too big or cannabis particles will fall through as you inhale.
These are the holes that will give access for the smoke to travel inside the pumpkin and allow you to inhale it.
Using an Industrial Bong's Downstem
If you go for the second method, using a proper bowl's downstem, then the main key is to carve a hole that fits perfectly. Again, in case you have no idea what we refer to when we say downstem, it's the thinner pipe that’s connected to the bowl, allowing the smoke to travel down to the base of the bong into the water and up into your lungs through the tube.
To make an airtight hole for your downstem, carve a small hole first and start widening it until it's wide enough so that you can squeeze your downstem in. This way, by forcing the downstem through the pumpkin you'll ensure no unwanted extra air comes through and you can get a clean hit.
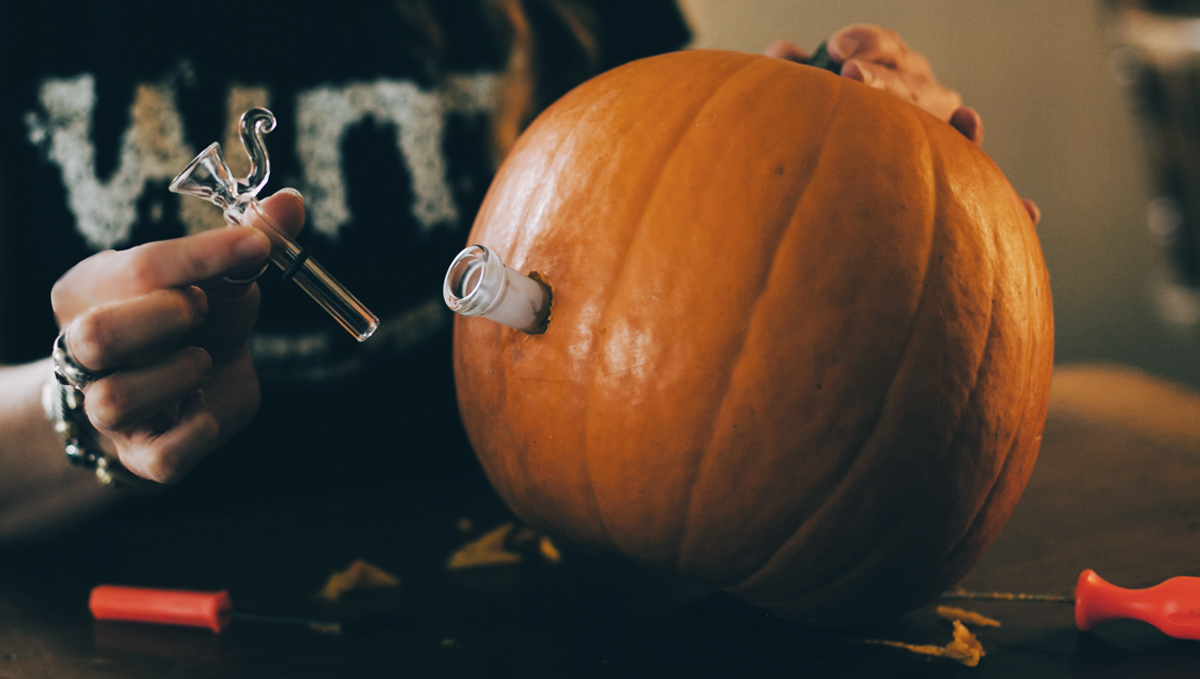
Once you've successfully created the bowl, the next hole you'll need to drill is the mouthpiece for you to suck up the magic smoke. Normally, this hole is facing opposite from the bowl, however, just grab your pumpkin and figure where you find it the most comfortable for smoking out of it.
Now the last drilling you need to do is the carburetor, a.k.a. the airflow regulator for your bong. Know that hole where you place your finger on and then release? That's the carburetor.
To make the carb, drill a hole anywhere on the pumpkin that feels comfortable for you, taking into consideration you'll need to cover it with your thumb or index finger as you smoke. Just like the downstem's, the carb's hole should poke all the way through and into the pumpkin's hollow core.
3. Time to Test Drive!
Your homemade pumpkin bong is ready to get lit, almost. Fill your pumpkin with water, pack your bowl and before you light up your buds perform a few airflow test runs.
Covering the carburetor, suck up the air and check if you can get the water inside to start bubbling, as usual bongs do. Feeling some pressure build-up, as well as sucking noises coming from the bowl or downstem are good indicators that your bong is airtight and functioning properly.
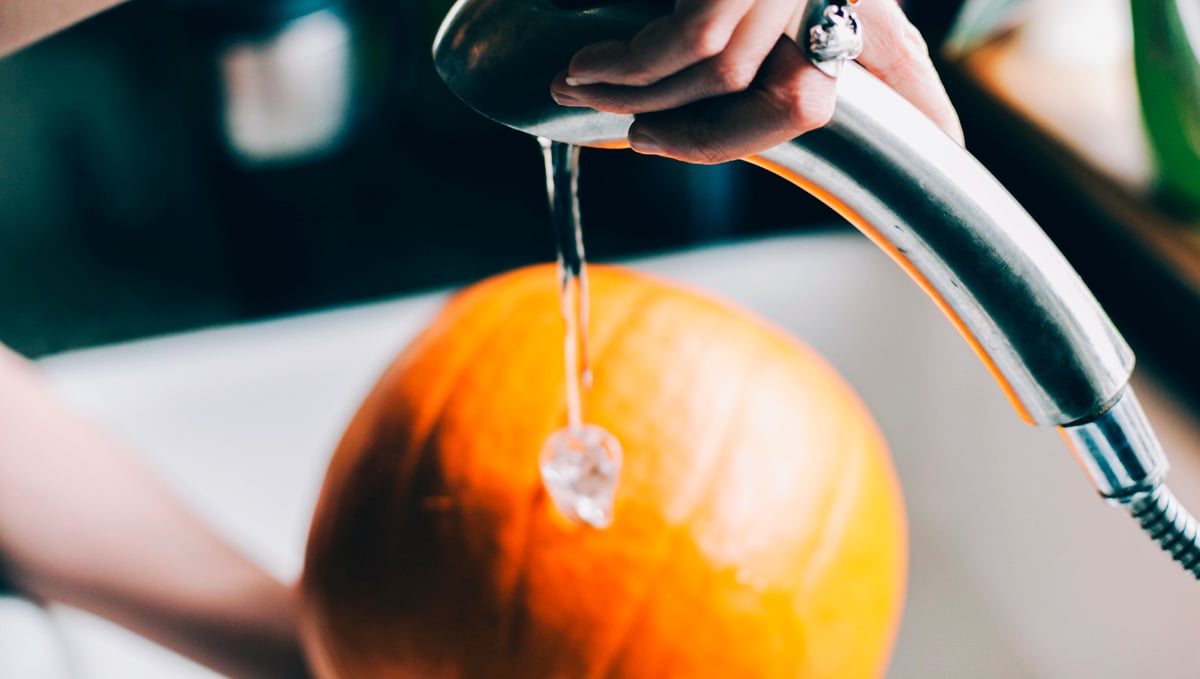
Lastly, given pumpkins are fruits, we didn't know this either, they tend to be juicy, so you'll want to get rid of this excess moisture unless you want your weed to get damp, which we don't.
When you are using a downstem you should not worry about this, but if you have chosen to carve the bowl into your pumpkin, odds are it will be moist. If cleaning the moisture doesn't work, then we recommend setting a small piece of aluminum foil inside and poking a few tiny holes with a needle or any thin objects through it to let the smoke through.
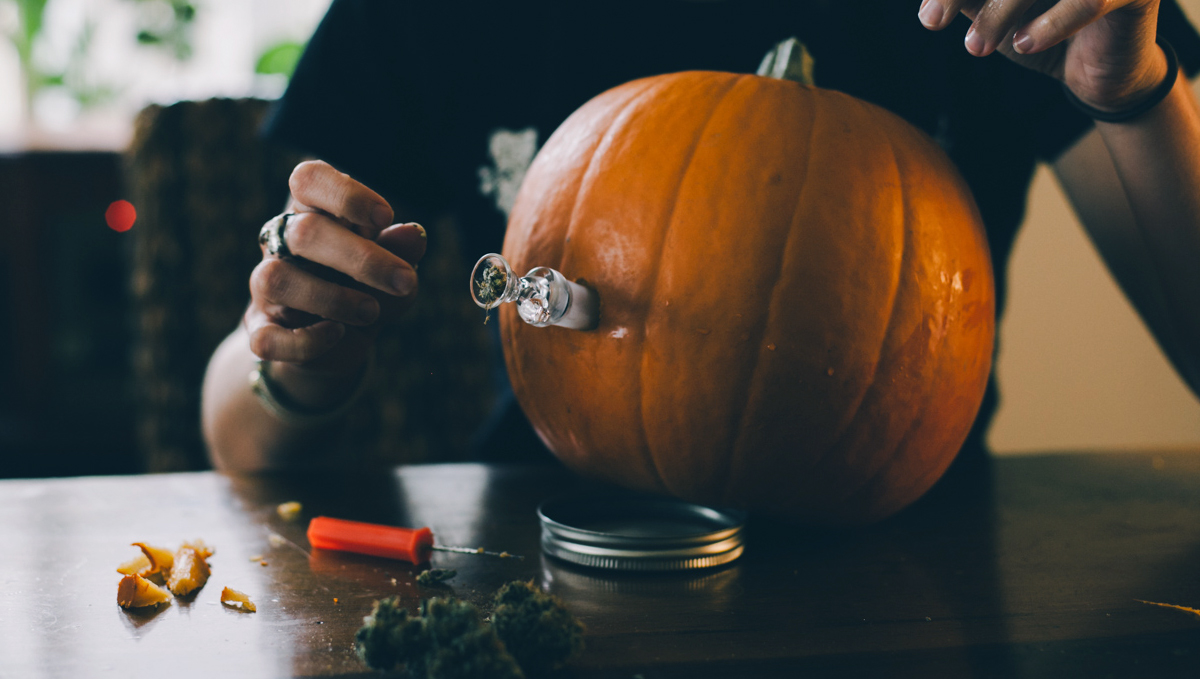
Okay sorry for the interruptions, we know you probably can't wait to try your homemade pumpkin bong already. Once the coast is clear, you should now be ready to finally get lit! Time to call some friends over, sit in a round, or on the couch, or wherever, and light up your orange bong!
4. Munchies? Time to Trick or Treat!
Was there ever a better timing for getting the munchies? (Munchies are the inevitable starving feeling after smoking weed).
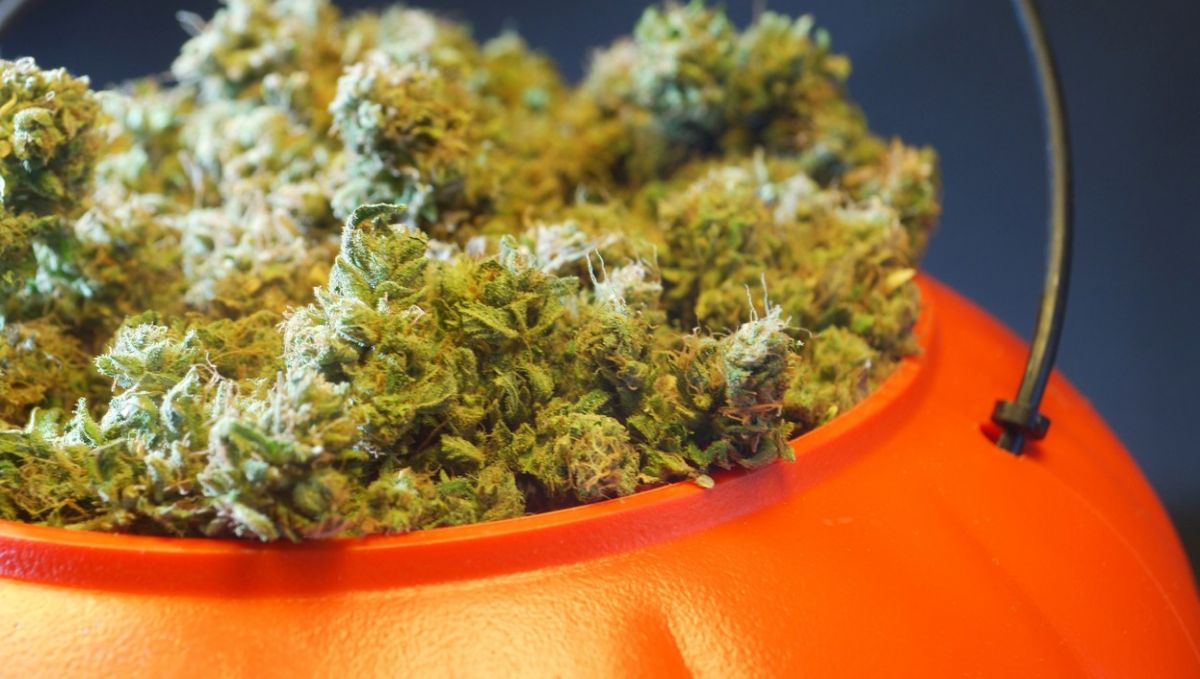
Who ever said that we can be too old for trick or treating? It's time that you and your friends chuck on some spooky costumes and head to the streets to satisfy those immense cravings.
5. The Bottom Line
Who would have known that building your own homemade pumpkin bong would be so easy? It's all about putting dedication and having a few extra time to spare to turn any ordinary day into a special occasion.
Besides, it's always nice to have a good excuse for a celebration, such as the oh-so old and spooky Halloween night. And getting free candy for them munchies as well? Right on! Just make sure you're not too high that you find yourself in bed sleeping with the lights on because you are feeling scared! Have fun making your pumpkin bongs this Halloween, and the next ones! And don't forget to comment and send us photos of your final orangy masterpieces.




Comments