How To Clean Your Bong

- 1. Understanding the parts of a bong
- 2. Materials you'll need to clean your bong
- 3. How to clean your bong
- 3. a. Step 1 of cleaning a bong: removing the bowl and downstem
- 3. b. Step 2 of cleaning a bong: place the parts in ziplocs and add cleaning ingredients
- 3. c. Step 3: cleaning the bong's body
- 3. d. Step 4 of cleaning a bong: shake, shake, shaking!
- 3. e. Step 5 of cleaning your bong: rinse with water and repeat (if necessary)
- 4. How to keep your bong clean
- 5. Signs you should clean your bong
- 6. The bottom line
Sometimes we bump into stoners that are truly passionate about the art of getting stoned. We refer to those kinds of people who are into all of the details related to their smoking experience.
For instance, smoking with a stoner aficionado means you'll most likely be informed about the type of strains in-game, the effects and benefits they provide, and all sorts of details. If you want to preserve this friendship, yes, we're exaggerating a little bit, then you should definitely up your smoking game.
Bleached rolling papers? What an offense! Bleached rolling papers alter quite much the flavor of your marijuana, and they're more harmful as well, so don't pull out any white rolling papers unless you ache a dry face-slap. Another crucial part is the bong: is. it. clean?!
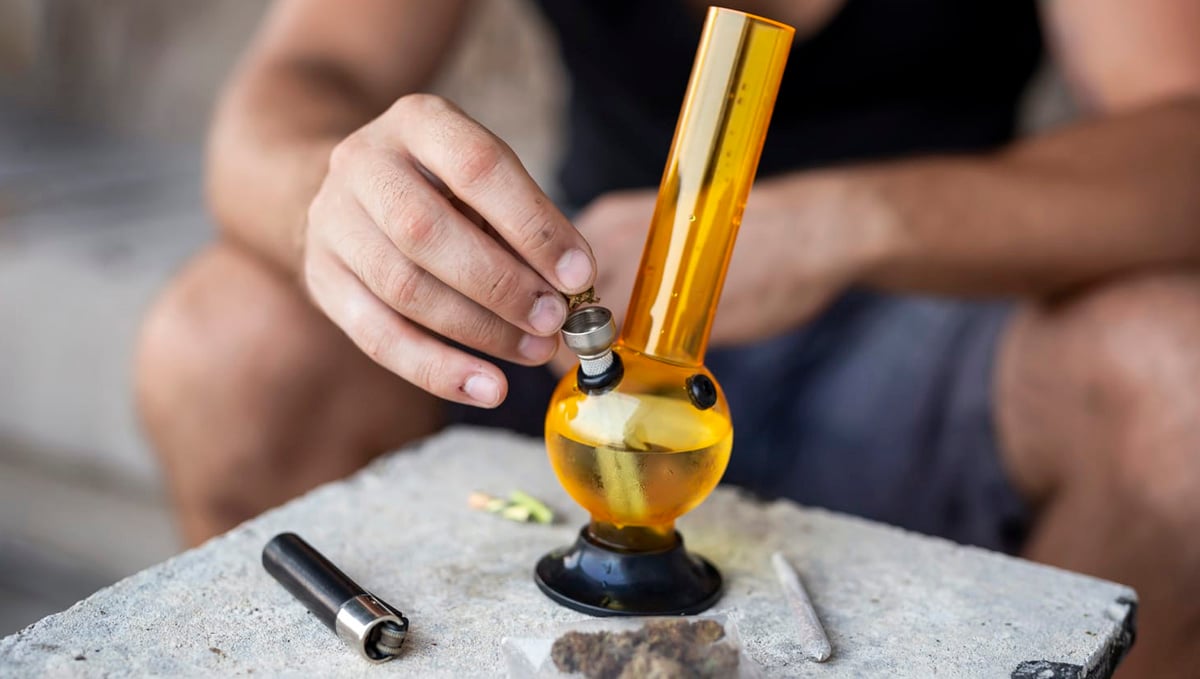
Never, ever, invite someone over for some bong rips and wait for them with a nasty looking bong! Rude! Bongs are beautiful stoner paraphernalia, meant to be kept neat and shiny, so let's get into this step-by-step guide on how to clean a bong.
1. Understanding The Parts Of A Bong
Before we get to explaining how to clean your bong step by step, you'll need to be able to identify the different parts of a the object. Don't worry, it's quite simple and easy.
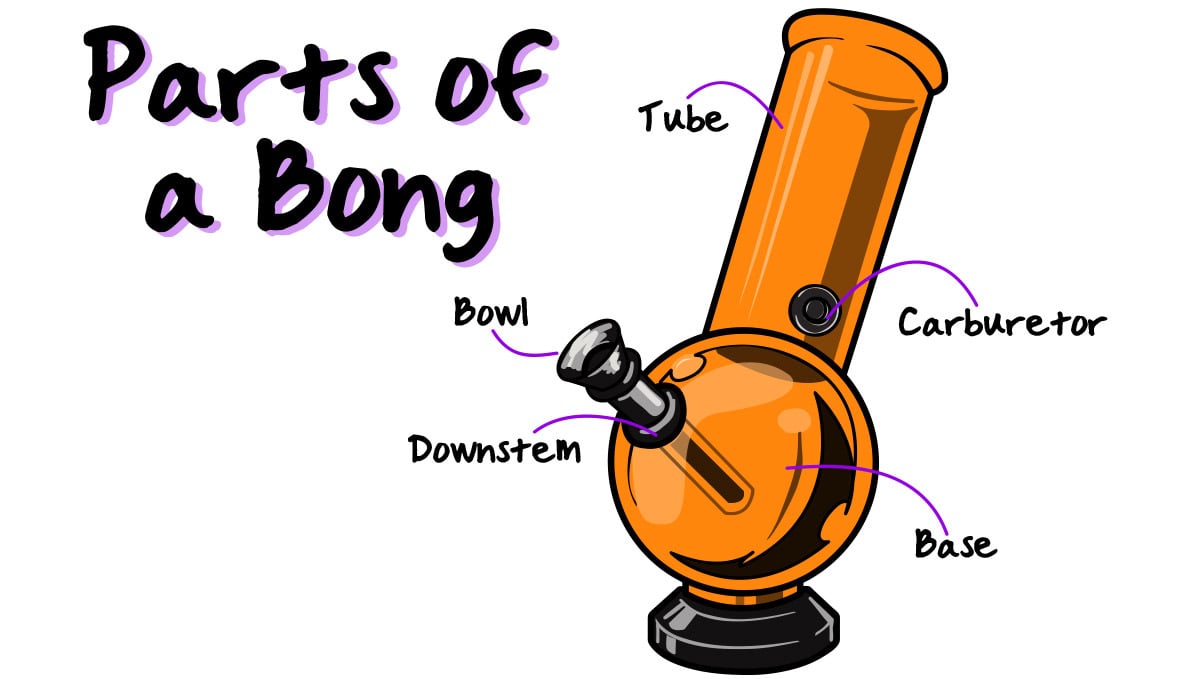
The parts of a bong are:
- The tube: it is normally the neck, a.k.a. tube, through which the smoke travels all the way from the base and into your lungs.
- The base: the base is the part that's meant to be filled with water. It's usually round-shaped.
- The carb or carburetor: this is the small but most crucial part, it's the small hole that helps regulate the airflow as you smoke.
- The downstem: it is the thin pipe-like part that works as a connector when you burn the marijuana on the bowl, into the water, and up the tube.
- The bowl: it is that part that looks like a tiny container connected to the downstem, where you're meant to place the marijuana to be smoked.
That's it! Now that you know the technical terms to refer to the different parts of a bong you could even build your own at home! Read the following article to learn how.
Now let's continue with the how to clean your bong guide.
2. Materials You'll Need To Clean Your Bong
Before you clean your bong, you'll need to gather a couple of instruments and materials to leave your baby sparkling clean. Here's the 'how to clean a bong' shopping list, or not really shopping since you'll likely have most of these at home.
- Coarse salt, as much as necessary, or replace for rice or baking soda;
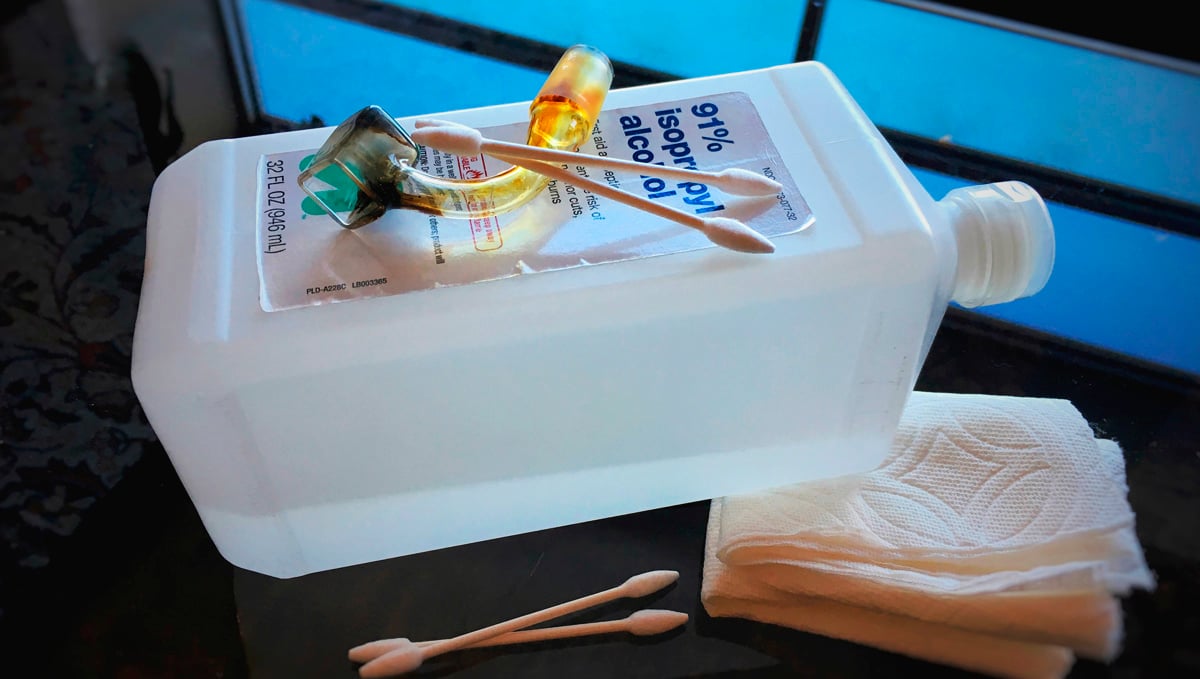
- Isopropyl alcohol, or in simple words, rubbing alcohol;
- Any kind of vinegar;
- Cotton balls, cotton swabs, bottle brush or pipe cleaners (optional though useful);
- Ziploc bags;
- And gloves.
3. How to Clean Your Bong
Step 1 of Cleaning a Bong: Removing the Bowl and Downstem
The first step of cleaning a bong is disassembling the smoking instrument. Start off by removing the bowl and downstem, which are normally the parts that get the dirtiest.
Extra AdviceChuck on a couple of gloves before you start cleaning, the different parts can get really nasty with leftover burned bits of marijuana so by using gloves you'll avoid smearing the stench all over your hands and what you touch.
Next step, empty the bong if you hadn't yet done that, and rinse it with warm water. Make sure you remove any burned herbs left and then fill it again with some more warm water.
Step 2 of Cleaning a Bong: Place the Parts in Ziplocs and Add Cleaning Ingredients
Once you've dissembled your pieces correctly, and after you've made sure to get rid of any smoking remnants, place the bowl and the stem in two different Ziploc bags (if you can indeed separate these parts, sometimes this isn't possible).
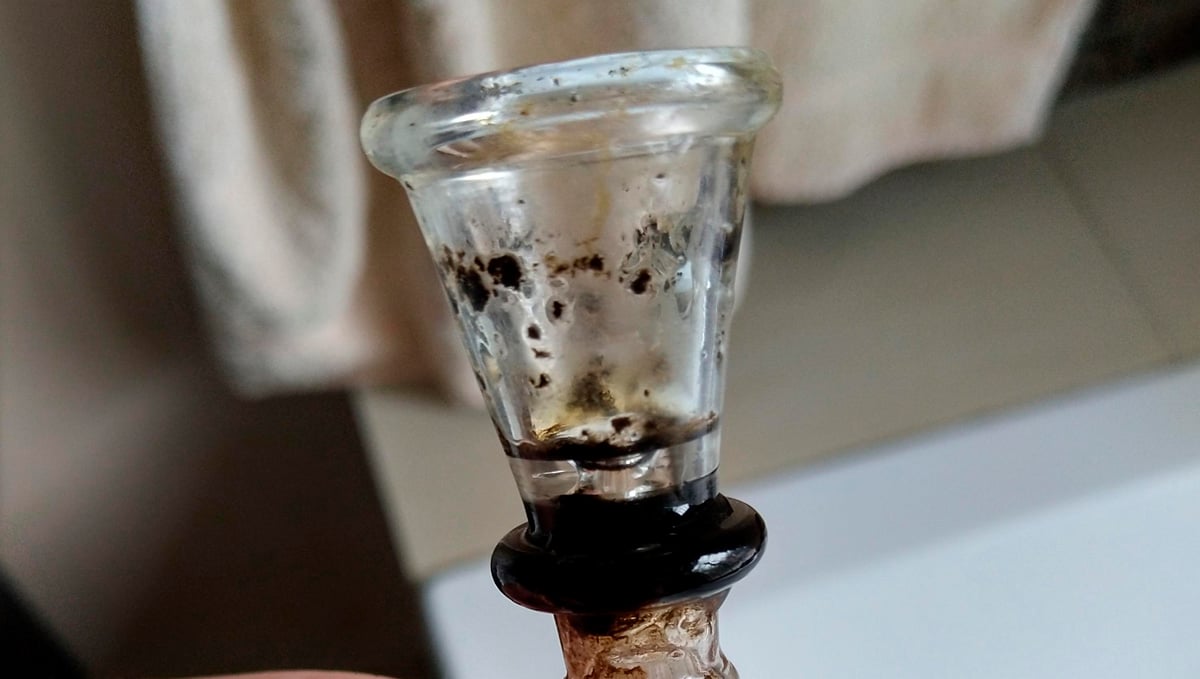
Now that you have your bowl and downstem in two Ziploc bags, throw some of the coarse salt, rice, or baking soda inside. and lastly, add the rubbing alcohol, enough to cover the pieces.
Shake well the small bong-pieces washing machine we've built and then let the elements sit inside the mixture as you continue to clean the rest of the bong.
Step 3: Cleaning the Bong's Body
To clean the body of your smoking device, pour some coarse salt inside, enough to cover the bottom of the base, and add the rubbing alcohol in, ideally any alcohol over 90%. You could also use some vinegar and baking soda or rice.
There are also some products sold specifically for cleaning bongs, so feel free to try that if you're curious. Just throw some of the product inside and dismiss the salt part. Let the mixture sit inside for a couple of minutes.
Step 4 of Cleaning a Bong: Shake, Shake, Shaking!
After you've allowed the mix to sit for a couple of minutes, it's time to shake the bong so that the mixture reaches the whole surface of it. Take a plug if you have one, and cover the holes of the tube, the carburetor, and downstem.
In case you don't count with any plugs, then check if using your hands and fingers to cover the holes, which should do the job as well. Perhaps, before you start shaking it's a good idea to head outside and avoid yourself further cleaning.
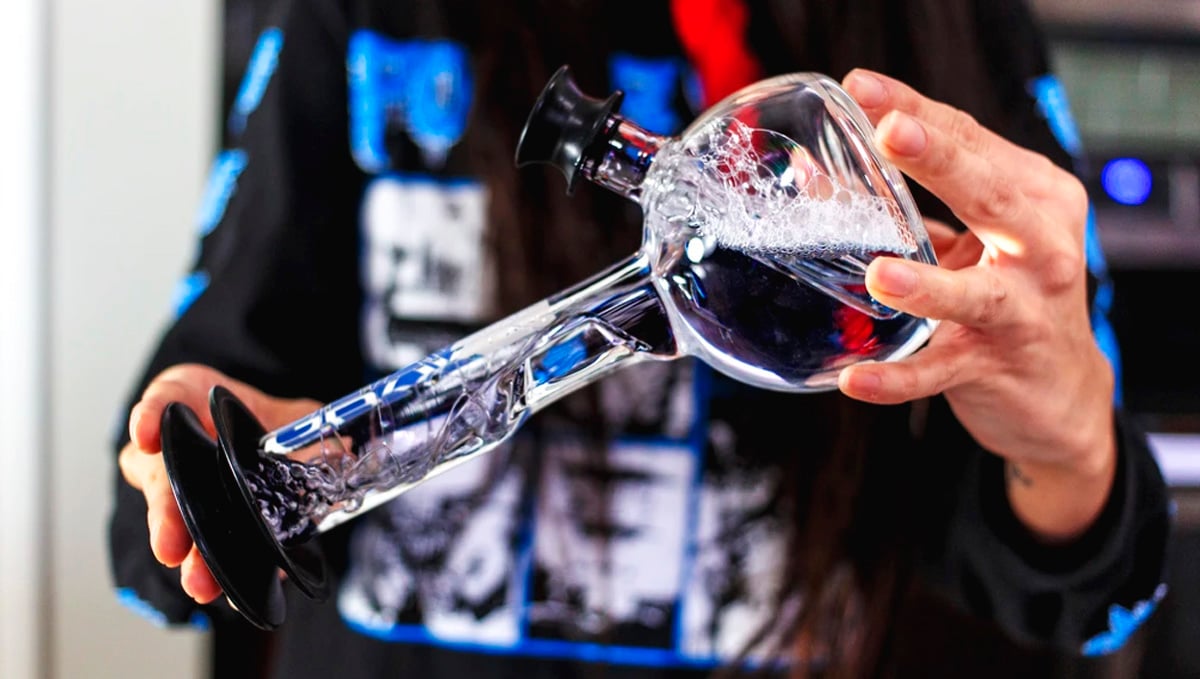
Once you've successfully covered the different holes it's time to shake! Shake well for a couple of minutes, allowing the mix to travel all through the device. Pay special attention to those really nasty areas by shaking extra hard over there.
Now take the small bags in which you'd placed your downstem and bowl before and shake them as well. A good sign that the cleaning is working is seeing the resin coming off.
Step 5 of Cleaning Your Bong: Rinse With Water and Repeat (If Necessary)
Once you've shaken your bong parts so much that your head and whole body is shaking as well, it's time to unlid your bong again and rinse it with water. Take the bowl and downstem as well and rinse them with water too.
You can use the help of pipe cleaners or cotton swabs for that extra help with stubborn stains and corners.
Are you happy with the results or do you consider that your bong should be cleaner? Then repeat the process! Start over again as much as you consider necessary to achieve your cleanness goals.
4. How to Keep Your Bong Clean
Now that you're aware of the fact that cleaning a bong that wasn't looked after actually takes some time, perhaps it's time to reconsider your habits of use and start cleaning it after every time you use it.
We know, we know, before you roll your eyes and huff at us, no, we're not asking you to repeat the entire process above after each time you use your bong. All we ask is to remove the inner water, clean the bowl as well as you can, and if you're feeling inspired a good rinse with hot water will do the job.
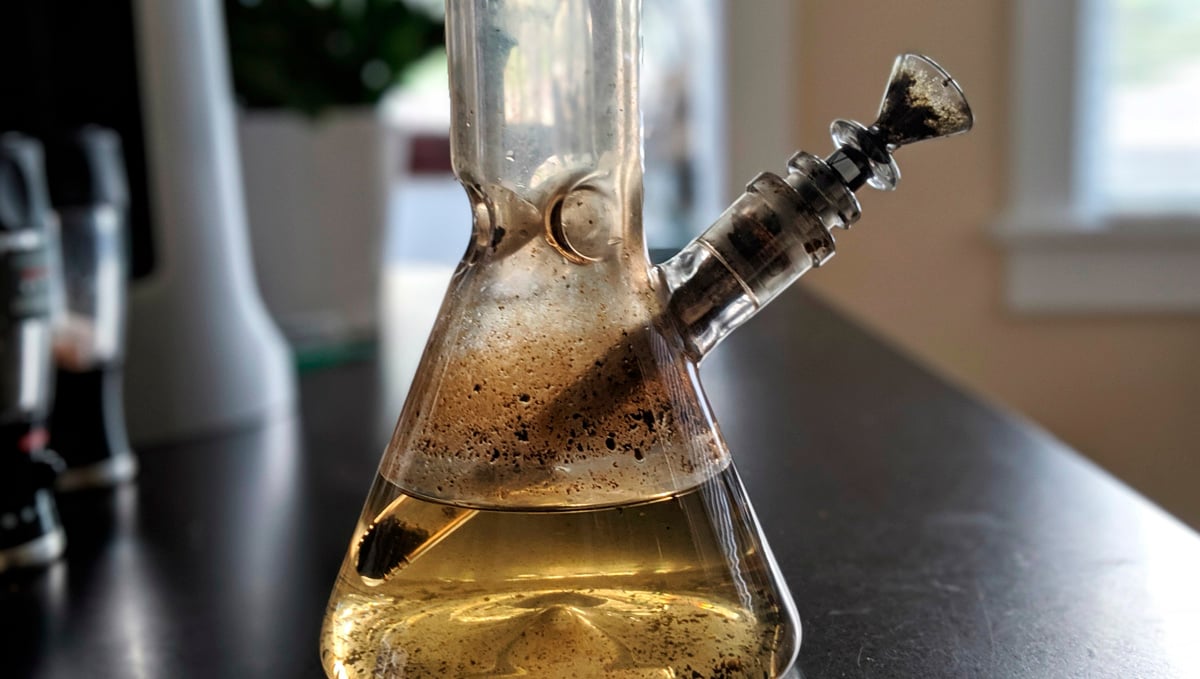
This way you'll save yourself a lot (not so tough though) of work in the future. Besides, you should actually try to preserve it clean given, we're almost certain you could taste the flavor difference after you tried your brand new cleaned bong.
5. Signs You Should Clean Your Bong
The first sign you should clean your device is not remembering ever cleaning it, or not remembering when was the last time you've done it, although as a stoner, we can forgive that one cause remembering things might not be our best skill when we're high.
Some of the signs that you should clean your bong are:
| Bad smell | If your piece doesn't smell too good that's because you should clean your bong, mate. |
|---|---|
| Slimy film | When you notice a slimy film covering your bong this means bacteria are gathering on it, which isn't too healthy on your lungs. |
| Resin building up | Discoloration and a sticky thin layer is a sign of a resin building up on your bong. The longer it accumulates, the harder it'll be getting rid of it. |
| Black or grey specks | Black or greyish specks indicate that some ash has gotten inside your bong, and unless you enjoy the taste of it, you should clean your bong. |
5. The Bottom Line
Nothing screams lazy like a lousy hygiene, and this is also true for your stoner paraphernalia. Don't be that lazy guy or girl who pulls out a brown stained bong when it should actually be transparent, orange, pink, or any other prettier color.
Besides, you're kind of self-sabotaging your own smoking experience by using a dirty smoking device, the buds catch onto the stench, the water as well, and so does the smoke. Not so yummy huh? Clean your bong on a frequent basis and turn your bong rips into a tasty experience.


Comments