Indoor lights for Cannabis grow: LED vs Bulbs

- 1. Cannabis and lighting
- 1. a. Fluorescent bulbs (cfl)
- 1. b. High-intensity discharge bulbs (hid)
- 1. c. Led panels
- 1. d. Some extra tips for lighting considerations
- 2. Cannabis lighting frequently asked questions
- 3. The wrap-up
When it comes to indoor feminized seeds cultivation, lighting is right at the top of the list of the most important elements. Providing the correct spectrum of light at the right intensity can truly be the difference between the types of yield and potency we all dream of. But with so many options out there, and the technology seemingly progressing at, excuse the terrible pun, lightspeed - how is a new grower supposed to know what the best option is for their particular indoor grow area?
There is a range of options out there, each with its own set of pros and cons. From high-end, tuneable LED panels to budget CFL options - and everything in between - deciding on the best option for your indoor grow space can be just slightly daunting for novice growers, to say the very least. There are a bunch of considerations to mull over, so before dropping your hard-earned cash on the wrong option, join us as we go over everything there is to think about when looking for the best indoor light fixture for your grow room or tent (or closet, or anywhere else really)!
1. Cannabis and Lighting
Before we dive into all the technical mumbo-jumbo, let's have a quick chat about how cannabis plants use the light you are going to provide to them, and how the timing of the light schedule affects plant development.
There are two main types of strain types that you will on the market. No, not Sativa and Indica. We are talking about the photoperiodic and autoflowering split. Most growers out there know the difference between the two, but let's break it down quickly for the uninitiated among us. All strain options, no matter whether they are photos or autos, go through a couple of distinct growth stages. These are:
- The Germination Stage - when the seed sprouts and the tap root breaks free of its woody prison. This takes around 1 to 4 days.
- The Seedling Stage - when the plant begins to grow shoots and leaves. A cannabis plant is considered to be a seedling until its second set of true leaves emerges. This stage usually takes around a week or so.
- The Vegetative Stage - when the plant begins to really starts to put on size. The vegetative growth stage is the first main stage of plant development, where the plant structure is formed and the cannabis plant is ready for the transition into flowering.
- The Flowering Stage - when the cannabis plant enters reproductive maturity, producing those dank, stanky buds that we all know and love.
Photoperiod Strains
As the name may suggest, the growth stage that of photoperiodic strains is decided on by the timing of the lighting cycle. When growing indoors, cultivators have total control of the growth stage by controlling the lighting schedule.
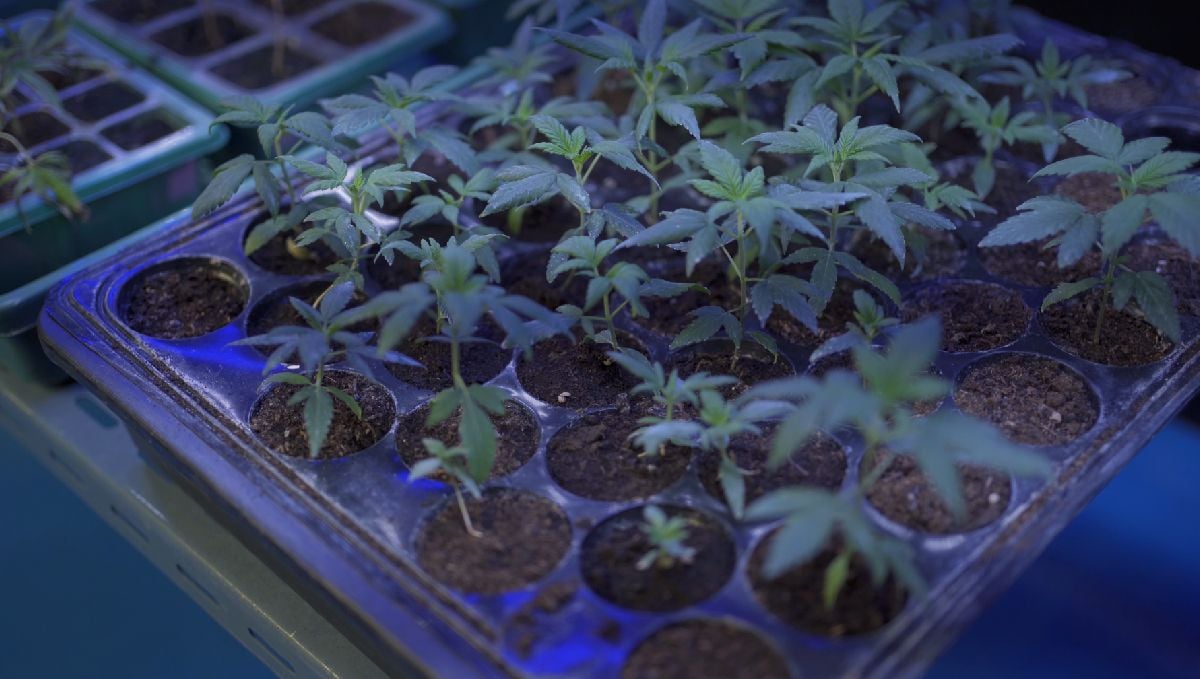
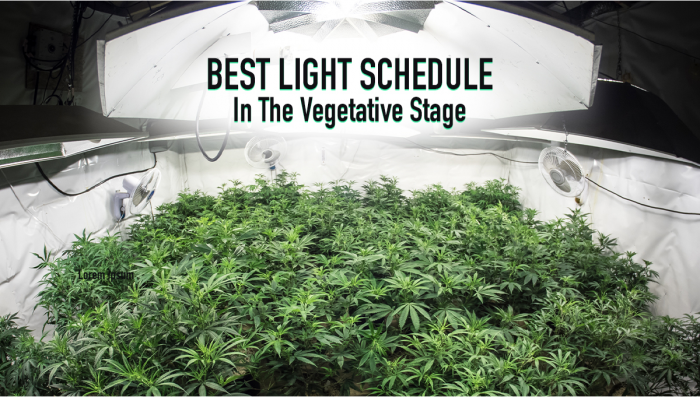
For the seedling and vegetative growth stage, photoperiod plants need to receive a minimum of 18 hours of light and 6 hours of darkness every day. This is usually referred to as 18/6 in growing circles. Once you are happy with the size and structure robustness of the plant, you simply switch to a 12/12 pattern - or 12 hours of light and 12 hours of darkness. This signals to the cannabis plant that it is time to begin flowering and start producing those beautiful cannabis buds.
Autoflower Strains
Autoflowering cannabis strains take the guesswork out of cannabis cultivation. The flowering cycle is determined by the age of the plant, not the amount of light it receives - meaning that once you reach around the fourth week of growth, the plant will automatically switch to flower production, no matter the lighting schedule.
This inherent feature of autoflowering strains comes with a range of benefits, especially for indoor growers that are just starting their cultivation journey. Not only can you keep the light timing at 18/6 during the entire grow (or 20/4, or even 24/0) which makes life just that little bit less complicated, you can easily set up a single room or tent perpetual harvest routine. Autos are hardier than their photoperiod kin, they also need fewer nutrients, they are usually ready to harvest in around 8 to 10 weeks or so, and can match photo strains in terms of potency and yield.
Cannabis Light Spectrum and Intensity
Once you have decided which cannabis strain type is best for your setup, and what light schedule to follow, it's time to think about the cannabis light spectrum. To put it simply, cannabis plants need the full range of light to hit their genetic potential. Think about it for a second. The sun provides the full range of light frequencies, and the plants have evolved under those conditions for millions of years - so why would weed plants respond perfectly to anything less? That's not to say that you cant grow everyone's favorite plant under lights that do not provide the full spectrum, just that you will not get the same performance or yield as you would with lights that have been formulated to match the natural sunlight.
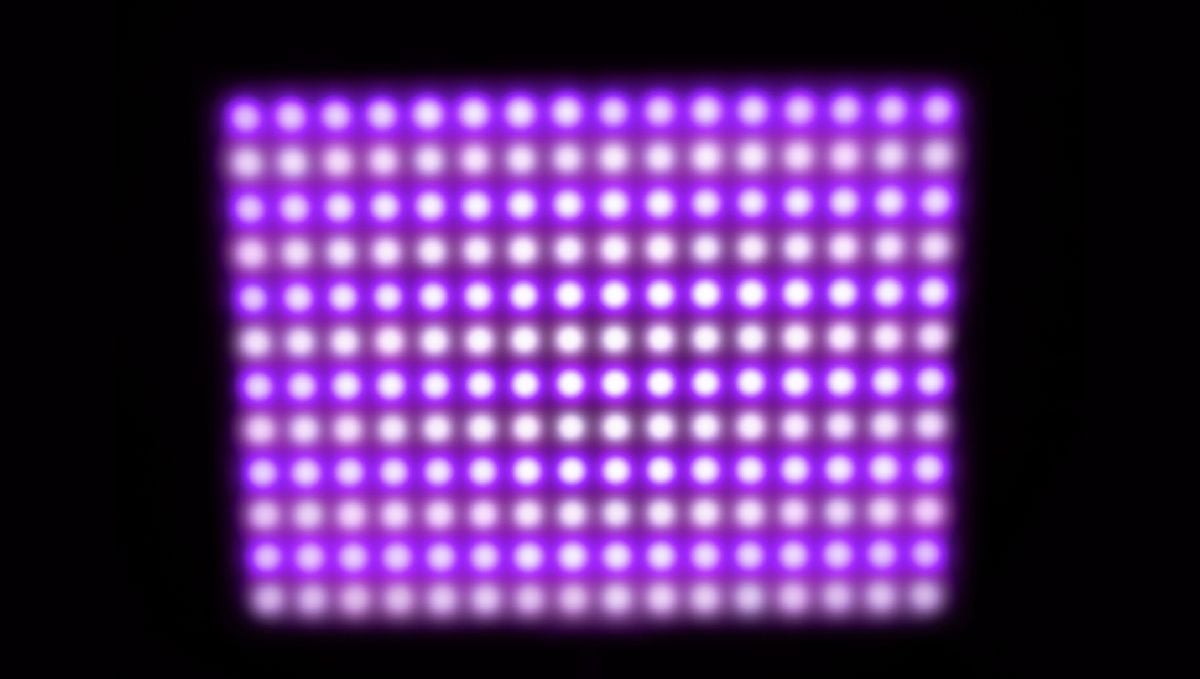
Furthermore, the intensity of the light you provide to your crop has a huge impact on the overall development and needs to match the stage of growth to see the best results. The intensity is measured in lumens, which you can easily find on the individual product pages for each light type - but in general, you will want to increase the intensity as the crop develops. Ok, enough of all that. Let's get into the lights themselves. We are going to go from the cheapest to the most expensive, and that order is also from worst to best (in most cases).
Fluorescent Bulbs (CFL)
Compact Fluorescent Lights (CFLs) are the usual go-to light source for small, or low-budget grows. They are affordable and easy to find and can be sourced from your big box home improvement stores or even certain supermarket chains. With standard socket sizing that offers a super easy setup, affordable prices, low energy usage, low heat emission, and a wide variety of options available, CFL bulbs are a great option for growers on a budget. They come in a range of wattage and spectrum options and make a great lighting choice for plants in the germinating and seedling stages.
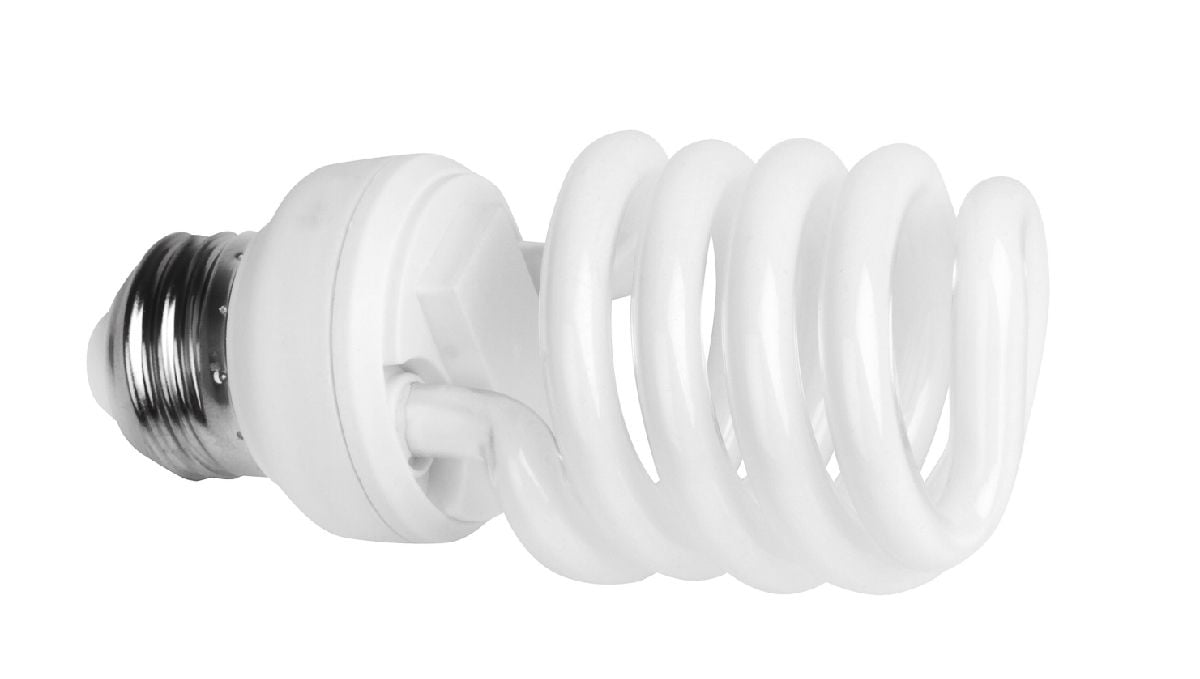
If you are setting up a micro closet grow or something of the like then CFLs may do the trick for the entire crop run, but they do come with some marked disadvantages. Their low power and intensity means that there is just no way that they will ever allow a cultivar to reach its genetic peak, and they are anything but optimal for the flowering growth stage. They also have a much shorter working lifespan than the other lighting options, but then again they are much cheaper. For the most part, unless you really have no other option available t you, we do not suggest growing under fluoros past the seedling stage. When considering the possible yield potential of CFLs, you can expect to produce under half a gram per watt or around 10 to 15 grams per light.
High-Intensity Discharge Bulbs (HID)
HID lighting was, for decades, the gold standard in cannabis lighting. Advancements in LED technology have overtaken them in terms of efficiency, but they still remain a much-loved choice for many growers thanks to their huge output and easy setup. High-Intensity Discharge Bulbs, to give them their full name, are available in three different spectrums - Metal Halide (MH), High-Pressure Sodium (HPS), and Ceramic Metal Halide (CMH). MH bulbs produce a bluer spectrum which is used during the vegetative growth period, while HPS bulbs produce an orange-ish pink light that is more suitable for flowering. CMH bulbs are a hybrid of the two and feature the best of both worlds in one neat package.
HIDs remain hugely popular despite their higher cost (when compared to CFLs) and power usage due to their much higher light output and intensity, which makes them great for indoor cannabis cultivation, but they do come with a few drawbacks.
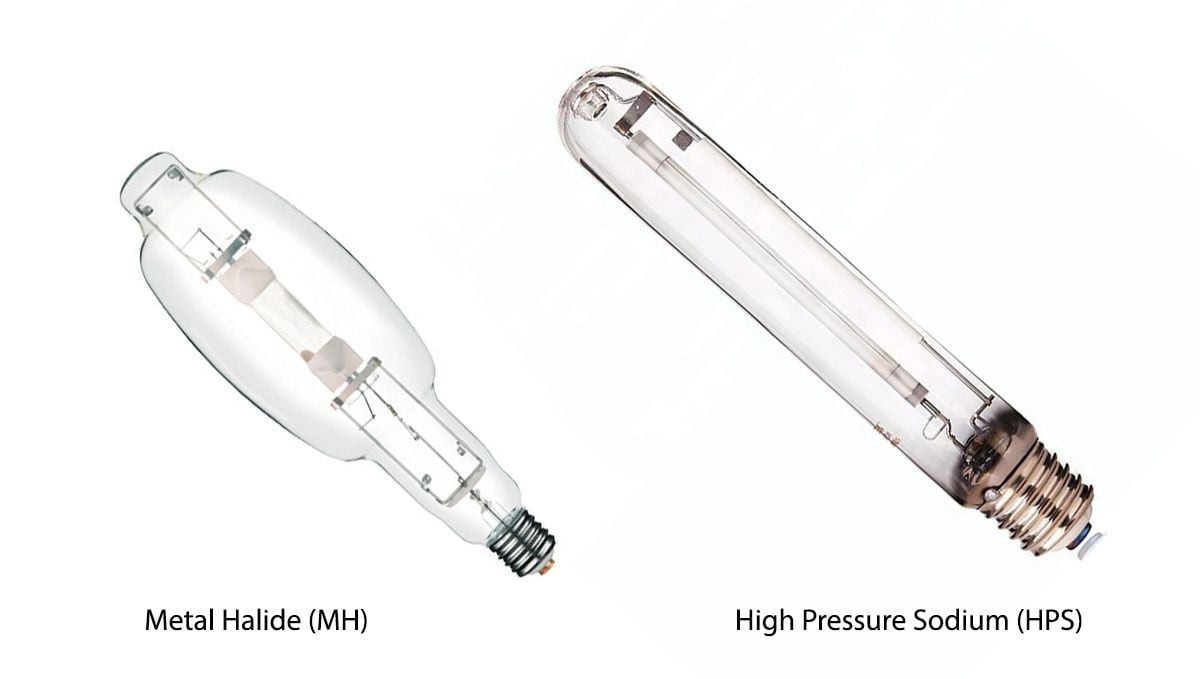
Firstly, they produce a bunch of heat. There are ways to mitigate this issue, such as using a cool tube fixture, but this is an inherent problem that can only be reduced, not eliminated. Furthermore, HIDs need frequent bulb replacement (every 6-9 months) and are also a bit of a hassle to set up. You need to purchase a separate lighting ballast to get the most out of them, and you will also need a hood reflector which can get pricey. Overall though, they are cheaper to buy outright than LED panels and produce amazing yield and potency results. Expected yields are around 1 gram per watt of lighting provided. So, if you create a 4x4 foot grow space with a 600W HID lighting rig, you can expect to pull around 600 grams of bud each harvest (strain selection and cultivation experience also play into this, as well as environmental factors)
Led Panels
While Light Emitting Diode grow lighting options have been around for more than ten years, they are still somewhat considered to be the new kids on the block. But, in the last few years, we have seen the tech come along a huge way, to the point where they have now overtaken HID options as the very best a grow room can get. Sure, you will still pay a little more for a good LED panel than a HID rig of similar output (although the prices are still dropping and are not far off the competition), but they come with so many advantages. In this day and age, there really is no reason not to use an LED panel, unless you just can't afford one.
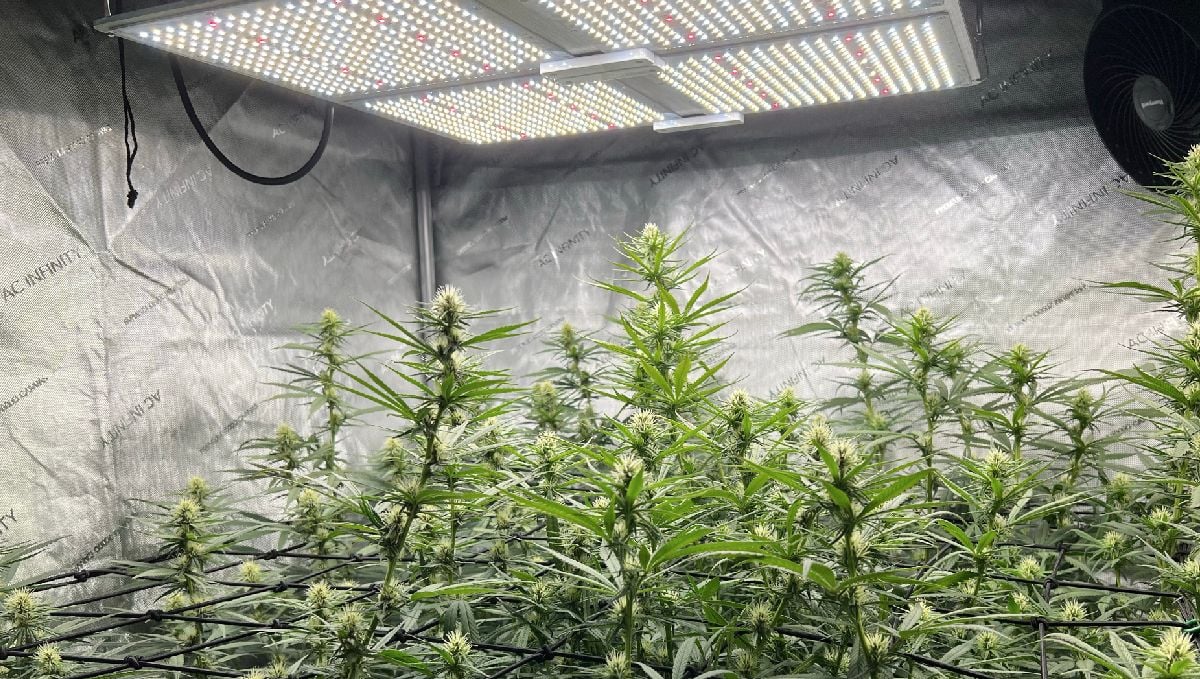
These pros include huge savings on energy bills thanks to the fact that they consume less than half the energy of HID bulbs, which in turn means they also run much cooler. This makes them much easier to implement into any sized grow space, but especially smaller ones. They don't require a separate power ballast, come in a range of size options, and the newer technology is light spectrum tuneable, meaning they offer the full light spectrum. Honestly, just save your shekels until you can afford a LED panel that suits your growing area. You'll thanks us and yourself in the long run. In terms of yield potential, new LED panels can match (or even surpass) HID options. Expect at least 1 gram per watt once you have all of the other considerations dialed in.
Some Extra Tips for Lighting Considerations
Wattage is not the Be-All and End-All
Power equivalence is something that should be well understood before you make any decision about the lighting type you run with for your grow room. Wattage is a figure that is used to measure energy input, not the actual lighting power output. Let's look at an example to better explain. Say we put a 400W CFL side by side with a 400W HID rig, and a 400W LED panel. The differing technologies have different efficiency ratings, meaning the output from the three identical wattage lights will be very different. The CFL will obviously lag behind the other two by a fair margin, but how about comparing the wattage of HID and LED options?
You might think that if both are labeled 400W, then they'd be the same output. This is not true though - LED panels are more efficient, so you'd actually be getting higher output from the LED compared to the HID. So, even if the watts are identical, the lighting intensity and power output can be higher in one type than another.
Lighting Positioning is Key
The distance from the canopy that you are able to set the lighting rig to is also dependent on the type of lighting you decide on. HID bulbs will need to be set a fair way from the canopy (the top of your plants) due to the heat output, and you will also need to be mindful of the fact that the light produced is not spread evenly. This means it can create hot and cold spots in the room.
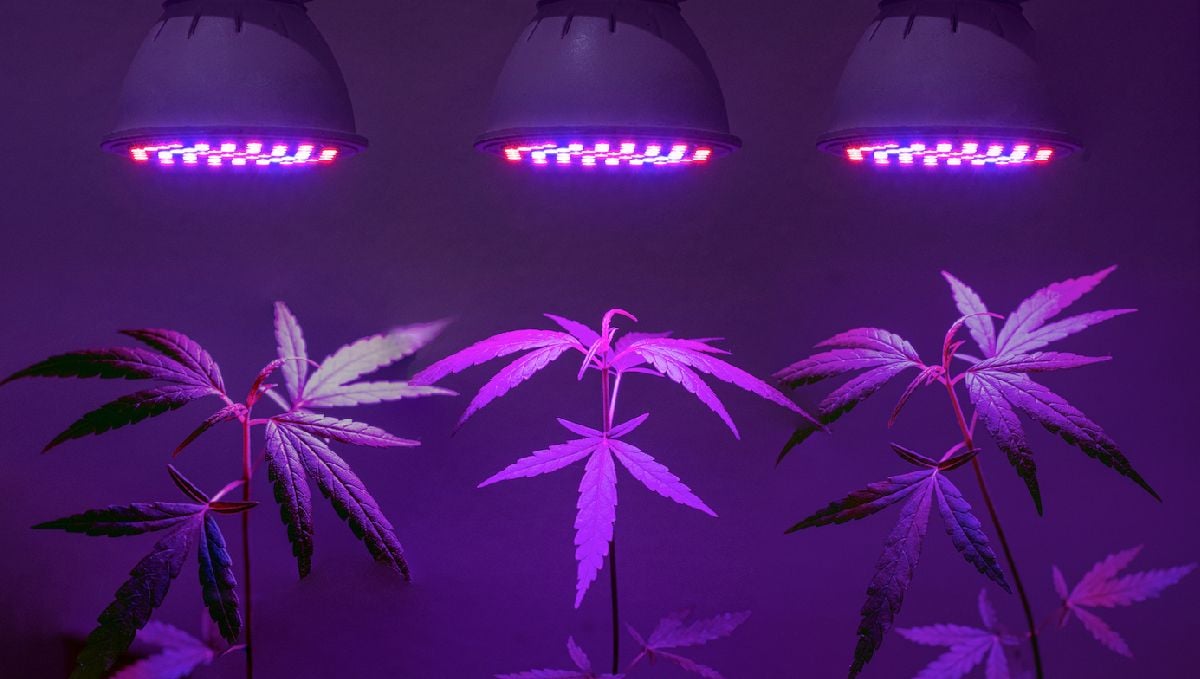
LED panels are far better suited to close proximity grow lighting, and can be set as little as 8 to 10 inches away from the canopy depending on the panel. This type of proximity reduces the spread of light but also prevents hotspots from forming. Plus, no matter how close you place them to the plants, they still won't heat up your grow room and cause any heating or light burn issues.
Cover Your Grow Area in a Reflective Coating
This may seem like the most obvious tip in the whole wide world, but if you want to get the most out of any lighting option, you are going to want to cover every square inch of your grow area in a reflective coating. Essentially, this will act as a makeshift mirror for the light to bounce off of, meaning it can reach the plants from any angle. This is especially important if you are running an HID light, as their odd spread of energy can mean much of the light is wasted. A reflective coating will get the most out of your lighting rig by bouncing off all of the light in multiple directions, making sure your plants get the most out of it. Simple.
2. Cannabis Lighting Frequently Asked Questions
No matter how in-depth we go into a particular subject, there will always be at least a couple of lingering questions, especially for the newer growers out there. This is anything but a complaint - we love helping growers hit their targets, and lighting is a key factor in that. So, let's run through a few of the most commonly asked questions relating to lighting and see if we can answer them in the most straightforward and easy-to-understand way.
What is the best type of lighting for a grow room?
That really depends on what your particular needs are, but in the vast majority of situations we recommend going for a full spectrum LED quantum board. There are so many options available these days, but if you can get a board with Samsung tech then you should be very happy. For slightly cheaper options, look out for boards from Spider Farms, MARS HYDRO, VIVOSUN, or even HLG. All of their boards offer exceptional value for money and very good reliability.
How many hours a day should I run my lights?
That depends on whether you are growing photoperiod or autoflowering strains, and what stage of growth the crop is in. For autos, it's really simple. We recommend going with 18/6 or 20/4 for the entire lifecycle. Some growers swear by the 24/0 schedule for running autos, and while we do see good results from this timing, we also like to give our crops a few hours of rest each day.
For photos, you are going to want to keep the lights ay 18/6 all the way up to when you're ready for the crop to start flowering. Once you are happy with the size of the plants, switch the timing to 12/12 and let nature do the rest.
What is the best temperature for cannabis grow lights?
It's not so much the temp of the grow lights that you need to worry about, but the temperature of the grow area itself. You want to keep it around 80F (25C) during the day, and as close to 70F (21C) as possible at night. This range ensures your plants are getting the right amount of heat and light, and that they can cool off when needed.
How about lighting for micro-grows?
Look, this can be a tricky one for sure. You 100% do not want to be going for an HID rig in a tiny area, which leaves two options - CFL or LED. In the past, we would have usually recommended going down the CFL road for small grow areas, but these days there are so many LED size options available. Sure, they may be more expensive than CFLs, but they're more reliable and you won't have to worry about replacing bulbs all the time. Plus, you will be able to grow the plants that dreams are made of, even inside an itsy-bitsy closet.
Are there certain training techniques that work better with certain lighting options?
No, not really. This comes down more to the strain you are growing, but keep in mind that HID and LED are the only two types of lights that can be moved closer or further away from the plants to adjust intensity. For CFLs and T5s, you will have to rely on shutters and reflectors to get the most from the lights. However, if you are setting up a growing area with just CFLs, you can save time and money by using multiple small lights instead of one big one.
In terms of training autos, never go too hard. Autoflowering strains don't have the time to recover from heavy stress, so always take it easy with your auto queens.
3. The Wrap-Up
So, there we go. All there is to know about the three main grow light options for indoor cannabis cultivation, and all the associated pros and cons for each. Now it’s just a case of finding the best solution for your particular needs and getting to work on that grow room. LED panels are the number one pick for most growers, but if you are on a budget then CFLs and T5s can still get the job done. Unfortunately, the days of the HID dominance are behind us, and while goodbyes can be a little sad, LED panels will help you achieve your goals with ease. Happy growing, and don't hesitate to leave a comment below if you have any other questions!



Comments