The Three Easiest Edible Recipes You Can Make Without Using an Oven

- 1. Weed-infused no-bake chocolate bars
- 2. No-bake rocky road cookies
- 3. Dosed nut butter
- 4. Cannabis-infused coconut oil
- 4. a. What is decarbing, and why is it necessary?
- 4. b. Slow-cooked cannabis-infused coconut oil
- 5. The best strains to use for canna coconut oil
- 6. Why you should consider autoflowering strains of cannabis
- 7. Conclusion
So, you've got a hankering for some downright delicious edibles, but don't want to spend hours slaving away in the kitchen preparing them? Well, you're in luck! Coming right up is our top 3 list of the easiest no-bake weed edible recipes. All of these recipes are simple and quick to make, and they require minimal ingredients - most of which you may have in your kitchen pantry already. So, no matter whether you're a bit of a klutz in the kitchen or an everyday Gordon Ramsey, really anyone should be able to whip up all these quick and tasty recipes in no time at all, and without ever having to fire up the oven.
Note - We have assumed that you have a batch of delicious and highly potent cannabis-infused coconut oil to use in these recipes. No stress if not, as we have included our famous recipe for the very best slow-cooked canna coconut oil below the recipes - plus a full guide on how to also properly calculate the dosage! So, without further ado, we present to you our favorite no-bake weed edible recipes.
1. Weed-Infused No-Bake Chocolate Bars
These indulgent chocolate bars are not only super easy to make, but they are also fully vegan-friendly - as long as you stick to dairy-free, high cocoa content chocolate. Plus, feel free to add whatever ingredients you like.
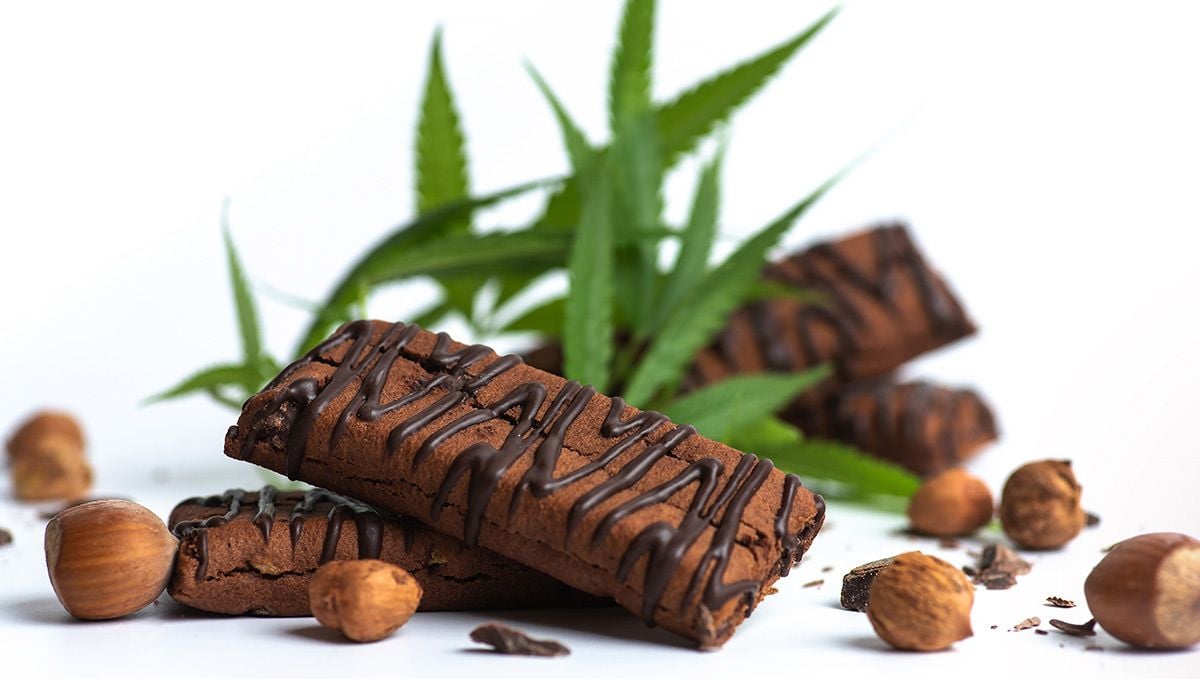
Get creative and mix it up! This recipe doesn't involve adding any extra sugar, but depending on the chocolate you decide to use you may want to add a little extra sweetness.
Equipment Required
- One large cooking pot
- A wooden spoon or electric egg beater to mix
- 3 plastic take-out containers, or any Tupperware that is similarly sized. You can also use whatever container you have laying around.
Base Ingredients
- 400 grams of dark cooking chocolate
- 120 ml of coconut milk
- 240 ml slow-cooked cannabis-infused coconut oil
- 1 tablespoon of cinnamon
- A large pinch of salt
- 1 teaspoon of vanilla extract
Optional Extras
- Nuts
- Marshmallows
- Dried fruit
- Desiccated coconut
Method
- Set a large pot over on the cooktop over low heat.
- While stirring, slowly add your chocolate until it has all melted.
- Next, mix in the coconut milk, cinnamon, vanilla extract, and salt.
- Then comes the slow-cooked cannabis-infused coconut oil. Be sure to mix this in very slowly, otherwise, you run the risk of the whole thing separating during the cooling process. You can mix by hand, or with an eggbeater if you have one available.
- Once everything has melted down and combined nicely, feel free to mix in whatever extra ingredients you prefer - We love adding a few toasted hazelnuts and some dried coconut for a tropical Nutella twist.
- Let the mixture cool to room temp, then pour into plastic containers. This recipe should make enough for about 3 regular takeaway containers, with a pour height of about 1 inch (the same height as a regular chocolate bar).
- Transfer to the fridge and leave to set for 3 hours.
- You can cut the bars however you like, but we find that container can make between 8 to 10 small bars each.
2. No-Bake Rocky Road Cookies
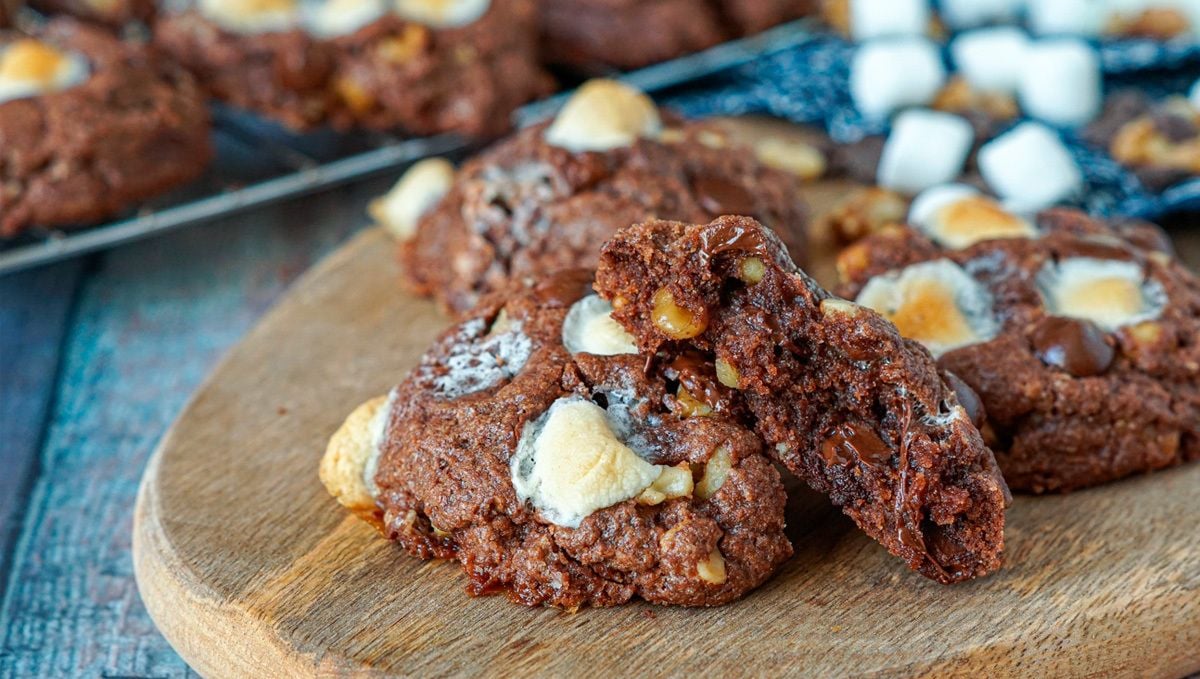
Everyone loves a chewy cookie, but is there anything more satisfying than a rocky-road version? Especially when dosed with your favorite weed? Probably not.
Equipment Required
- 1 large cooking pot or saucepan
- Baking or parchment paper
- 2 baking tray
- 1 wooden spoon or silicone spatula for mixing
- 1 large serving spoon
Base Ingredients
- 240 ml of slow-cooked cannabis-infused coconut oil
- 450 g of sugar. Any will do, but raw, granulated sugar is the best for this recipe.
- 240 ml of milk. You can use cow's milk or dairy-free options, whatever you prefer.
- 130 of unsweetened cocoa
- One large handful of mini marshmallows
- 3 tablespoons of crunchy peanut butter
- 440 g of quick oats. These work better than regular oats, as they are primed for quick absorption.
- 1 decent pour of vanilla extract.
Method
- Set the cooking pot over a low heat and pour the slow-cooked canna coconut oil, cocoa powder, milk, and sugar in. While constantly stirring, slowly bring the mixture up to boiling and continue to cook for 2 mins.
- Turn the heat off, and add the peanut butter and oats. Mix well.
- When the mixture has cooled slightly, mix in the mini marshmallows and the vanilla extract. If you do this step too early the marshmallows will melt. We like to mix about half in first and let them melt slightly, then the rest after the mixture has cooled.
- Using the large serving spoon, place a cookie-sized amount onto the parchment paper-lined baking trays. This should make around 50 cookies.
- Let them cool and harden up in the fridge for about an hour. Enjoy immediately, or store in the fridge for 2 weeks or in the freezer for up to 6 months.
3. Dosed Nut Butter
This versatile recipe can be used to make any medicated nut butter you like with great results. We have tried it with peanuts, almonds, hazelnuts, and cashews to great success.
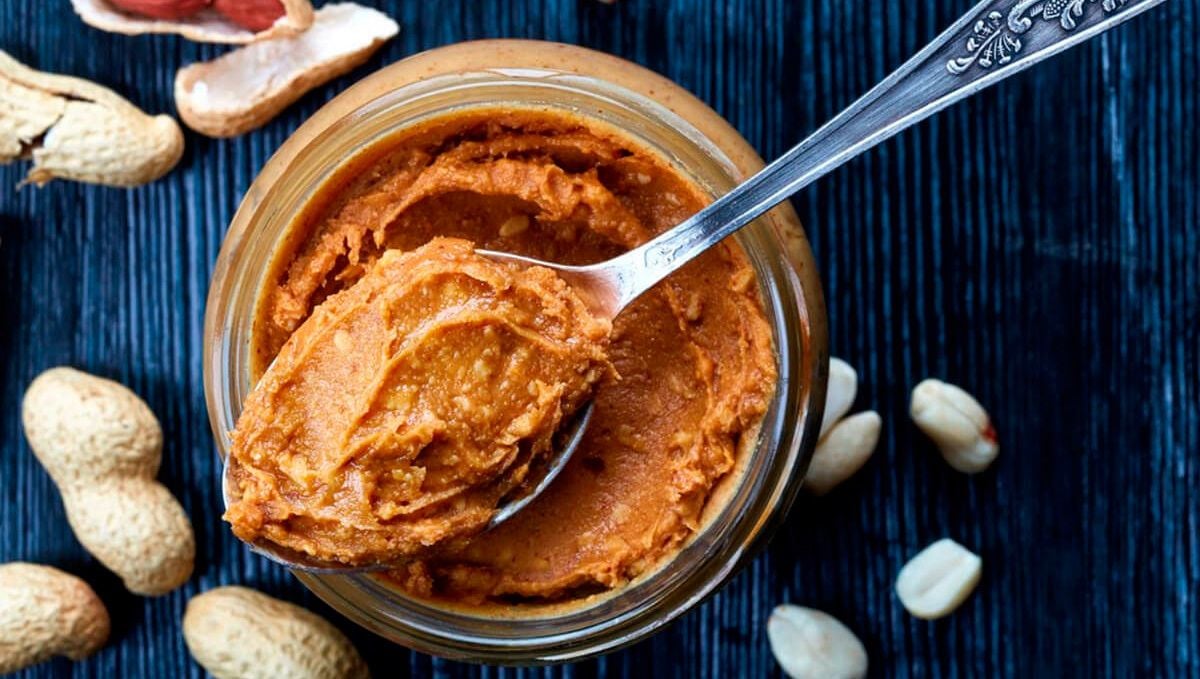
The butter can be used straight on a sandwich or combined with other edible recipes to supercharge the potency.
Equipment Required
- A large frypan
- A food processor
- 1 medium-sized resealable mason jar for storage
Base Ingredients
- 375 grams of unslated, raw peanuts - or whichever nuts you prefer.
- 125 ml of slow-cooked cannabis-infused coconut oil.
- 1 teaspoon of Kosher salt
Method
- Set the frypan over medium heat and add the nuts without any oil. Cook for about 4 minutes while stirring constantly to give them a nice dry roasting. Set aside to cool for 10 to 20 minutes.
- Add the nuts to the food processor and blitz on high power for 20-second intervals.
- After 5 pulses start adding the oil slowly in between each pulse.
- Keep mixing until the butter turns into that creamy goodness you are looking for.
4. Cannabis-infused Coconut Oil
Cannabis-infused coconut oil is the new cannabutter. It is incredibly easy to make at home and only requires a few simple ingredients. All you need is some good quality cannabis (preferably freshly ground), some unrefined coconut oil, and a little bit of time.
Coconut oil is rich in antioxidants and has been shown to improve cardiovascular health, boost immunity, and aid in weight loss. It's also totally vegan and adds a delicious tropical flavor to your edibles. Way better than butter, right? And when you infuse it with weed, you get all the benefits of cannabis without having to smoke it. First things first, you'll need to decarb the weed.
What is decarbing, and why is it necessary?
The main psychoactive ingredient in weed is THC, but in raw unheated cannabis, this compound takes the form of THCA (tetrahydrocannabinolic acid). Decarbing, or decarboxylation, is the process of heating weed at a very low temperature for about 25 mins to convert THCA into THC. This starts a chemical reaction that allows the release of a carboxyl group, turning it into the psychoactive THC that we all know and love. It's an essential step in the edible-making process as your infused oil won't reach its max potency potential without it. Sure, the cooking process itself will ensure a certain level of decarboxylation is reached, but for the best results, we always suggest going that extra step and decarbing your buds prior to making you canna coco-oil.
Decarbing weed is simple: just put the buds into an oven-safe dish, cover it with aluminum foil, and bake it at your oven's lowest temperature for about 25 minutes. If you are worried that your oven may be a little hot, even at the lowest setting, then you can leave the oven door slightly cracked to keep the temp down. The perfect temp for decarbing cannabis is about 250°F (121°C) with a bake duration of 20 to 27 minutes. Now that the decarbing is finished, let's look at the best canna coco-oil recipes
Slow-cooked cannabis-infused coconut oil
While you can get away with using a quicker method, for the tastiest and most potent results this is the recipe we recommend. Yes, it does take a little time and patience, but as long as you follow the easy steps and trust the process you'll be rewarded with the best canna coco-oil possible. The slower cooking process ensures that even if your buds haven't been perfectly decarbed, the maximum amount of THC will be extracted.
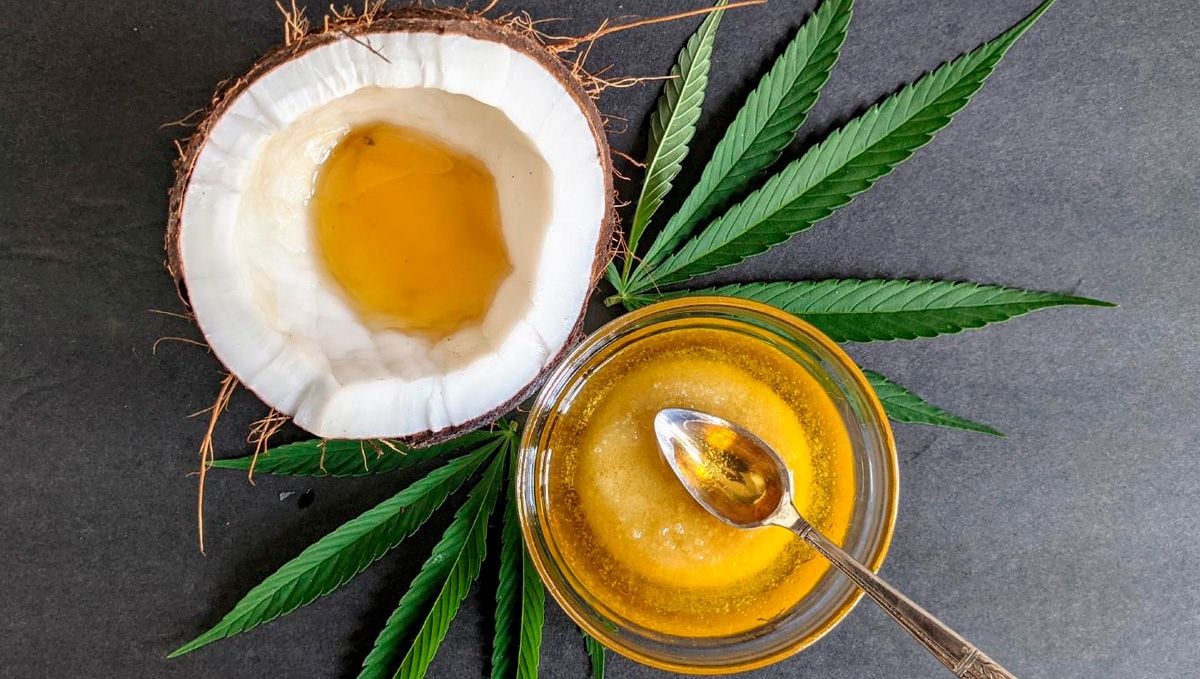
If you own a slow cooker then grab that bad boy out, but this piece of equipment is anything but necessary. All you really need is a large cooking pot and a stovetop. the steps are as follows:
- Fill the slow cooker or pot with about 1.5 liters of water and bring it to a boil.
- Add your coconut oil (virgin is best, but you can use whatever you have laying about in the pantry) and bring the heat down to a low simmer. For a slow cooker, set it to the lowest setting. If you are using a stovetop then turn it all the way down so the oil and water mixture is only just bubbling.
- Once this has come up to heat, add your decarbed weed. Remember, this should not be boiling, a low simmer is all we are looking for.
- Leave the pot simmering for about an hour, and then remove it from the heat for a similar amount of time. Repeat this process at least 4 times. If you are using a slow cooker, you can just leave it on and bubble away slowly for 5 to 8 hours.
- Once you have finished the cooking process, it's time to strain the whole thing into a container. If you have some cheesecloth hanging around then use that, but a fine metal strainer will also work. Remember to give the whole thing a bit of a squeeze to extract every last drop of the infused oil.
- Place the container into the fridge or freezer and wait for the oil to separate from the water and solidify on top. This should take about 45 mins or so.
- Remove the oil, reheat it slowly, and finally pour it into a storage container. A resealable mason jar works perfectly. There you have it, slow-cooked cannabis-infused coconut oil!
Ok, but how do we work out the dosage? There are a few factors to keep in mind when working out how strong your canna coco-oil will be. It's a bit of an inexact science if you don't have a readout of the THC percentages in the bud that you are using, but you can make some informed guesses. Just remember, always assume the weed is a little stronger and act accordingly. It's possible that eating more THC than you anticipated or are used to might be a little uncomfortable. It's not dangerous, but the effects last longer than when weed is smoked.
The calculations themselves are actually very simple. Let's say we have 10 grams of bud at 15% THC. This means that 15% of the total bud is pure THC. When we talk about edibles the THC content is displayed in milligrams, so first thing is to convert the 10 grams into milligrams. 1 gram is 1000 milligrams, so 10 grams is 1000 x 10 = 10,000 mg. To find out the THC content we simply multiply 10,000 mg by 0.15 (15%) = 1500mg of THC. So, if we could perfectly extract all of the THC, this is the amount we would get. Unfortunately, perfect extraction rates are impossible. When we decarb the weed we lose a little of the THC and this is also the case when we cook the canna coco-oil.
To calculate the decarb loss we multiply the perfect amount, 1500 mg, by 0.9 = 1350 mg. Then for the cooking loss, we multiply this number - 1350 mg by 0.6 = 810 mg. So, after the process of decarbing and cooking is finished, we would end up with oil containing 810 mg of THC. A normal dose of THC for edibles is anywhere between 5 to 20 mg, depending on the tolerance of the user. A happy medium would be 10 mg, so this oil will have enough THC for 81 edibles.
Ok, but what if the recipe only makes 20 edibles? Easy, just use a quarter of the infused oil and add enough non-infused oil so the recipe works. Whenever we make canna coco-oil we use about 1.2 liters. Once the cooking process is finished we end up with about 1 full liter of dosed canna coco-oil, which makes these sorts of calculations super easy in the end.
5. The Best Strains To Use For Canna Coconut Oil
When deciding on the strain to use to make your dosed coconut oil there are a couple of factors to keep in mind. First up, you should be looking for a strain that has a high amount of terpene production. The terpene profile should also be considered, as this is what will flavor the oil. Here at Fast Buds, we have a couple of great options, and they are all autoflowering strains which makes them perfect for novice and experienced growers alike!
| Strain Name | THC | Seed to Harvest | Height | Genes |
|---|---|---|---|---|
| Amnesia Z Auto | Up to 24% | 9 – 10 weeks | 70 – 120 cm | Sativa 75%/Indica 25% |
| Wedding Cheesecake Auto | Up to 24% | 9 – 10 weeks | 90 – 130 cm | Sativa 65%/Indica 35% |
| Strawberry Pie Auto | Up to 26% | 8 – 9 weeks | 60 – 100 cm | Sativa 15%/Indica 85% |
6. Why You Should Consider Autoflowering Strains of Cannabis
Autoflowering strains of weed are all the rage these days, but why? There are a couple of key reasons why they work perfectly both indoors and outdoor grow ops. First of all, you don't have to wait until spring to start growing weed. You can start growing weed any time of year with autoflowering strains.
Also, autoflowering strains are typically smaller and more discreet than other strains, which makes them perfect for growing in small spaces or places where you don't want people to know you're growing weed. On top of that, autoflowering strains are also known for being easier to grow than other strains, so they're ideal for weed beginners and autoflowering strains typically have a higher CBD content than other strains, especially strains like CBD Auto 20:1 and CBD Auto 1:1 (CBD Crack).
And most importantly, autoflowering strains are known for their ability to withstand tough growing conditions. They flourish in conditions where photo strains would struggle, including areas with inclement weather, high altitudes, and poor nutrient soil. They also have higher natural immunity to pest, mold, and disease issues.
7. Conclusion
So, which recipe is your favorite? And which one are you going to try out first? Let us know in the comments, and don't forget to share this post with all your stoner friends!






Comments