How To Store Your Cannabis Seeds
- 1. Cannabis seeds
- 2. Storing seeds
- 3. Ideal conditions for storing seeds
- 3. a. Light
- 3. b. Humidity
- 3. c. Temperature
- 4. Storing seeds for weeks
- 5. Storing seeds for months
- 6. Storing seeds for years
- 7. Germinating your cannabis seeds
- 7. a. What to do next?
- 8. In conclusion
Cannabis seeds are where all begins, the care you give your seeds will influence not only in how your cannabis grows but in the final harvest.
1. Cannabis Seeds
Before talking about how to store seeds we need to remember that your cannabis seeds are alive. Before they germinate they are kind of in a state of hibernation, and like all living things, they can die.
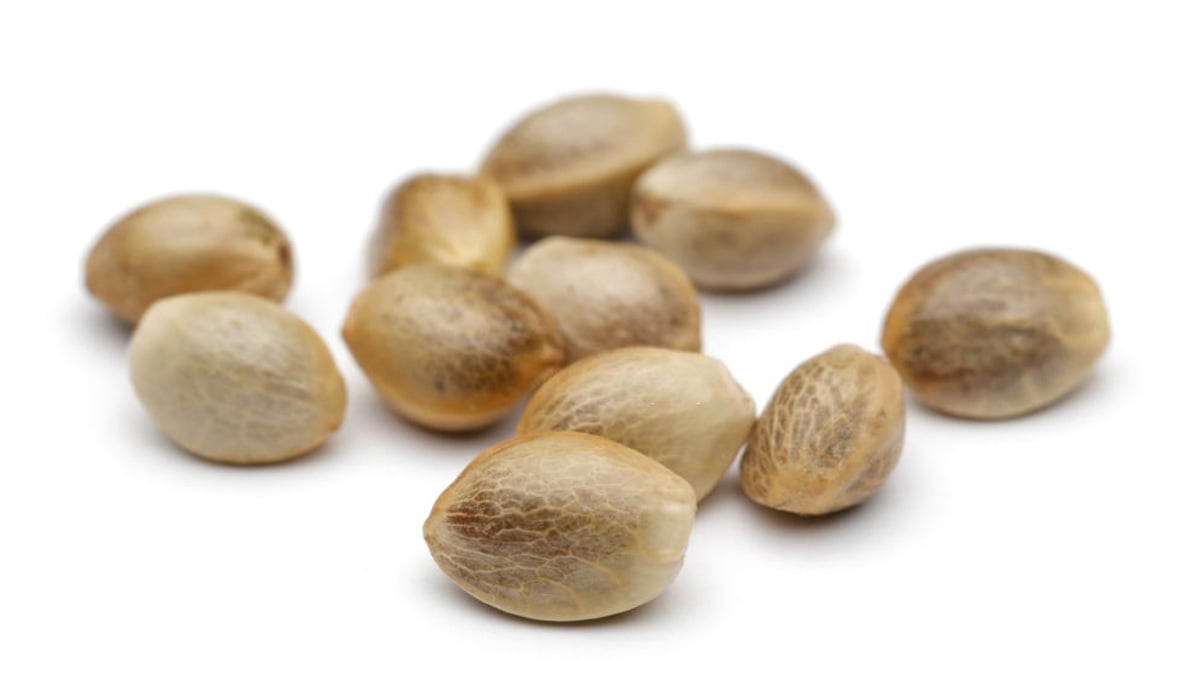
When storing seeds you want to provide optimal conditions to ensure they are still good until you’re ready to sprout them. As we’re dealing with nature, you need to keep certain conditions or this can have an impact. Even though seeds have a hard shell and are fairly robust, you should have the following points in mind to avoid any kind of problems in the future.
2. Storing Seeds
When stored under perfect conditions, cannabis seeds can be viable for up to 10 years successfully. Seed storage is important for many reasons, either you’re a home grower waiting for the special occasion to grow that unique strain you just bought or seedbanks who need to stock seeds for the eventual sale. Whatever your reason may be for having seeds, remember that taking care of them is one of the most important things you can do for your harvest. A badly stored seed may not germinate, and if it does it may not grow properly. There are various parameters you’ll need to follow in order to store seeds long-term.
3. Ideal Conditions for Storing Seeds
There are three main factors that can affect seeds in a bad way:
Light
If you’ve ever germinated cannabis seeds before, then you know that light is an important factor when it comes to the probability of the seed germinating or not. If your seeds are exposed to light for too long they may end up germinating before you're ready to plant them.
Humidity
Humidity is another incredibly important factor that can determine the success rate of your seeds as humidity is essentially what causes seeds to germinate. You don’t want them accidentally germinating, if they reach a certain humidity level they may start absorbing nutrients and end up too weak to grow normally, so you want to keep them in a relatively dry place. This obviously depends on your climate as there are places that have incredibly high humidity and others that are quite dry, which can directly impact how you have to store your seeds.
If there is as low as 8% humidity in the container it can cause fungi to appear inside and outside your seeds, at 40-60% your seeds will sprout and beyond that, they can drown in less than a day. Let's quickly run through all the possible scenarios at different humidity levels:
- 81 - 100% - Seeds will not survive more than 12 hours, and could drown in less than 4 hours.
- 61 - 80% - Still a high risk of your seeds becoming inactive, with the possibility of them dying in less than 12 hours
- 31 - 60% - This is the accepted germination range, although many cultivators prefer a 40 to 60% range
- 21 - 30% - this is the ideal storage humidity range for cannabis seeds
- 9 - 20% - If seeds are left for longer than a day or two at this humidity level, they are at risk of becoming a breeding greyhound for a range of non-beneficial fungi. This fungus can kill the seed in less than 12 hours once it takes a proper foothold
- 0 - 8% - This is the perfect humidity range for pests and insects to wreak havoc on your seeds
Temperature
The temperature at which you store your seeds is quite important. You’ll need to store them at around 6-8 celsius. You can keep them in your home fridge or even your freezer (however it’s usually not necessary).
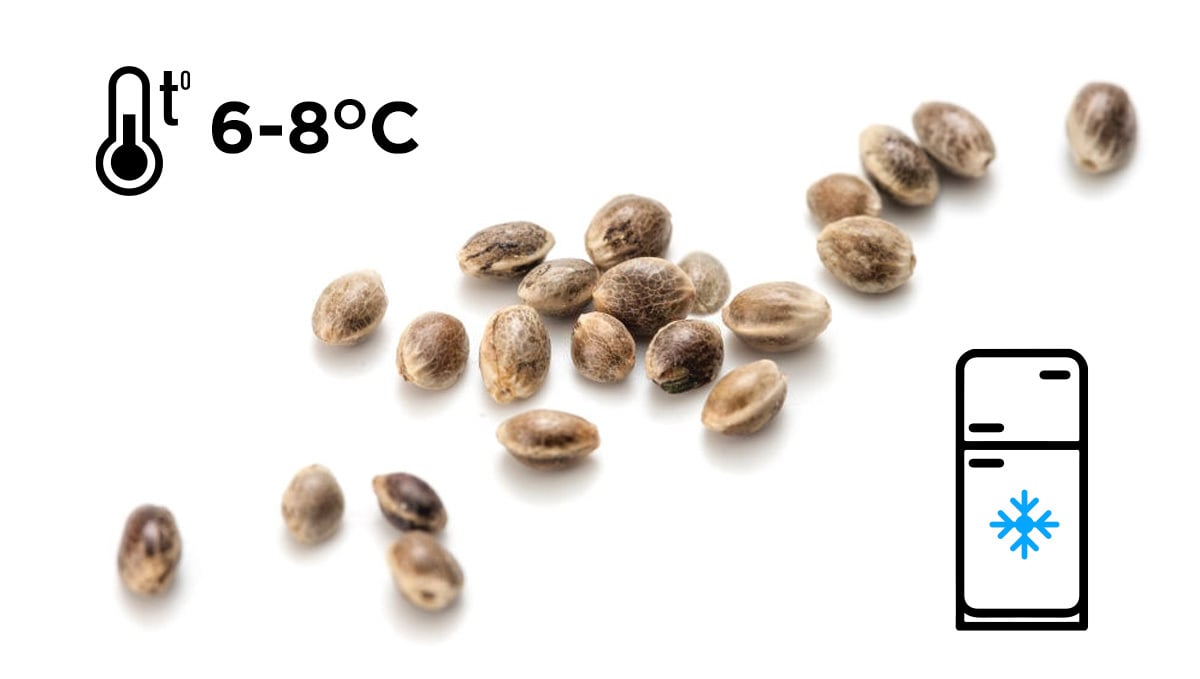
We recommend storing them in the vegetable drawer or far back in the refrigerator and using a small cooler or something similar so the temperature doesn’t oscillate when opening the fridge door or if the power goes out. A good general rule is that the lower the temperature that you store those precious little beads of expectant joy, the longer they will last, and the less chance you have of unexpected germination. Growers who like to play with strain genetics and produce their own cross breeds through seed creation will usually have a special, dedicated fridge or freezer that they only use for their seeds.
If you are using your normal fridge/freezer for seed storage there are a few key things to keep in mind. First up, seeds are super light sensitive, so however you choose to store them, make sure they are in a light sealed container. It's also good to ensure that your fridge or freezer has no frosting issues (as many older models will frost over without regular maintenance). This can lead to moisture being released if the temperature dips, which is not what you want if your seeds are stored there. If you have access to a vacuum sealer, then we recommend using it to first seal the seed fully - if you don't then a snap or zip lock bag will do fine. Then put the bag inside a light-proof container.
4. Storing Seeds For Weeks
If you’re storing seeds for a couple of weeks it’s okay if you leave them in the original package as long as they are in a dark, dry, and cool place.
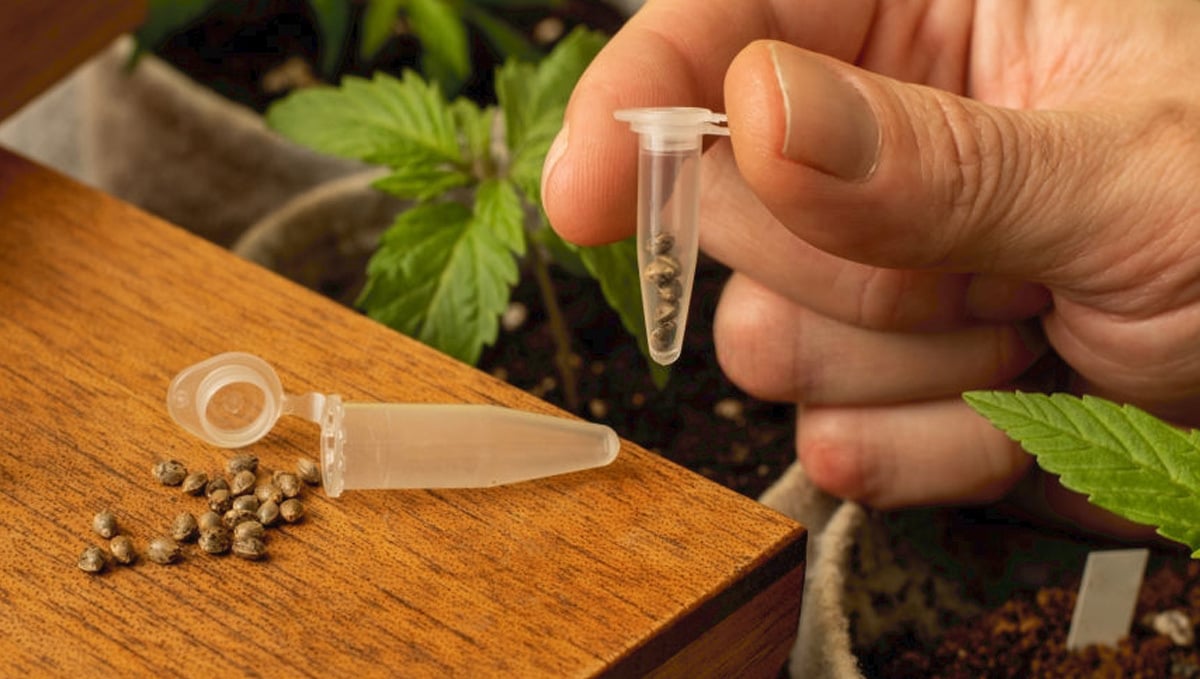
Usually, the package they come in is light-proof and water-proof, as long as you leave them in a relatively cool place like a drawer or something similar they will be good.
5. Storing Seeds For Months
If you’re storing your seeds for a couple of months it’s better if you store them in the refrigerator. This will guarantee the seeds don’t suffer from temperature swings. By keeping them in their original package or in a light-proof container you ensure they will be good for as long as you need.
6. Storing Seeds For Years
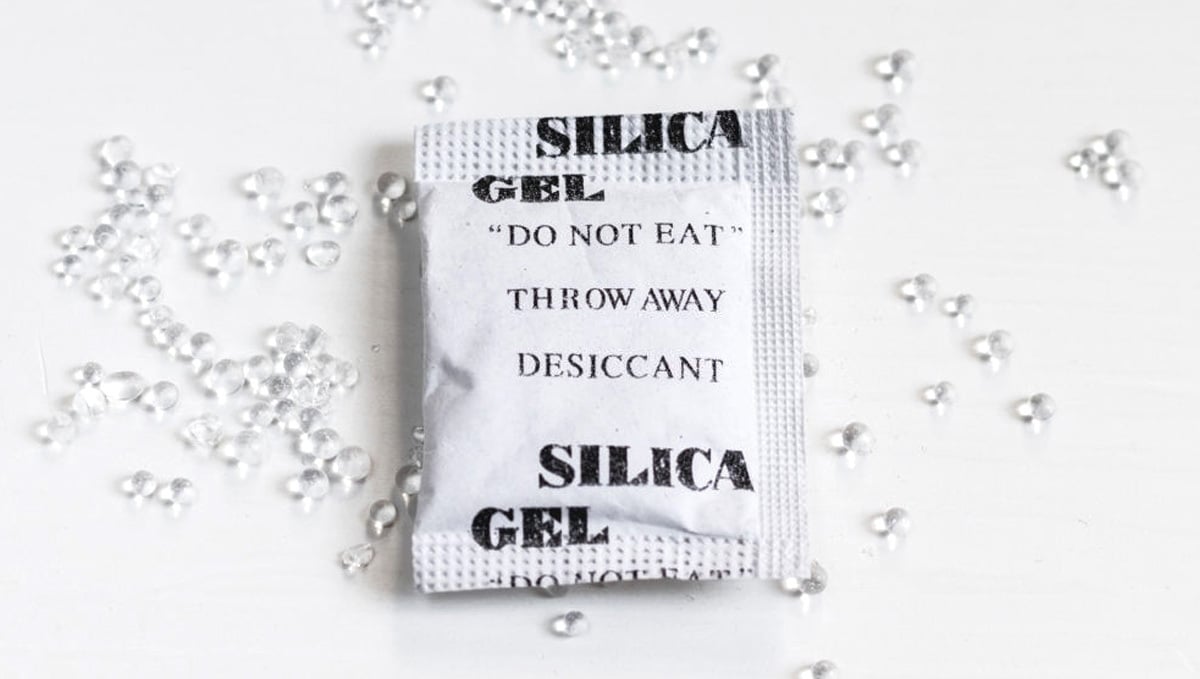
This usually applies to seed banks or breeders. If you need to store seeds for a really long time you can store them in a freezer. Even though it’s not necessary, it prevents your seeds from feeling the oscillation of temperatures even more. You can still store them in a fridge, it depends on what you prefer and what options you have available. Ideally, you want to store your seeds in a cool, dark, and dry place. When storing seeds in the fridge or freezer you can add silica gel sachets to ensure they’re completely dry. High humidity can trigger fungi to grow on your seeds. If your seeds get exposed to light or rapid changes in temperature it will trigger them to use up their nutrient stores before they ever see soil, meaning they won’t have the nutrients they need to germinate.
7. Germinating Your Cannabis Seeds
There is a handy, simple test to check if your seeds are bad. Just drop them in a cup of water (only once you are ready to actually germinate them). If they sink to the bottom and stay there then they are healthy and ready to be used. If the seeds float then there is a pretty high chance that they are not going to germinate. Don't throw them out just yet though, give them 3 days or so to see if they do sprout a tap root. There are a couple of common methods used to germinate cannabis seeds. Let's quickly run through them, starting with our favorite germination method to our least favorite.
The Wet Paper Towel Method
This method is simple, straightforward, and is the method of choice for most home growers. All you need is:
- A few paper towels (unperfumed and uncolored)
- Water that has a pH of 5.5 to 6.5 and at a temp of 22C or so
- A spray bottle
- Your cannabis seeds
- A tupperware container
Wet one of the paper towels and give it a light squeeze to remove any excess water. Lay it down flat and place 2 to 3 seeds onto it, with a spacing of about 2 centimeters between each seed. Then all you have to do is wet another paper towel, ring it out slightly, and place it on top of the seeds. Once this is all done place the envelope into the Tupperware container, and store the seeds in a dark, warm area.
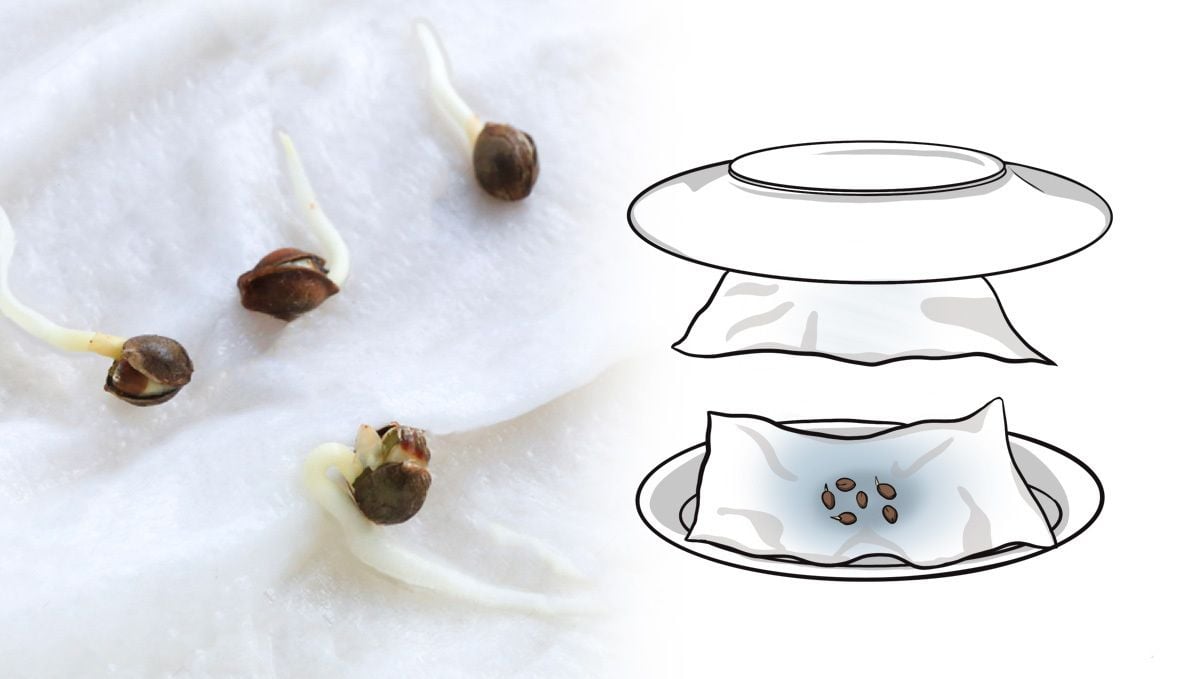
This method should allow the seed to germinate in 2 to 3 days. Check the seeds every day, and if the paper towel is starting to dry out then give it a light spray with your pH water.
The Rockwool Block Method
This method is just as easy and straightforward as the paper towel method. The only reason it's not number one on the list is that it requires the use of Rockwool, which is not as easily available for everyone as paper towels. The list of needed items is:
- Water that has a pH of 5.5 to 6.5 and at a temp of 22C or so
- Rockwool cubes
- A spray bottle
- Cannabis seeds
- A tupperware container
So, why is Rockwool a better germinating medium than paper towels? First up, paper towels are sometimes fragranced or colored. This is not good for cannabis seeds, and with Rockwool, you don't need to worry about this at all. Rockwool also has great water retention properties, meaning you will not need to re-wet it as often as you do with a paper towel. It also provides a great home for your baby plant for the first 2 weeks or so, which gives you more time to get your growing medium set up. First up, soak the Rockwool cube overnight in your pH-adjusted water. Then just drop your seed into the opening on the top of the cube, and place the whole thing in a sealed container. You should see the tap root after 24 -72 hours.
Glass of Water Method
Look, there are a bunch of cannabis cultivators out there that love this method of germination, and yes it will work in most instances. But, in our experience, the rate of germination is not as high as the previous 2 ways laid out. It is the most simple method though. All you need to do is drop your seed (or seeds) into a glass of pH-adjusted water and let nature take its course. Be very careful when transplanting the seed to its growing medium. Of course, you can just plant the seed directly into your soil or coco-coir - but this makes it much harder to check on the progress of the germination. There are also a bunch of targeted products for seed germination on the market. These work well but are usually pretty high priced. Why drop a bunch of cash on a piece of equipment when a paper towel, a Tupperware container, and some oH adjusted water will do the exact same thing. You can also do a few key things to help your seed germinate quickly, especially if they are old seeds that haven't been left in ideal conditions.
- Using finer-grade sandpaper, softly and gently score the outer shell of the seed. This helps the germinating moisture to penetrate the shell, which becomes tougher the older the seed is.
- If the outer shell is really thick and tough you can use a super sharp knife or even a scalpel to make a small incision in the shell.
- Carbonate water can help with germination, as can adding fulvic acid, or hydrogen peroxide to the water before soaking or spraying the seed and that's it!
What to do Next?
So, you have successfully stored those seeds (maybe for months, or even years), and the germination has gone to plan. The tap root has emerged, and those beautiful little beans are ready to go into the pots. What's next? Well, first things first. It's time to decide on what you are going used to grow your crop, otherwise known as the medium. There are 3 main options, each with its own set of pros and cons -
- Soil
- Coco-coir
- Hydroponics
Let's take a quick peek at all three:
Soil Cultivation
Soil cultivation is the most traditional form of growing, and still remains one of the most popular methods to this day. Cannabis-specific soil mixes are easy to come by and easy to use as they come packed with all of the nutrients that plants need in order to thrive - at least for the first month or so. All you have to do is water the soil and just let the microbes do the rest of the work, easy peasy. Look for an option that includes around 20% perlite, but don't stress too much as all the top-tier cannabis soil blends include this. This helps massively with aeration and drainage for roots, so your plants will be able to get all the oxygen needed, and you can avoid over-watering.
Look for an option that includes around 20% perlite, but don't stress too much as all the top-tier cannabis soil blends include this. This helps massively with aeration and drainage for roots, so your plants will be able to get all the oxygen needed, and you can avoid over-watering. No worries, you can make one easily enough. Head to your closest garden center and grab a bag of good quality compost or potting mix, a bag of coco-coir, and a bag of perlite. The ratio we usually go for is around 40% potting mix, 40% coco-coir, and 20% perlite.
Coco Cultivation
Coco-coir is a type of soil-less medium made from the ground-up outer husk of coconuts. This option is totally inert, meaning that it contains zero nutrients. While this might sound like a disadvantage, it's anything but. Overly nutrient-rich soil can actually burn your plant’s roots, making it difficult for them to absorb much-needed water and oxygen. Coco-coir on the other hand, allows more control over nutrient levels, meaning that you can tailor-make the mix to perfectly suit your particular strain of cannabis.
A good quality coco-coir will have all the necessary micronutrients, minerals, and trace elements necessary for optimal cannabis growth. There are a bunch of coco-coir-specific nutrient options on the market, and they do a great job. Coco also offers much higher rates of root zone oxygenation and drainage than traditional soil, and it's also lighter in weight so it's easier to move around and re-pot. Coco-coir strikes a perfect balance between soil and hydroponic cultivation styles and is a great option for new growers looking to dip their toes in both worlds.
Hydroponics
Hydroponics is an advanced form of cultivation that uses nutrient-rich water solutions to feed plants, instead of soil. This method is used by a lot of commercial growers because it can offer much higher yields than traditional soil, as well as a boost in potency thanks to the fact that the plants are getting the perfect balance of nutrients when they need it. Hydroponics requires a lot more attention and technical know-how than either of the other two options, so if you are just starting out you should probably give this one a miss for now.
This method is great for advanced growers who really want to dial in their process, and are willing to take the time to dive deep into cannabis cultivation. With that said, if you are feeling like you really want to give hydro a crack even though you are just starting out, who are we to tell you no? There is a huge range of hydroponic techniques available, some are super complicated, while others are pretty simple.
One Thing to Consider When Growing Autoflowering Strains
Now, if you are growing autoflowers, there is one vital thing that you need to take into consideration. We all know (and love) the fact that autos switch to the flowering growth phase no matter the lighting schedule, but this also means that they do not have time to bounce back from stress like their photoperiodic cousins.
And what is a major stressor? Transplanting. So, always plant your auto seeds in the pots you intend to harvest them from, so you skip any chance of transplant stress that can result in a stunt in growth. You also want to go easy on any plant training, and only use LST (Low-Stress Training) methods like tieing-down and ScrOG. Skip the topping, super cropping, mainlining, and whatever other HST you may be used to using on photoperiod plants.
8. In Conclusion
It doesn’t matter if you’re a breeder, a grower, or a seed bank, always keep your seeds following the tips above. This way you ensure your so precious genetics will still germinate when you are ready to grow them.



Comments