What Should I Do With My Sugar Leaf Trim?

- 1. What is sugar leaf?
- 2. Drying and trimming cannabis plants
- 2. a. Wet trimming
- 2. b. Dry trimming
- 3. Choosing to make hash
- 3. a. Ice water hash explained
- 3. b. Dry sifting explained
- 4. What about extractions?
- 5. Top 3 recommended strains for hash making and extracts
- 6. Using your sugar leaf trim to make cannabutter or cannaoil for edibles
- 7. In conclusion
Once upon a time long before bubble bags were available and the hash and extracts seen were almost non-existent, 99% of home growers would discard their leftover leaves and lower buds. Nowadays many growers go to extreme lengths to produce the finest hash and extracts on the planet, so below you will learn what can be done with your leftovers, how to make hash and why you should never throw them away ever again.
1. What Is Sugar Leaf?
This basically refers to the leaves that are closest to the buds, meaning they will have the most resin content. Sometimes fan leaves can even display resin, however, the majority of the time, it is the smallest leaves that are closely packed around the buds. As the name suggests, these leaves will hold many precious trichomes clustered around the leaf. They will also have the same quality terpene profile as the buds and should be delicately collected.
Discovering the difference between fan leaves and sugar leaves will help you dial in your cannabis anatomy. As their name suggests, fan leaves are the larger fan-like foliage that develops during the vegetative phase of the growing cycle. Their large surface area makes them highly effective at absorbing sunlight and converting it into energy that plants use to develop and grow. But make no mistake, fan leaves also harbor trichomes. You can see this for yourself by taking a closer look using a loupe or another form of a magnifying glass. Because they possess these glands, they also help to deter insects, defend against UV rays, and fix nitrogen from the atmosphere that ultimately helps to build structural proteins.
So, how do sugar leaves differ? Well, first of all, they’re much smaller in size. These tiny leaves help to make up cannabis colas. They also photosynthesize and provide developing buds with a local source of sunlight and carbohydrates. Size considered, they also feature a much different shape. Whereas fan leaves possess numerous extended leaflets, sugar leaves consist of one singular serrated leaflet. Sugar leaves also contain fair higher concentrations of glandular trichomes that give them a frosted and sugar-coated appearance. Such high levels of trichomes mean they produce more valuable secondary metabolites than fan leaves, including cannabinoid acids such as THCA and CBDA and a wealth of aromatic terpenes that underpin the flavor and aroma of each strain.
Their high volume of trichomes means they contribute to the defense of colas; the potent hydrocarbons they produce help to deter herbivores while attracting pollinators (although the majority of growers home to avoid pollination in order to achieve true seedless sensimilla). Much like the buds themselves, sugar leaves are more valuable to growers than their fan leaf counterparts. Although they house fewer cannabinoid acids and terpenes than buds, they still produce enough to make them worthy of harvesting and processing. In this article, you’re going to learn why you should keep hold of your sugar leaves after trimming and how to make the best use of this vegetative resource.
2. Drying and Trimming Cannabis Plants
Trimming cannabis is simple, right? Agreed. But there are several things you need to take into consideration before you start aimlessly chopping away at your sugar leaves. The most important decision involves deciding on whether to trim your flower while they’re fresh or after you’ve dried them. This might seem unnecessarily nuanced, but different approaches to trimming provide unique benefits and downsides.
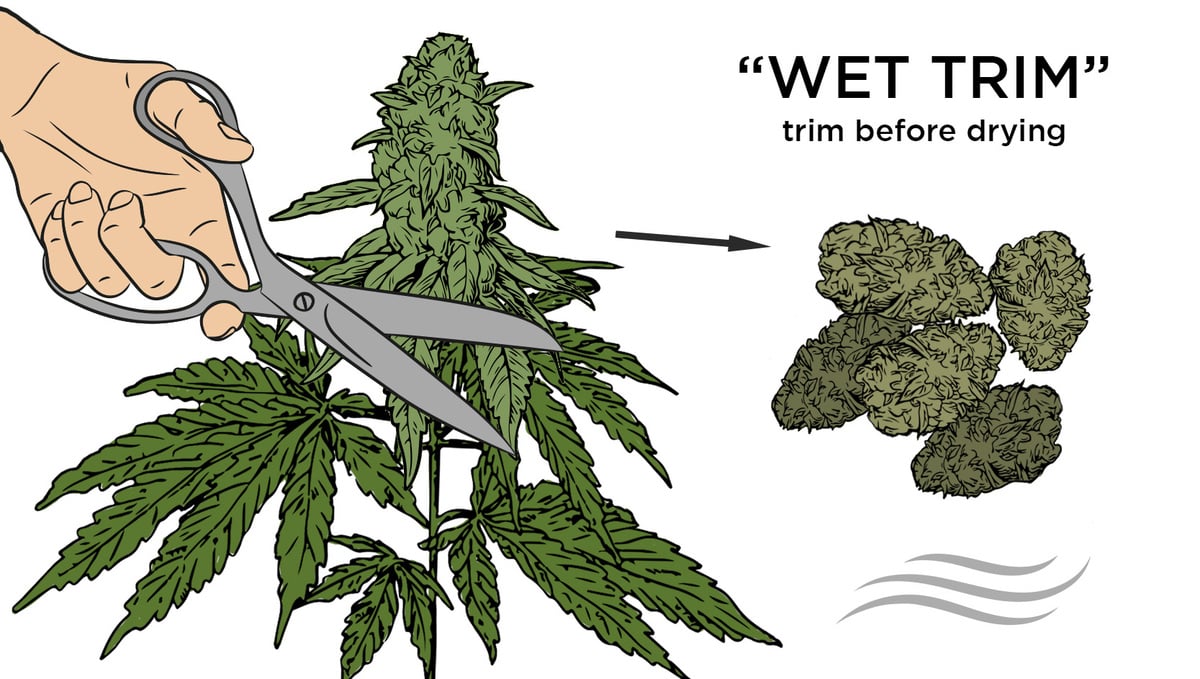
There are two main methods of drying and trimming Cannabis plants. One method involves trimming every leaf meticulously when the plants are freshly harvested. This is known as wet trimming and can be very time demanding. Sure, things will get sticky. But don’t get it twisted. Many growers choose to pursue wet trimming because it comes with some key benefits.
Wet Trimming
The benefits associated with wet trimming are:
- The grower can make fresh frozen hash or extracts. This means the cannabinoids in the plant have not got decarboxylated and have the same terpene profile as when freshly harvested.
- If making B.H.O, then the end product again will be classed as live resin and a highly desirable smoke.
- Buds can be cut down to an identical consistency, then placed onto a mesh drying net to be aired out for the duration of the drying process. As the main stems and stalks containing most of the moisture are not present the drying process is speeded up.
- It is easily possible to make a fresh frozen isolator using bubble sieving bags, ice, and water to smoke before your crop is close to being dry.
Dry Trimming
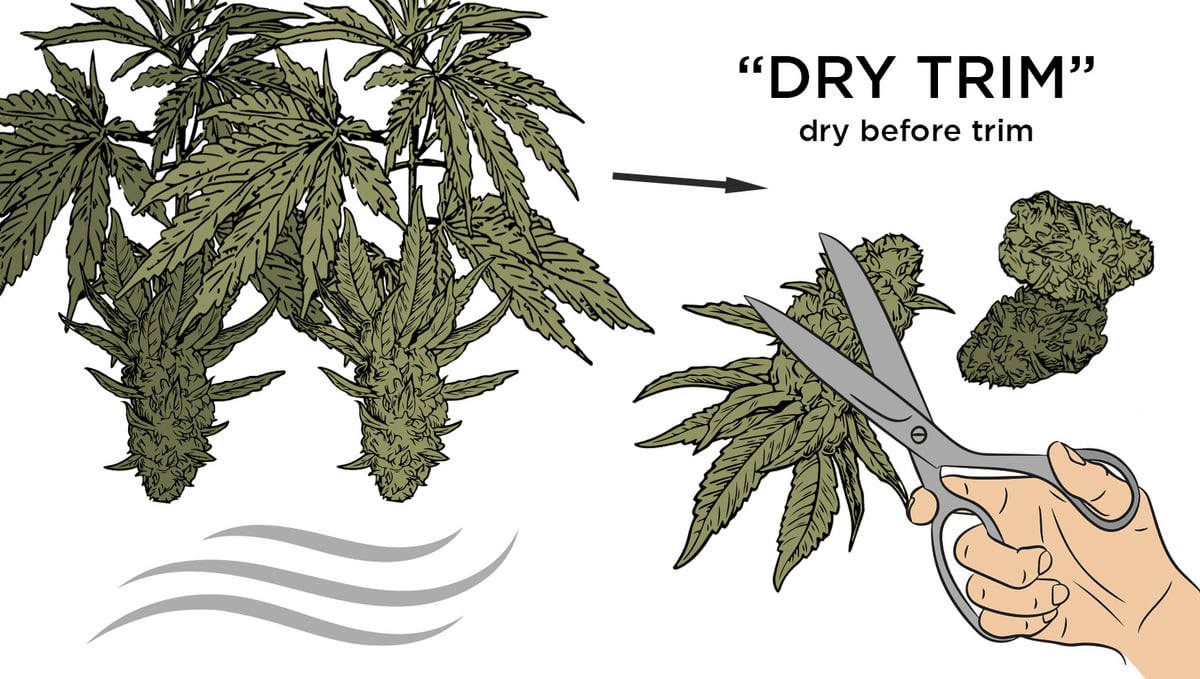
The other method is dry trimming meaning there is no hands-on trimming performed until the buds are fully dry, after 10-14 days of hanging in a temperature-controlled environment. Dry trimming should be done over a sifting screen to collect all of the falling trichome heads.
Ultimately, dry trimming helps to avoid the sticky mess that often manifests when growers elect wet trimming. However, after drying, sugar leaves become considerably shriveled. This change in shape makes them more fiddly and slightly more difficult to work with. But don’t let this put you off before you discover the benefits of this technique below. Dry trimming works particularly well when you have a lot of flower mass to work with. Drying everything first ensures that your bounty is protected from excess humidity and mold before the trimming process begins.
The benefits associated with dry trimming are:
- The dry sift on the collecting screens can be collected and pressed into a ready-to-smoke piece of hash (as opposed to having to wait for the isolator to dry).
- The buds have fully dried meaning they have decarboxylated and are now rich in THC and contain a different end flavor due to the change in cannabinoid profile.
- Sifting tumblers are an excellent way to produce trichome heads, and can be done with dry buds, or dry sugar leaf.
- It is possible to press the dry sift pollen into rosin using a micron mesh filter, parchment paper, and a rosin press.
3. Choosing To Make Hash
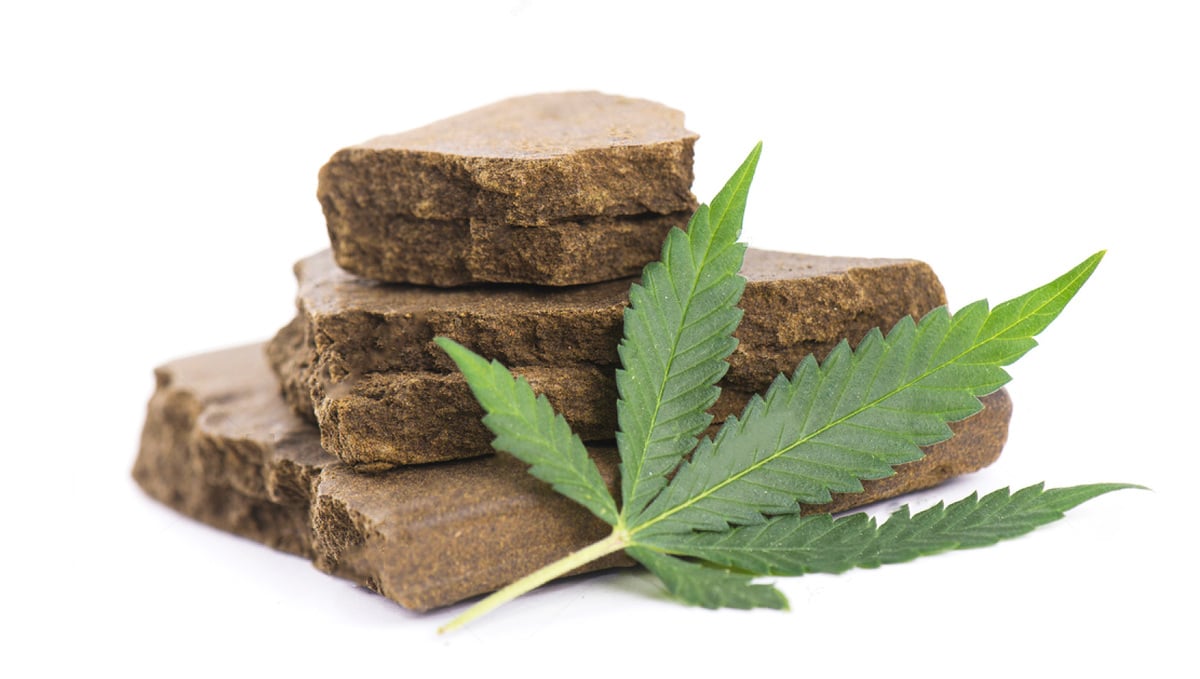
So you have decided to follow the traditional hash-making methods used around the world for hundreds of years. Deciding on which hash is the best suited for you, can be down to the equipment needed, as well as your skill level and understanding of cannabinoids and terpenes.
Ice Water Hash Explained
This requires using a set of micron sieving bags that range from 220 micron down to as little as 25 micron. You will also need to use cold water and fresh ice. Making ice water hash can be done with either fresh frozen trim which means the leaves and buds were immediately frozen, or with dry material.
In order to make top-quality ice wash hash you will need the following:
-
Bubble sieving bags ranging from 220 micron - 180 micron
-
Fresh frozen trim / lightly frozen dry trim
-
A washing machine for your plant material and ice and water
-
2 buckets to filter your water through
-
A high-pressure hose with shower head
-
Plenty of ice cubes
-
A spoon and utensils to scoop the hash up
-
A plate/parchment paper to rest the wet hash
Dry Sifting Explained
The best way to think about this method is to relate to the traditional drum beating style, incorporated by the Moroccans. Of course, we are able to take things a step further and in the privacy of our own homes, gently rub our dry material over the micron screens. These screens will be heavy-duty similar to a silk printing screen and will allow a cleanup process to occur, meaning the end product will be full melt quality. In order to make a top-quality dry sift pollen, all you need is:
-
Dry plant material of leaves or buds
-
A various screen that will allow the plant material to be cleaned up
-
Plastic credit card-sized tools for moving the material over the screen
-
Working in a cold environment to encourage more agitation
-
Parchment paper or a clean surface to collect the fallen trichome heads.
4. What About Extractions?
As we take things one step further from traditional hash making, we can begin to talk about extracts and the difference between hash and extraction. Many would say hash and extracts are the same, however, a hash is made from the entire trichome and plant essence contained from 120-25 micron. B.H.O or rosin actually removes the terpenes and cannabinoids like sap from a tree. The body of the trichomes is discarded and removed from the final product. If you think about it like cracking an egg and removing the yolk, then this is what is called wax.
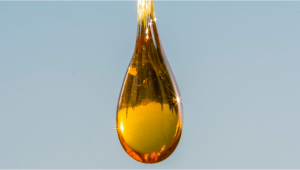
Butane Honey Oil is a method that involves running butane through a closed-loop system and blasting fresh frozen or dry material. The butane is then removed using a temperature-controlled vacuum over and purged of all solvents that were used in the process. Rosin is the most recent advancement in producing a solventless extraction, and uses micron bags and parchment paper, with heat and pressure to squeeze out the essential oils.
5. Top 3 Recommended Strains For Hash Making and Extracts
When it comes to producing next-level hash and extracts, we got you covered with the tastiest, frostiest and most rewarding autoflowering strains around:
Fresh from the oven, Pound Cake Auto is one of the latest additions to the Fast Buds family. This highly productive hybrid will be ideal for those who want to make some top-notch quality bubble hash or extracts with the sugar trim when harvesting.
Its flavor is a combination of sweet cookie dough, citrus green apple, and earthy-sweet terps resembling an apple strudel, which makes it a perfect choice for making oils or extractions.
An incredibly sweet strain and a massive yielding cultivar with the most unique terpene profile, that has taken the world by storm in recent years.
6. Using Your Sugar Leaf Trim to Make Cannabutter or Cannaoil for Edibles
Cannabis-infused edibles are, without a shadow of a doubt, one of the more interesting and beginner-friendly ways to get high. Smoke-free, delicious, and a slightly modified psychoactive experience when compared to smoking or vaping either flower products or extracts, and with none of the health implications that come hand in hand with inhalation. But making a batch of pot brownies takes a little more effort than simply chopping up some bud, sprinkling it into the cake mix, and throwing it into the oven. There are a few key steps that have to be taken before your edibles are ready to enjoy.
The first step is decarboxylation—a process where the THC, CBD, and other cannabinoids contained within the cannabis flower are converted from their raw form into an activated form that your body can process. While the name sounds super sciencey, it's actually a very straightforward and easy process that takes less than 45 mins.
Decarbing Your Sugar Leaf Trim
This process works the same for all parts of the plant containing cannabinoids. If you’re dealing with trim or shake - like your sugar leaf trim, then you can go ahead and decarb it as is. However, if you’re dealing with the actual buds you’ll need to grind it before starting the decarbing process. Then, set your oven to as low as it can go. You're looking for a temperature range of around 200°F - 230°F (95°C - 110°C). Anything higher than this will start to burn off the cannabinoids that you're trying to unlock. Now, if your oven doesn't run at such a low temp, don't worry - you can simply leave the oven door cracked just slightly, which will lower the internal temp.
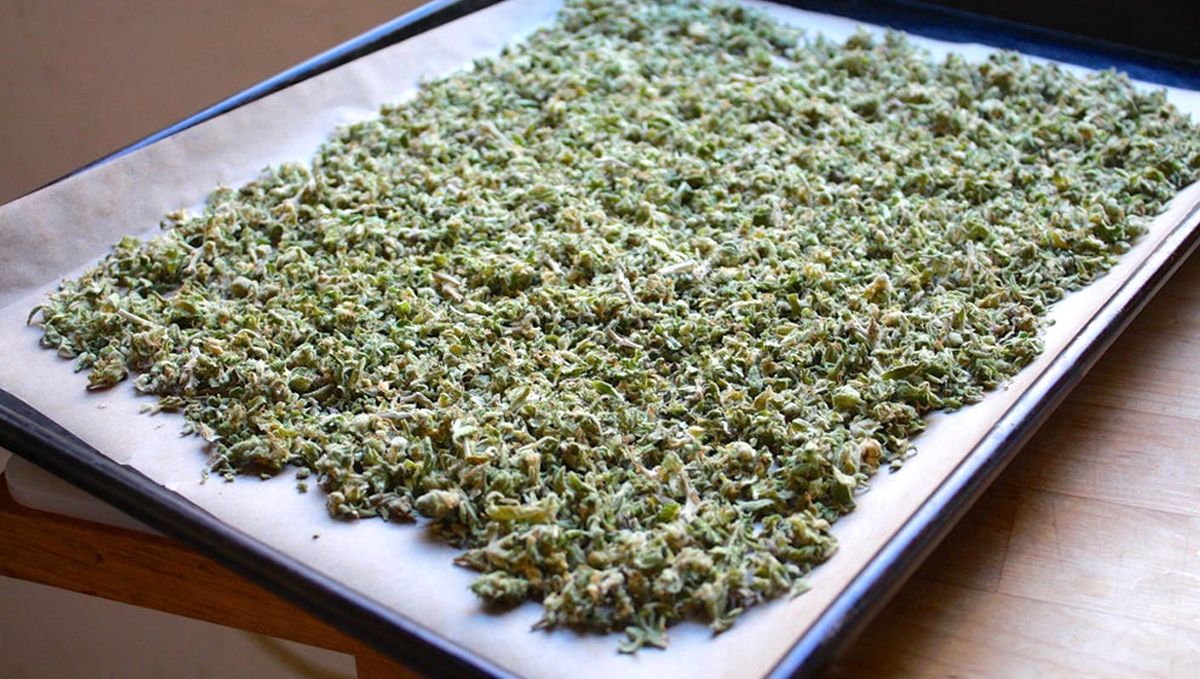
Once your oven is at the correct temp (and try to be precise about this, it makes a huge difference to the cannabinoid conversion rate - use a laser thermometer if you have one handy), lay your trim out on an oven tray that's been lined with baking paper. Try not to overcrowd the tray, and then cover the whole thing with aluminum foil. Bake for between 30 to 40 mins, with THC taking around 30 mins to break down, and CBD taking closer to 40 mins (at 110°C). That's it!
Using Your Decarbed Weed to Make Infused Oil or Butter
There are a few methods to make cannabutter or il, but we always suggest going down the slow route. Slow-cooking the oil or butter for 4-6 hours (or even longer, if you have the time) allows the cannabinoids to fully infuse into the fat. The first step is to decide on the fat you are going to use. The two most popular options are butter or extra virgin coconut oil. We prefer coconut oil, as it is a much healthier option, it takes fantastic in most sweet treats and is fully vegan friendly. But, if butter is your vibe, go right ahead. The measurements for each are the same, so the following recipe works for both.
Slow-Cooked Cannabis-Infused Coconut Oil (or Butter)
Ingredients -
- Between a half ounce to a full ounce of your trim - Exact measurements are difficult here, as the THC percentage range differs so vastly between strains. If you have super punchy trim, use closer to a half-ounce;
- 16 ounces (500 ml) of coconut oil or butter;
- 3 liters of water.
Equipment -
- A slow cooker if you have one at hand - if not, a large saucepan will also work fine;
- A metal sieve for straining;
- Cheesecloth - not 100% necessary, but very useful for removing all of the plant material;
- A large metal or glass bowl;
- An empty jar.
Ok, so onto the method -
1. Add the water and oil to your slow cooker or large saucepan, and set it to high (or bring it to a boil)
2. Once the liquid mixture has come up to heat, switch it to the lowest possible cooking setting. You want it to be just bubbling very slightly, but nowhere near a rolling boil.
3. Add your trim and give it a good stir.
4. Come back and stir every 15 mins or so, and check that the temp hasn't risen too high - especially important if you are using a saucepan and stovetop.
5. After four to six hours (or even overnight if you are using a slow cooker), remove from the heat source and let the whole thing cool down to room temp.
6. Now it's time to strain the mixture into the large metal or glass bowl - if you only have a metal sieve, that's totally fine, but there's a good chance some of the plant material will make it through. I honestly don't mind this at all, but it does mean you will have to use the infused oil or butter in the next few weeks. If you are wanting to store it for more than that, strain the mixture through some cheesecloth.
7. Put the strained oil and water mixture into the fridge or freezer. This will force the oil and water to separate, with the oil solidifying on top. Once this happens, you can easily remove the oil from the water, heat it back up to liquify again, and pour it into your mason jar.
7. In Conclusion
We hope you have learned how important your sugar trim and unwanted popcorn buds are, and have proven they go a long way. It is a good idea to research as much about hash making and extraction online, so you can practice at home at producing cup-winning quality!




Comments