Top Sanitation Tips For Successful Cannabis Growth
- 1. Why should you keep your grow space clean?
- 1. a. Take a preventative approach
- 2. When should you clean your grow space?
- 3. How to clean your grow space
- 3. a. Cleaning the grow tent
- 3. b. Cleaning the ventilation system
- 3. c. Cleaning the pots
- 3. d. Let everything air-dry
- 4. Homemade recipes for grow room sterilization
- 4. a. Bleach
- 4. b. Hydrogen peroxide
- 5. How to keep your grow space clean
- 6. Growing medium
- 7. In conclusion
Just like feeding your marijuana plants and maintaining a good environment for them to grow in, sanitation is a vital part of growing cannabis seeds. Keeping your grow space clean helps you prevent bugs, mold and other problems that appear when your grow is dirty so cleaning it before and after growing is vital. You take many steps elsewhere in your life to keep things clean and organized. You shower and bathe often to keep your body clean and healthy, you wash your clothes to keep them smelling great, and you organize your desk in order to optimize your workflow. So, why wouldn’t you treat your growing environment the same?
A hygienic and orderly cultivation space doesn't just make working much easier, but it also helps to keep your plants in tip-top shape. Doing so will minimize the risk of pest infestations that can easily impact yields and even destroy entire plants. You’ll also minimize the risk of spreading diseases that can contaminate flowers and render them unusable. So read along to learn about why and how to clean your grow tent!
1. Why Should You Keep Your Grow Space Clean?
Just like with everything else, a dirty environment promotes diseases and pests so by keeping it clean you make your space (and cannabis plants) less attractive to pests such as spider mites, aphids, whiteflies, and mold. As you may know, despite being really small, these bugs can destroy your marijuana plants and if you don’t deal with them, they will continue to appear in your next grow cycle so it’s essential that you not only clean the space but also keep it clean to keep it bug-free. Apart from the pests and diseases, not cleaning your tent will result in dust accumulating on the floor and equipment, and water puddles on the floor which can cause your equipment such as the exhaust fan and filter to not work properly and organic matter such as leaves or substrate to rot on the floor, which also attracts pests, so make sure you everything is clean at all times!
Take a Preventative Approach
They are a bunch of ways you can anticipate and resolve issues in your indoor garden, but why wait until those uninvited little critters come knocking? Taking a preventative approach to grow room cleanliness and reducing the chances of pest issues before they arise is the way to go, and could save you a lot of time, money, and eventual heartache. There is truly nothing more devastating as a cultivator than an unexpected pest infestation taking down a whole crop. A commonly used method for pest prevention is Integrated Pest Management (IPM). By implementing the following, you give your crop the best chance of never having to battle against the little bastards in the first place.
- Designing your grow room or space to have adequate airflow, and to stay within the accepted humidity and temperature ranges.
- Following a daily, weekly, and monthly cleaning and maintenance schedule (this is outlined below).
- Using approved pesticides as a preventative tool (Neem oil is advised).
- Introducing beneficial insects, bacteria, and fungi.
- Keeping grow room sanitation in the front of your mind, and taking full responsibility for it.
- Daily checks for pest issues on all plants.
2. When Should You Clean Your Grow Space?
As mentioned, it’s vital you clean your grow tent, and this should be done every time before you place the cannabis plants inside (before starting/after finishing your grow cycle). To do this correctly you will have to use a cleaning solution, there are a couple of homemade cleaning solutions that you can make but you may be able to find cleaning products in your local grow shop, depending on where you live. In order to clean everything properly, make sure you clean all the surfaces, including the insides of the grow tent and all the equipment inside and, once you’re done, let it dry and ventilate before placing your plants inside so your cannabis plants don't absorb the products used.
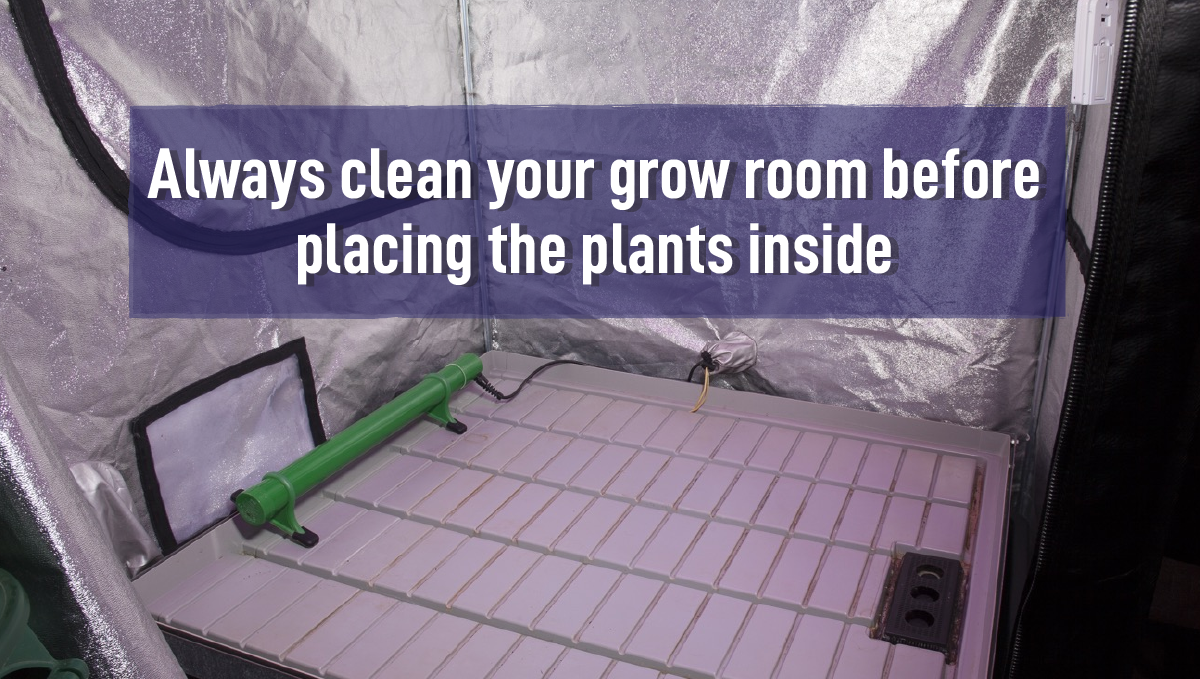
Also, if you’re cleaning after finishing your cannabis grow cycle, make sure to clean the pots and material you’ve used such as scissors or shears, trim bins, etc. Once your space, equipment, and material are clean and you’ve let everything dry properly, you can go ahead and place the plants inside. One thing to keep in mind is that despite everything being clean, it’s recommended you change your clothes before checking on your plants to keep things as clean as possible. Along with the end of grow cycle clean, there are some important daily, weekly and monthly tasks that should not be ignored. Let’s have a quick run through this list.
Daily Maintenance and Cleaning Tasks
- Have a quick look over all the plugs, lights, timers, fans, ballasts, and whatever other equipment you have running to ensure smooth and proper operation. It’s super easy to bump into a timer and mess up something, so take a few mins to look over everything and make sure it is in order.
- Check the space between the top of the canopy and the grow lights. This is not as important as when growing with LEDs, but with an HID system, light burn can happen in a single light cycle. During the vegetative growth stage and the final stretch in the first 2 weeks of flower, the plants can have explosive growth.
- Take a close look at every plant in your crop each day. Inspect them closely for any signs of pest or mold issues, and for any possible nutrient deficiencies rearing up. A jeweler's loupe or small portable microscope can help you quickly and accurately diagnose any issues that may arise.
- Check the humidity and temperature levels to make sure they are sitting within the proper range. You should purchase an all-in-one unit that will show both this number plus the actual range for the last 24 hours. "Light" and "dark" temperatures should never swing by more than 15°F (8°C).
- Always clean up any spills as soon as they happen. Even a small spill can quickly raise the relative humidity of a grow space, especially when the lights are switched on.
- Give the floor a quick sweep. This will help the overall air quality, and take the pressure off your filtration system.
- Rotate the plants about 90 degrees each day. Although this isn’t absolutely necessary, and not always possible if you are running a SCROG screen or other training methods, this can help the plant build the best canopy possible.
- Check the medium and runoff pH levels every time you feed. It goes without saying that the very last thing you should do before you feed your crop its nutrient solution is to check the pH (and EC), but many novice growers overlook checking the runoff. Doing so will give you a good idea of the health of the crop, and help you diagnose any issues that may pop up.
Weekly Maintenance and Cleaning Tasks
- Give all the grow room equipment, including any trays a good soak in either hydrogen peroxide or bleach solution. Remember to always dilute both of these chemicals with water. Once they have soaked for about 10 minutes, take them out, give them a good rinse off, and let them air dry.
- Check the fans and air filters about once a week. This might seem like overkill, but the air quality of your grow room is just so important that this should not be overlooked.
- Inspect the walls and any reflectors for mold growth.
- Sterilize the water systems. This may be as simple as washing your feedwater vessel down with the same hydrogen peroxide or bleach solution that you use to clean the equipment. This is even more important for those among us with full hydro steups, as the pumps and hydro tubing are trouble spots for algae growth.
Monthly Maintenance and Cleaning Tasks
- Give the light source a good clean. If you are using a bulb system, pull the whole thing apart and give everything a good wipe down. If you are using an LED panel then use an alcohol wipe and clean all surfaces. Don’t forget to include the glass hood. HID bulbs will last about 6 to 12 months and lose close to 15% of their efficiency after 18 months.
- If you have bare floor space, give the area a thorough mob down with a bleach solution.
- Check all the air and carbon filters. Filters may appear to be totally clean but they are designed to capture microscopic airborne pollutants. Give them a good wash under running cold water, and replace them every year or so.
- Give your crop a good flush. This will help reduce any issues associated with nutrients and salts building up in your growing medium. This is more of an issue with coco-coir or soil, but can still cause a problem for full hydroponic cultivators. A good practice is to always water so you get a runoff of about 30%. This will help keep any build-up issues at bay, especially when paired with regular flushes.
3. How To Clean Your Grow Space
As mentioned, it’s important you clean everything, from the grow tent itself to the pots, but how? Well, if you’re wondering how, here are 5 tips on how to clean your marijuana grow space correctly.
Cleaning The Lights
Make sure you clean your lights with care to avoid damaging them, if you’re growing light bulbs now would be a good time to replace the bulbs if needed. If you don’t need to change them (or if you’re growing with LEDs) wipe them very gently to remove the accumulated dust, also clean the cables. To do so you don’t necessarily need to use a strong solution, you can mix 30 ml of vinegar with 970 ml of water and it will work just fine.
Cleaning The Grow Tent
It’s very important that you switch all the equipment off before starting but the extraction fan should be running to remove toxic fumes if you’re using strong chemical products, such as bleach for example. Ideally, you should remove the lights but you can leave them hanging if it’s too hard for you to do it, just keep in mind that removing them will make everything easier. Remove everything from inside the grow tent, including pots, equipment, and thermometers, and then start by sweeping to remove the dirt which is the most common place where bugs hide.
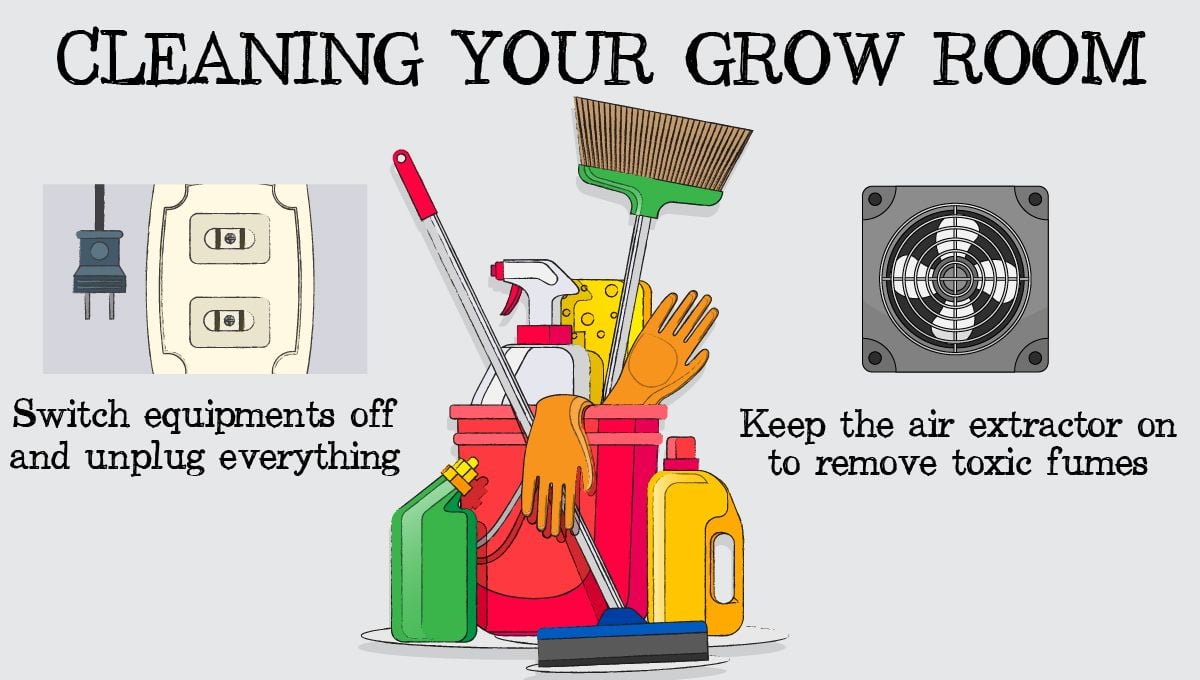
Once you’ve finished cleaning the floor, make sure you use a cloth to clean the rest, starting from the top; If you’ve dealt with bugs on your cannabis plants before, consider using an organic insecticide to kill all traces of pathogens or bugs that you’ve missed. Remember that you will have to leave the extractor running for 8-24hs before re-entering your grow tent if you opt for using an insecticide. After you've finished the first phase, it’s time to prepare the cleaning solution. Now, you can use whatever you want but for more effective cleaning, mix 50 ml of bleach with 950 ml of warm water and use a cloth to wipe the inside and outside of the grow tent. If you’re not growing you cannabis in a homemade tent, make sure to replace plastic or mylar sheets if they’re damaged.
Cleaning The Ventilation System
After cleaning the tent and lights, you can go ahead and switch off the exhaust fan to work on it. So start by dusting off the outside of the fans and duct tubes; Make sure to examine the ducting for damage and use duct tape to fix it or replace it if it’s easier. Most carbon filters last around 12 - 18 months of use, so remember to assess if it’s time to replace it and do it if needed, also, if you’re using an ozone generator, assess if the ceramic plates need to be changed, in most cases, these plates last around 14 - 18 months so make sure to check this to start your next grow cycle with everything in perfect conditions.
Cleaning The Pots
Once everything is clean, take the pots outside if possible (or far from the grow tent), mix 50 ml of bleach and 950 ml of warm water, and wash and scrub them thoroughly. If possible, use natural products to avoid leaving chemical residue on the pots, which can eventually come in contact with your cannabis plants.
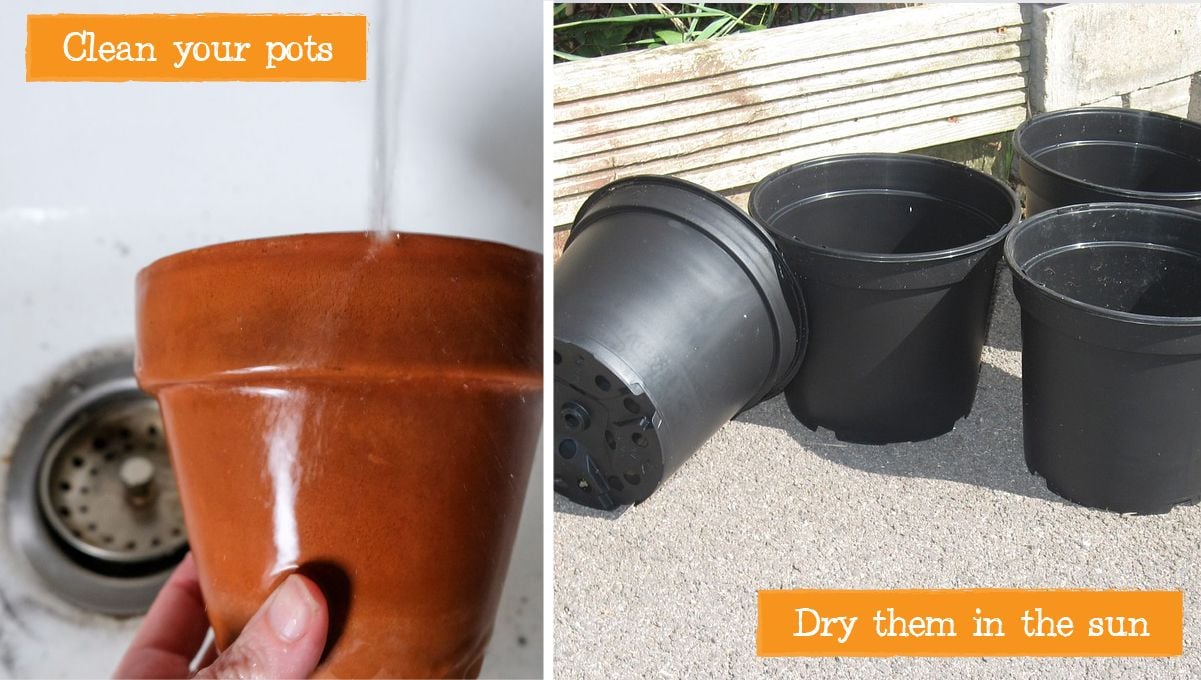
Rinse at least twice to ensure you’ve removed the chemicals from the pots and leaves to dry. Have in mind that fabric pots can be cleaned in the washing machine, allowing you to save effort and time. The different types of containers may need more (or less) time for you to clean them, so make sure you scrub them as much as necessary!
Let Everything Air-Dry
In order to avoid your plants having contact with the chemicals used to clean your grow tent, make sure everything is air-dried. You can accelerate the process by using a fan or something to promote airflow but make sure you let them dry for at least 10 hs in order to be sure you’re not placing your plants while everything’s still humid or damp. Once you’ve finished cleaning and drying, you can start to put your grow tent together, then double-check everything is working properly and you’re ready for your next grow cycle!
4. Homemade Recipes For Grow Room Sterilization
Even if you sweep and remove the visible dirt, leaves, and substrate, for example, there still are insects, pathogens and other microorganisms that just aren’t visible to the naked eye. This means that you will need to actually sterilize the grow room to remove harmful microbes such as fungi, viruses, and bacteria, and to do this you need chemical cleaners. Just remember that if you're growing organically there are beneficial microorganisms that actually help your cannabis plants grow so make sure the cleaning solution doesn't come near your substrate and your cannabis.
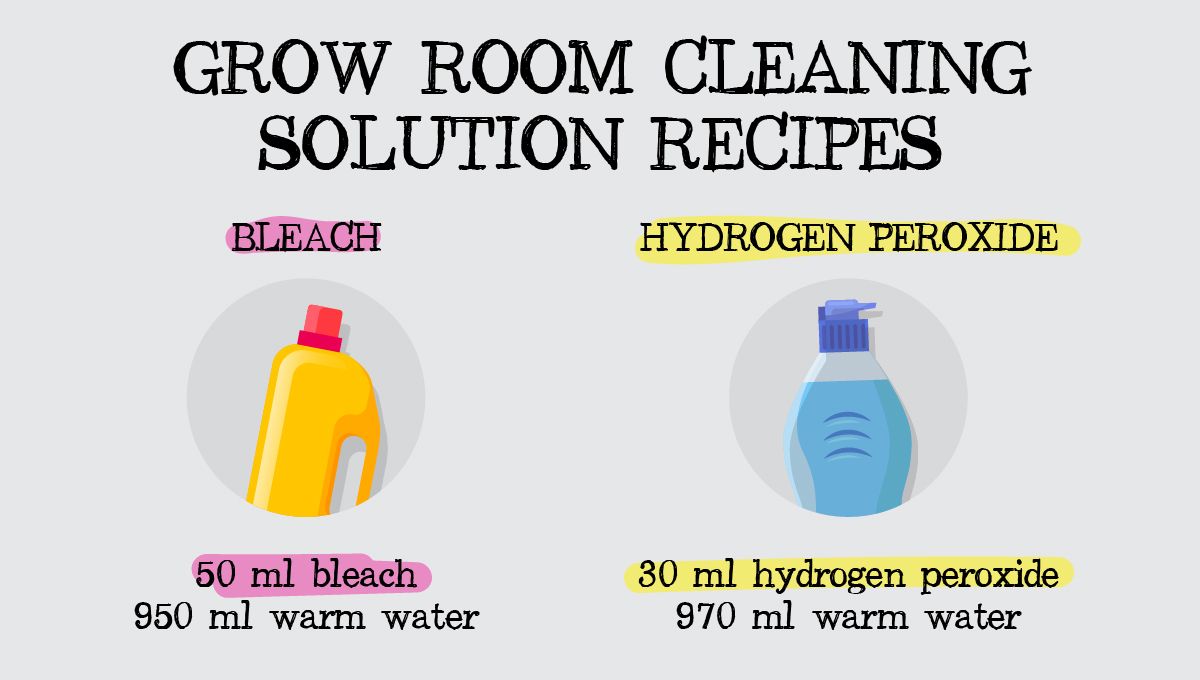
The most common chemical products used to do so are bleach and hydrogen peroxide, and both of them can be used to give your grow tent that extra clean-up before placing your plants inside. Just remember that you can always use natural alternatives if you're not comfortable using bleach to clean your grow space.
Bleach
Bleach works very well but can leave a residue that cannot come in contact with your plants or substrate, and can also irritate your eyes and lungs so be careful!
| Homemade Bleach Recipe | |
|---|---|
| Ingredient | Amount |
| Bleach | 50 ml |
| Warm Water | 950 ml |
Once you’ve mixed the cleaning solution, it’s just a matter of wiping down your grow tent and letting it air-dry before placing your plants inside, which should take a maximum of 24hs.
Hydrogen Peroxide
Hydrogen peroxide also works very well against pathogens, this is the most recommended product because it’s not toxic so the risk of contaminating the substrate or plants is relatively low.
| Homemade Hydrogen Peroxide Recipe | |
|---|---|
| Ingredient | Amount |
| Hydrogen peroxide | 30 ml |
| Water | 970 ml |
Once you’ve got your mixture ready it’s just a matter of not only cleaning the grow tent but also the pots, fans, lights, and every piece of equipment you have in your tent. Now, if you don’t want to use any of the chemicals mentioned, there are a couple of alternatives which may not be as effective but will surely be better than not cleaning, they are:
Always remember that some chemicals can burn your cannabis plants and can be harmful to our sking so you should use a mask, goggles, and gloves to protect your lungs, skin, and eyes!
5. How To Keep Your Grow Space Clean
Now that you’ve spent time and effort cleaning your grow tent don’t let it get dirty. Here are a couple of tips to help you keep your garden as clean as possible.
1. Make Cleaning Easy
The best way to make sure you clean when needed is to make it as easy as possible so make sure you have everything close to your grow tent, this way you can clean your space really fast and without wasting valuable time. You should also aim to clean little and often. This way, you’ll keep all of your surfaces constantly clean and keep pest insect and pathogen populations to a minimum. Leave things too late, and you’ll find yourself with a big and boring task ahead. Doing little bits here and there will help to divide things up into 2-minute jobs, instead of an hour-long deep clean.
2. Disinfect Your Hands Often
By disinfecting your hands before working on your plants you avoid bringing pathogens and bugs from outside so have a sanitizing station at the entrance to make it quick and easy.
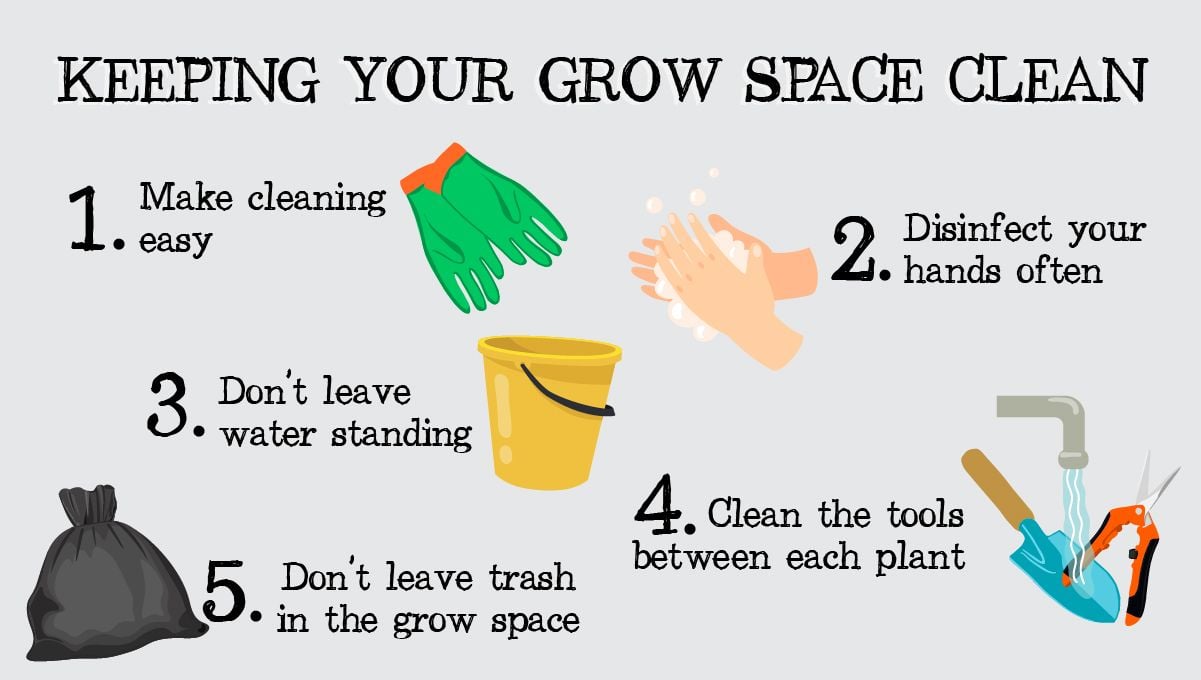
3. Don’t leave Water Standing
Don’t leave water in cups or buckets because spores may land on them and they will become contamination sources so dump out leftover water and always water your plants with fresh water.
4. Clean The Tools Between Every Plant
Cleaning your tools before working on a new plant is essential to prevent cross-contamination. Failing to do this may infect your plants with pathogens that you didn’t even know were present, such as the Hop Latent Viroid. It goes without saying that you should also have different tool kits for your indoor and outdoor growing areas. Bringing in a tool from the outside, especially one that you’ve just used to turn over a pile of degrading dung, and you’ll massively boost the odds of vectoring disease. The same also applies to work clothes; don’t walk into your grow tent in the same muddy boots that you used to just patrol your outdoor cannabis garden or guerrilla growing space.
5. Don’t Leave Trash In Your Grow Space
Remember to always take out the trash, even a little bit of soil in a trash bag may attract unwanted visitors to your cannabis plants, so take out the trash or leave it as far as possible from your grow tent.
6. Growing Medium
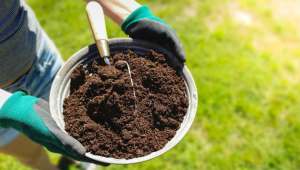
The only time you should consider recycling your grow medium is if you are using the no-till living organic soil method. Sure, if you are growing outdoors, then you don’t need to worry about this so heavily, just add some extra compost and fertilizer into the area and give it a good dig around. Other than that, there are zero reasons to reuse your growing medium. We have seen other blogs suggesting reusing coco-coir, but in our humble opinion, this is a recipe for disaster. Even if your last crop was perfectly healthy, with zero bacterial or pest issues, these can lay dormant in grow mediums and pop up at any time. Sure, you could methods such as steam or UV sterilization, but these do not offer 100% protection. You should always inspect the new substrate before you plant in it.
7. In Conclusion
Cleaning your grow space or grow tent may feel like a hard task but it really isn’t, and by following these tips you can make it even easier to grow your cannabis plants. Cleaning your tent will definitely prevent problems that may be way harder to solve once they happen so make sure to clean daily or at least check if you need to do it. If you have other tips to help fellow growers keep their grow space clean and avoid problems when growing cannabis plants, please leave a comment in the comment section below!




Comments