










How to Grow Cannabis Indoors: a Beginners guide - 2026 (Part 2)


- 1. Step #5. observe and monitor
- 2. Step #6. determine your growing medium
- 3. Determining your growing medium: soil
- 4. Step #7. decide on the containers to grow your cannabis in
- 5. Step #8. provide your cannabis plants with nutrients
- 6. Organic vs inorganic nutrients
- 7. Step #9. watering your cannabis plants
So you’ve decided to grow your own cannabis seeds in 2026. Well done! Soon you’ll be part of the rapidly emerging culture. The experience of homegrown marijuana is sweeping the world. As mentioned in part 1, growing cannabis is a fun and affordable way to put high-quality buds in your jar. You don't need to be an expert; in fact, most home growers started without any knowledge and got the hang of it through trial and error, so it's just a matter of getting basic equipment and slowly upgrading your equipment, which consequently will result in more knowledge, better yields, and bud quality if done properly.
Growing your own medicine is the best way to ensure the best bud possible and to stop spending money on bud that may not be exactly what you are looking for, so continue reading for the second part of our Grow Cannabis Indoors Beginner's Guide.
Step #5. Observe and Monitor
Once you have chosen your climate control equipment and lights, you may want to automate their operations. Although there are refined and highly priced controllers out there that control humidity, temperature, lights, and even feedings, a first-time grower will go for a digital or analog timer to turn ON/OFF the light fixture, a small oscillating fan, and an exhaust fan + filter if needed. While a controller makes everything simpler and less time-consuming, beginners should keep things simple.
When growing cannabis, the timing of the light and dark cycle is crucial.
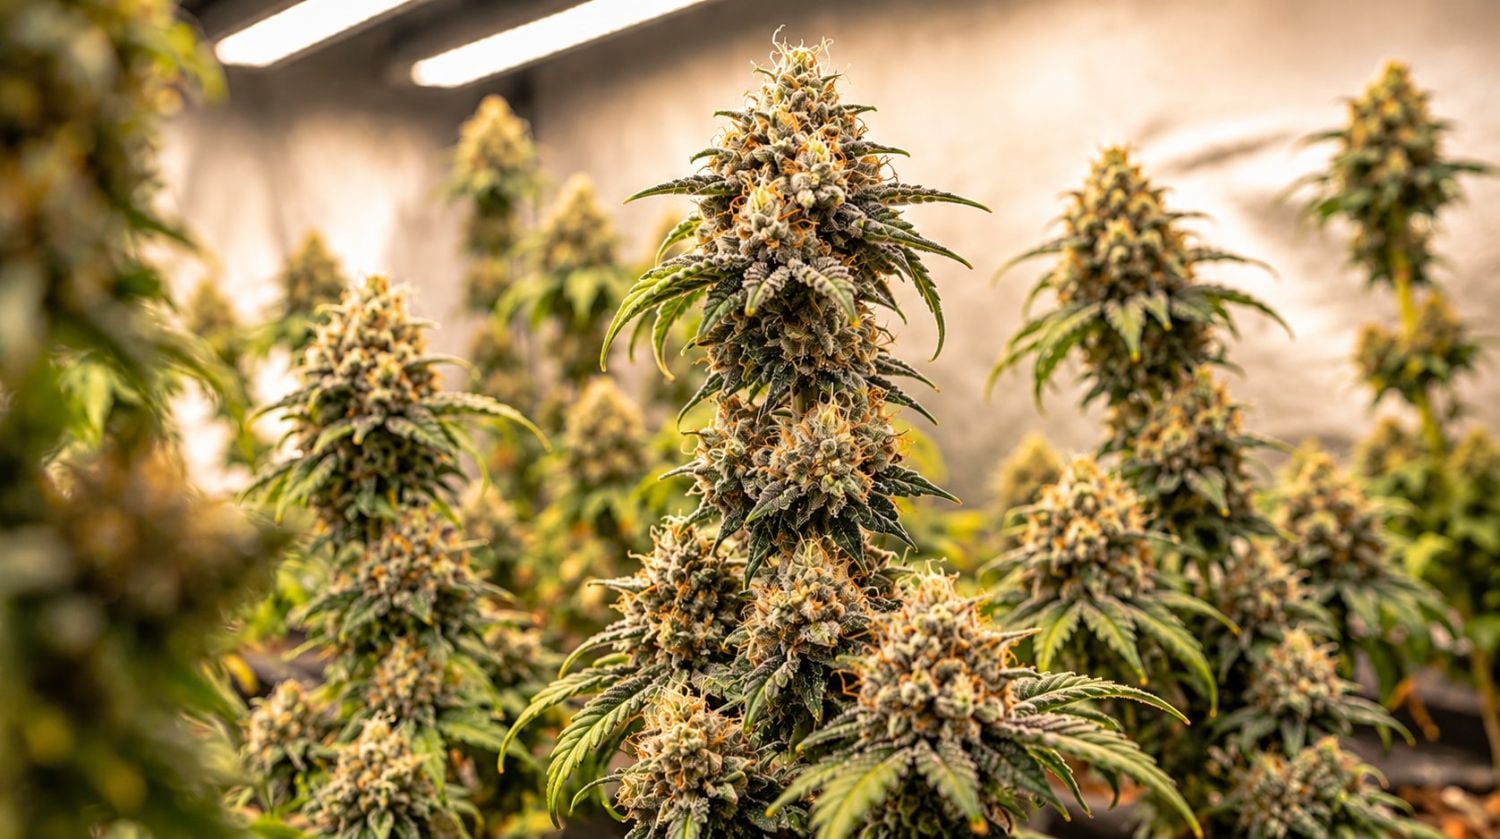
Basically, during the vegetative phase, photoperiods require around 18 hours of light per day, and 12 hours of darkness per day during the flowering stage. On the other hand, feminized autoflowers will grow and flower under 18/6 from start to finish. In any case, you’ll need to frequently turn the lights on and off during the day to avoid stressing your cannabis plants; therefore, having a timer is vital.
However, a timer is not the same as a controller. A controller basically consists of a small screen that attaches to the tent and connects with all the equipment, allowing you to set a range for all variables (such as temperature, humidity, light, CO2, etc.)
For example, if the temperature increases past the set level, it will turn ON the exhaust fan or AC unit until the temperature drops a few degrees below the set limit.
Lastly, depending on the type of nutrients and substrate, it is vital to have a pH meter so you can check the PH level of your nutrient solution, soil, and water.
That is because cannabis plants will only be able to absorb nutrients if the pH is within the appropriate range for the specific medium. If you’re growing your cannabis in soil, maintain a pH between 6.5 and 7.0, and between 5.5 and 6.3 if you’re growing hydroponically.
Ensure you test the pH of your water and soil consistently. Also, make sure the nutrient mix you’re feeding your cannabis plants falls within the suitable range. For this, you will need a TDS/EC/PPM meter. Remember, letting pH or EC out of range will lead to nutrient deficiencies and affect the health and overall quality of your harvests.
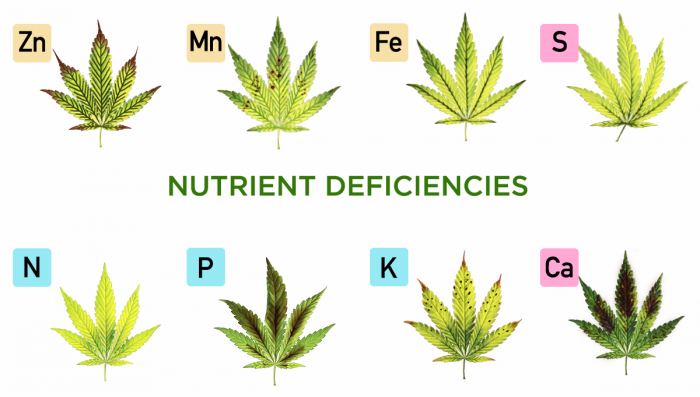
You should also make a regular effort to walk around your plants, look at them, touch them, and see if and how they change over time. In particular, you should monitor the texture and color of the surfaces of fan leaves. Why? Because this vegetative anatomical structure can give you a good indication of plant health. Look for curling, wilting, clawing, yellowing, colored spots, and other signs and symptoms that point toward pest infestations, diseases, and nutrient deficiencies. Checking for these regularly will enable you to act as soon as possible, thereby increasing the chances of addressing the problem before it spirals out of control.
Step #6. Determine your growing medium
Now that you’ve got light and space, you need to decide what you’re going to plant your seeds in. While growing indoors, you'll have endless methods to choose from.
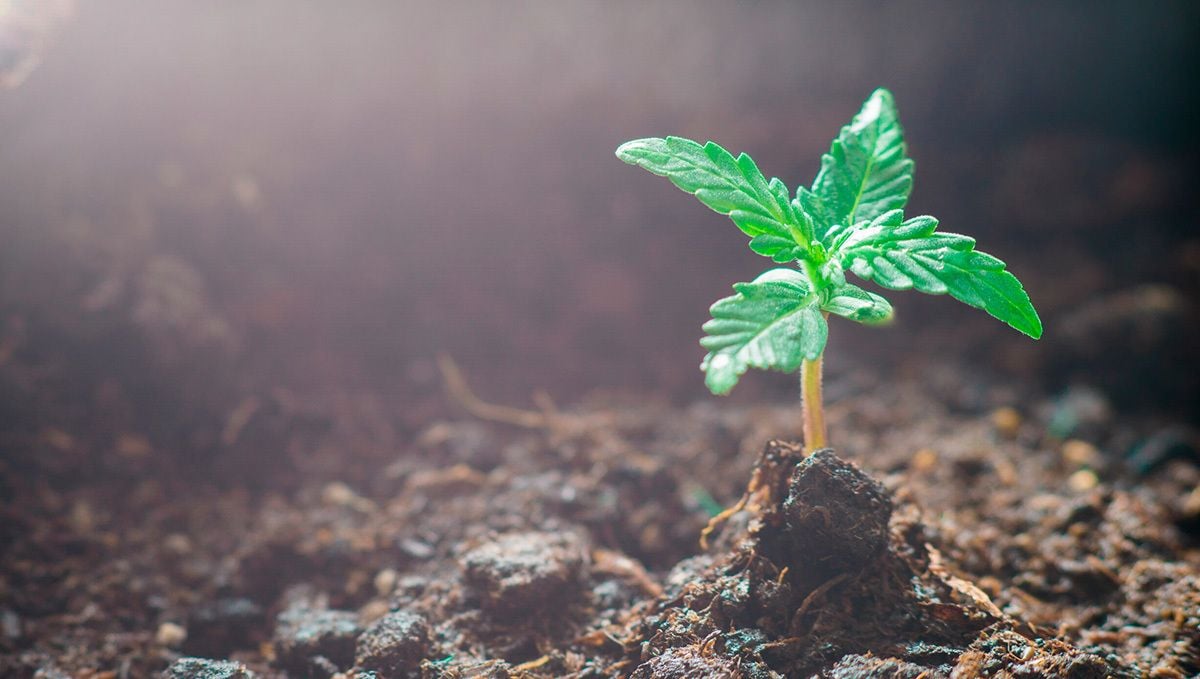
Ranging from hydroponics to old-fashioned pots full of soil, every medium has its pros and cons. Here, we’ll talk about the two most common growing mediums.
Determining your growing medium: Soil
Soil is the most standard medium for growing cannabis indoors; besides, it is the most forgiving, making it a perfect option for beginners. Any high-quality soil will work entirely, provided that it contains good-quality ingredients and at the right amounts and ratios.
An ideal choice for first-time growers is store-bought pre-fertilized soil such as Light Mix or Complete Mix, but there are better, more expensive options such as living soil or super soil. With these types of medium, cannabis plants can grow without adding any nutrients from the beginning until harvesting, if used appropriately. You can either purchase pre-made soil from suppliers or make it yourself by incorporating bat guano, worm castings, blood meal, bone meal, and other natural components and letting it sit for a few weeks until it's ready for use.
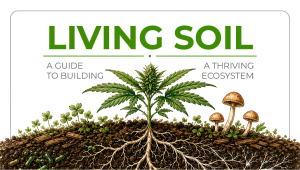
The benefit of opting for organic methodologies is that, when applied correctly, you’ll constantly improve the fertility of your soil over time, creating a healthy network of soil life that will consistently break down organic matter into plant-available nutrients, increase the aeration of the soil, and increase its water-holding capacity while allowing you to recycle and reuse the soil without affecting its quality.
You can also start making your own compost at home to feed your soil using free waste from your own household and garden. Everything from fruit and vegetable scraps to dead autumn leaves and grass clippings helps to establish fertility over time. Overall, this helps to vastly reduce the cost of growing weed, while producing some of the healthiest and most productive plants you’ll ever come across!
Determining your growing medium: Soilless (Hydroponics)
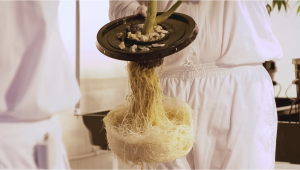
Many Indoor growers switch to hydroponics for growing cannabis plants because cannabis plants in hydro setups tend to grow bigger and yield more. On top of that, there is no soil or organic matter for bugs and pests to show up. This method needs feeding with a concentrated solution of mineral salts that are directly absorbed by the roots, which sit directly in the nutrient water.
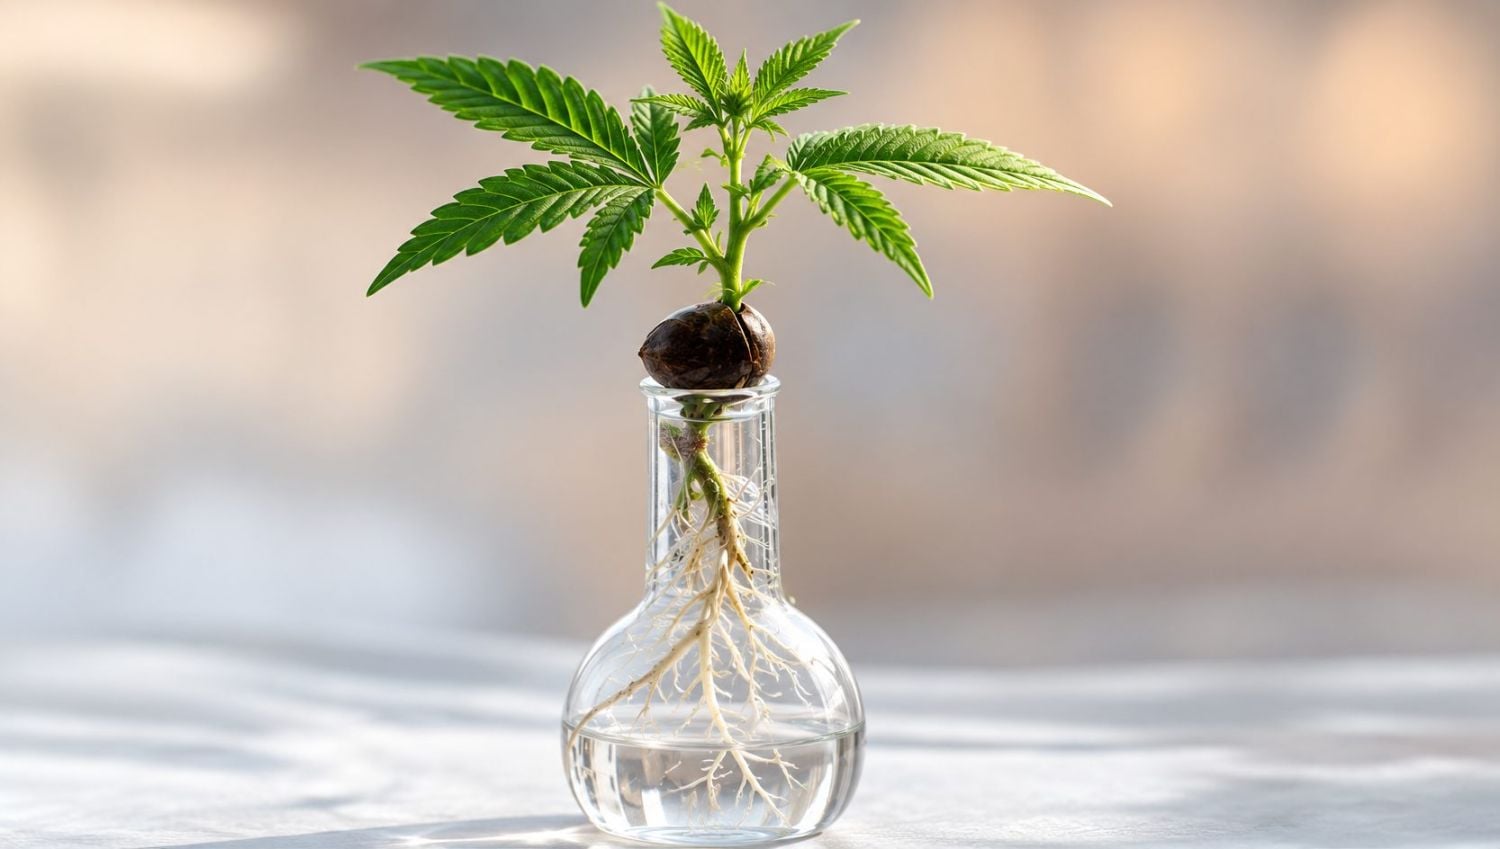
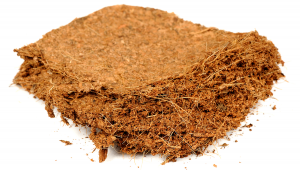
However, hydro setups can vary. There are different materials used, ranging from coco coir, perlite, Rockwool, vermiculite, and expanded clay pebbles. Coco coir is the most popular soilless option made from coconut. It looks like soil at a glance, but it's completely sterile and allows for the use of both minerals and organic products.
Step #7. Decide on the containers to grow your cannabis in
Whatever vessel you’re going to grow your marijuana in depends on the growing medium, your plants' size, and the system. For example, tray-style hydroponic and flood-and-drain systems may use tiny net pots filled up with clay pebbles or a considerable slab of Rockwool to grow several small plants.
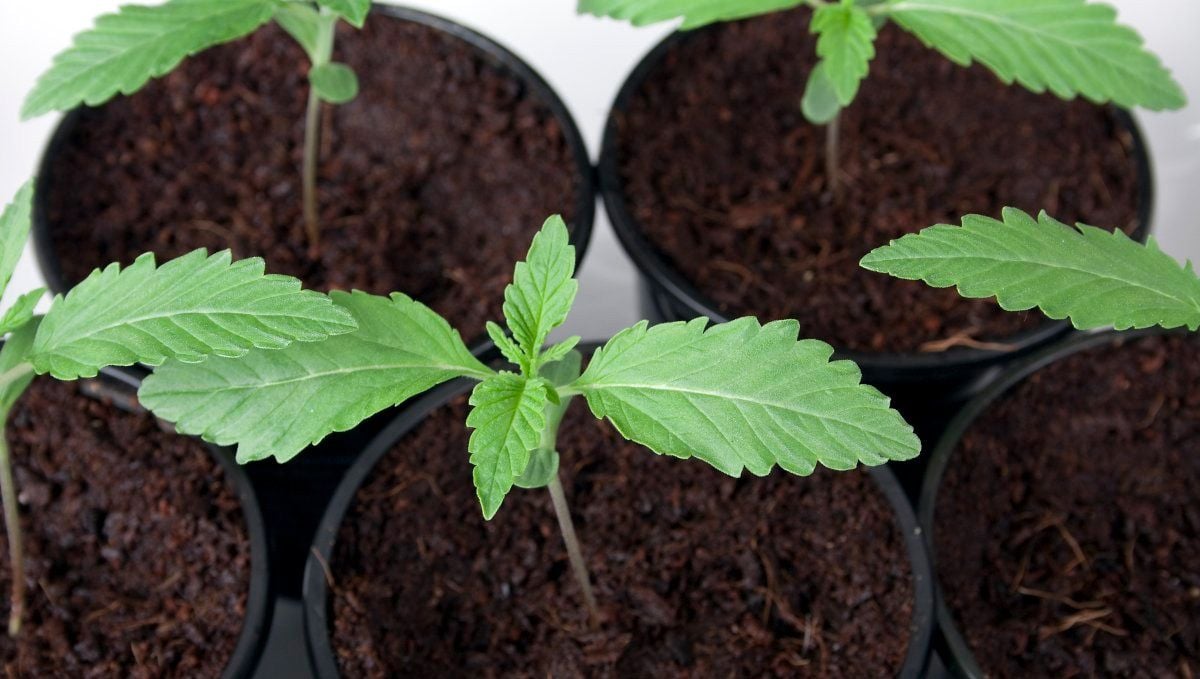
There are cheap and expensive alternatives; the best one will depend on your experience, setup, and style of growing. Yet, all of them share one thing in common when talking about soilless and hydro: pH, EC, and water quality are extremely important. No matter what your preference is, make sure to always have a pH and EC pen nearby.
Step #8. Provide your cannabis plants with nutrients
Growing high-quality cannabis plants requires the right ratio and quantity of nutrients. Cannabis plants need primary and secondary nutrients, including:
| Macronutrients | Micronutrients |
| Nitrogen (N) | Calcium |
| Phosphorus (P) | Magnesium |
| Potassium (K) | Copper |
This means that you’ll not only have to feed your plants, but also make sure you’re providing the right combination of macro- and micronutrients (or primary and secondary nutrients) in the right amounts, adjusting the dosage for each stage of plant growth. Additionally, make sure to always take into consideration whether it’s a pre-fertilized or completely nutrient-free medium.
In general, both mineral and organic nutrients are available in concentrated liquid or dry powders that you mix with water. Nutrients are meant for different purposes and come in different versions, labeled for the vegetative stage or bloom stage. This is because cannabis requires different combinations of micro and macronutrients during its lifecycle. For example, cannabis plants need more nitrogen during the vegetative phase and more potassium and phosphorus during bud production.
Also, depending on the specific strain, light fixture, and medium, some strains may need more calcium than others to produce hardy and healthy nugs; therefore, choose a brand that provides a complete feed, or add supplements/additives to the nutrient solution.
That said, it’s very unlikely that you’ll bring a strain to its full potential on your first attempt. Even professional growers often run the same strain two or more times to fine-tune the details and get the best possible results, so don't worry if you don't get it right the first time.
Organic vs Inorganic Nutrients
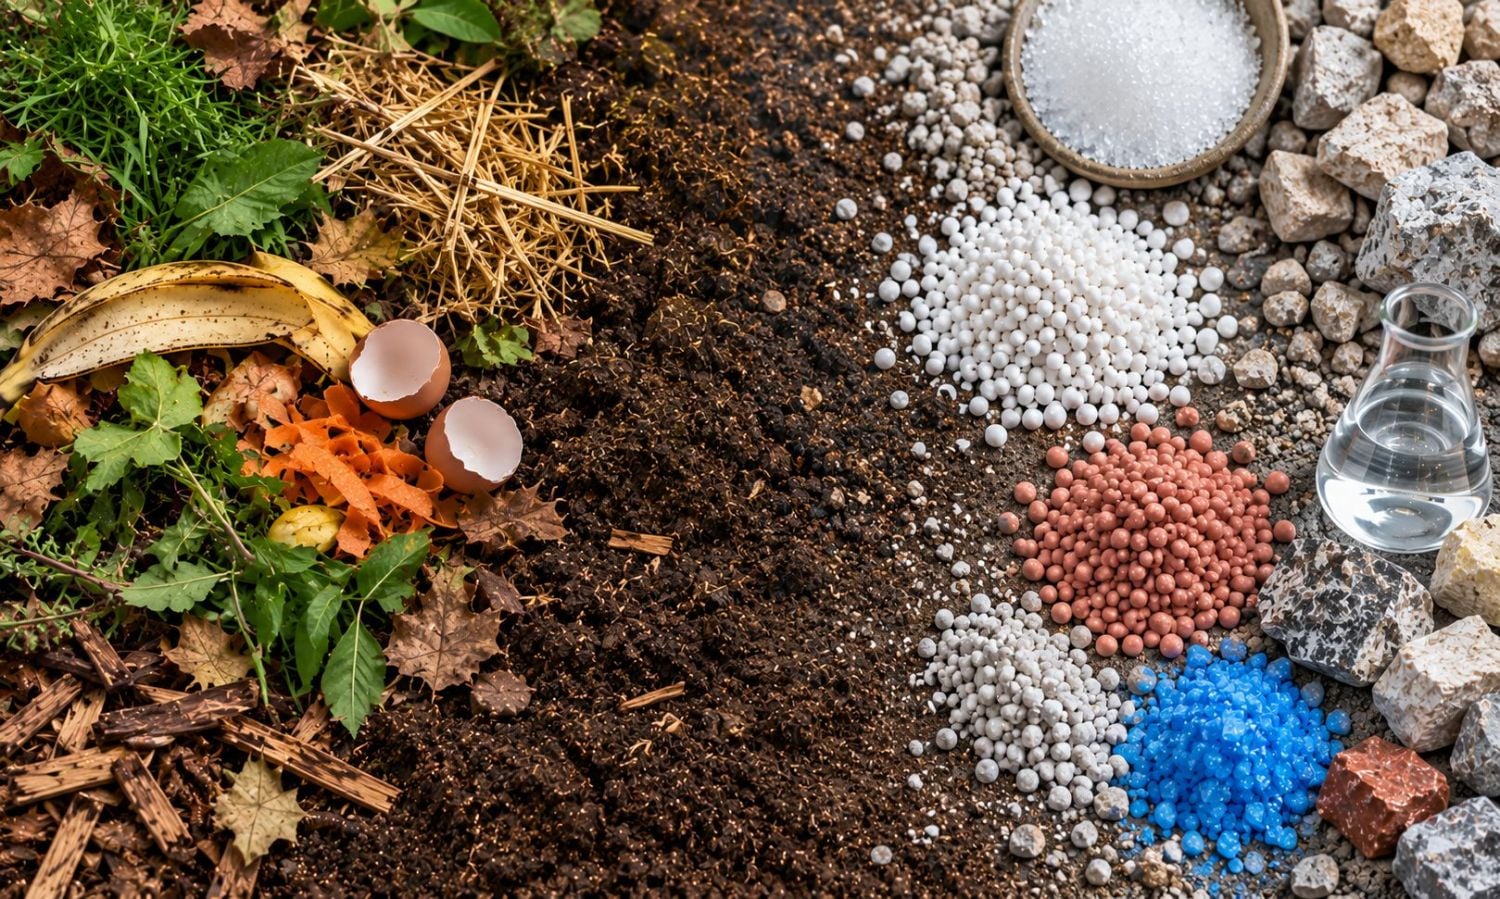
As mentioned, cannabis plants need specific nutrients, depending on the stage they’re in. These nutrients are fairly easy to find in most grow shops, and you could also make them at home with methods such as composting and KNF, for example. When shopping for fertilizers, you’ll find several different types such as powdered, liquid, etc. But they’re all divided into two categories: organic and inorganic. Now, both organic and inorganic will provide what your plants need, but they work in different ways.
Organic Nutrients
Organic nutrients work in combination with beneficial microorganisms, as you’re basically making the nutrients available in the substrate where the microorganisms break them down and make them available for your plants to absorb. This means that when growing organically, it’s vital to keep a healthy substrate, meaning that you should check the pH while keeping the substrate moist at all times in order for the beneficial microorganisms to be able to reproduce and continue breaking down the nutrients in the substrate.
Inorganic Nutrients
On the other hand, inorganic nutrients are already available and do not depend on microorganisms; this means that when using inorganic fertilizers, you’re actually feeding the roots directly instead of beneficial microorganisms. The main difference between inorganic and organic products is that it’s easier to cause nutrient burn with inorganic products because the roots sit directly in the nutrient water, which means you’re feeding the roots directly. On the other hand, it’s harder to cause nutrient burn with organic nutrients, as they will be released gradually as the microorganisms break them down. But this doesn’t mean one is better than the other; it all comes down to your preference, grow setup, and availability.
Step #9. Watering your cannabis plants
Of course, your plants need water. Water acts as the carrier that delivers nutrients to the growing medium and the plant. This is another vital variable of growing since some water sources have a high volume of dissolved minerals that can accumulate in the medium, cause pH and EC to swing, and adversely affect nutrient uptake.
It may also contain pathogens, bacteria, or mold, which can lead to root diseases. Besides, some locations may have a water supply with high volumes of chlorine, which can be detrimental to soil microbes when growing organically. So, for these reasons, make sure to test the water beforehand and, if necessary, filter the water via RO or other filtration systems.
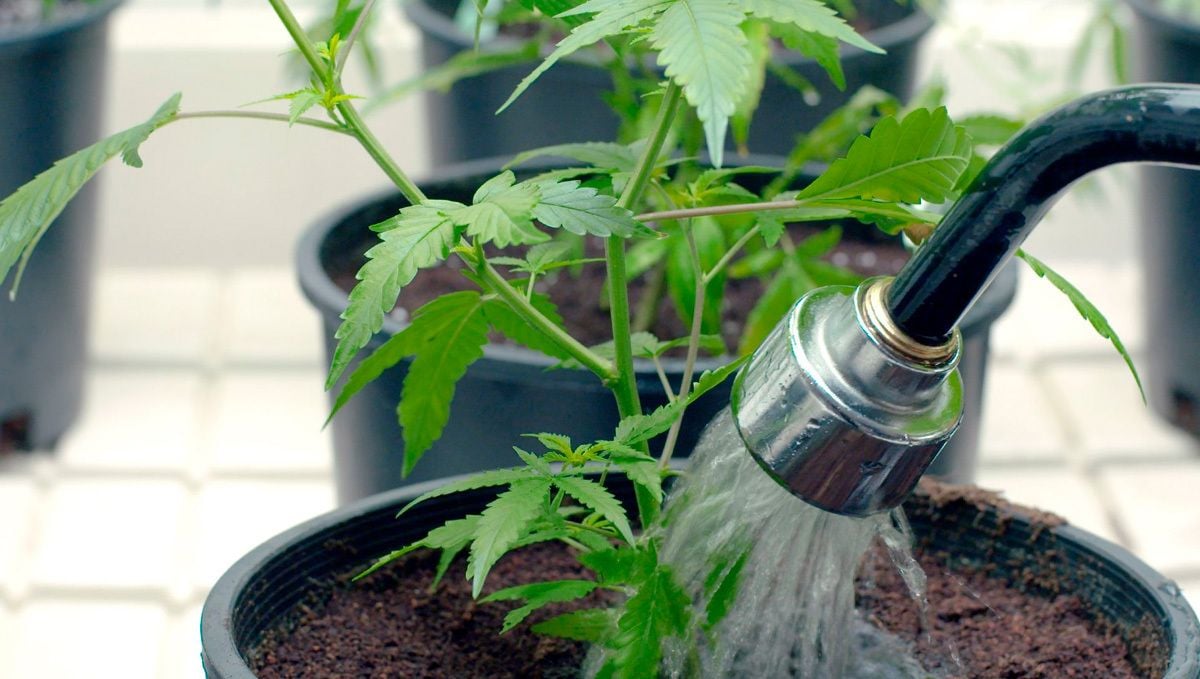
Another essential thing to keep in mind is not to overwater because cannabis plants are incredibly vulnerable to fungal root diseases in waterlogged surroundings. Keep in mind that the term “overwatering” doesn’t necessarily mean watering with too much water, but rather watering too often and not allowing the substrate to dry out enough between waterings. When this happens, oxygen levels in the soil decrease, which can create favorable conditions for fungi and other harmful microorganisms.
This is the most common mistake made by first-time growers, so when deciding how much to water your plants, take into consideration the medium you’re using and the size of your plants, NOT the size of the pot.
What does this mean? Well, a seedling in a 25 L pot and a seedling in a solo cup will need roughly the same amount of water. Just because a seedling is in a bigger pot doesn’t mean it needs more water. Yes, it will eventually grow bigger than the plant in the solo cup and require more water, but a seedling has seedling needs, regardless of the size of the container.
This guide is meant for any cannabis enthusiast who would love to grow both photoperiod and autoflowering cannabis indoors and experience the thrill. While there are chances of mistakes, that’s normal. However, make sure to always begin with good genetics to improve your chances of being successful, such as the resilient Mendo Frost Auto.
As you gain experience, you’ll be more than happy to grow, harvest, and finally use self-grown cannabis. We hope this beginner’s guide on how to grow marijuana indoors was able to help you, and we expect this will lead you to a productive and fun cannabis growing journey.


Comments