Cannabis Plant Tissue Culture: What is it?

- 1. The history of tissue culture
- 2. The basics of tissue culture
- 3. What is plant tissue culture and how does it work?
- 4. Tissue culture vs cloning
- 4. a. Cloning
- 4. b. Plant tissue culture
- 5. The 5 steps of tissue culture
- 5. a. How to plant tissue culture at home
- 5. b. Chemical composition guideline
- 6. In conclusion
Tissue culture consists of taking living tissue from a plant and growing that tissue into a full plant in sterile conditions. This process dates back to 1885 and it’s relatively new with cannabis seeds but is highly effective and can be used with most plant species. The process of tissue culture results in a stabilized source of plant tissue that technicians are able to preserve through the multiplication of plant cells. By keeping this germplasm in clean and safe facilities, they’re able to hold onto and continually propagate specific plant cultivars and phenotypes. This technique ultimately helps to preserve rare plants, or keep productive and potent phenotypes alive and well to be used in the field when multiplied. You can view tissue cultures as “banks” of genetics that are kept in special conditions until they are required to be transplanted into containers or the ground outside.
1. The History Of Tissue Culture
The history of tissue culture dates back to 1885 when a German zoologist attempted to cultivate tissue from a chick embryo but wasn’t until 1907 when an American zoologist successfully cultivated a frog’s nerve cell.
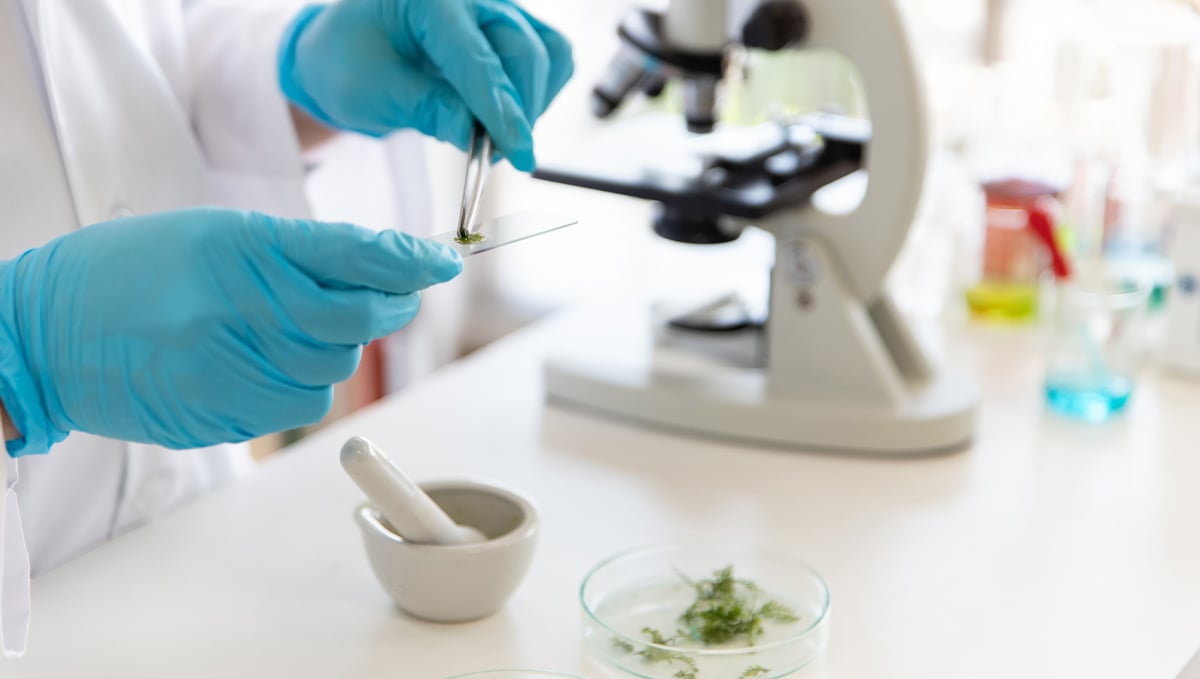
Later on, in 1910 a French surgeon improved this technique and defined what tissue culture was, after the technique was defined and established, several other experiments succeeded and enabled other researchers to grow stem cells under artificial conditions which led to more knowledge about human biology and great progress in regenerative medicine. But, you might be asking yourself How does this relate to cannabis?
2. The Basics Of Tissue Culture
So before getting deeper into tissue culture, how it works, and the differences between tissue culture and cloning, let’s learn about the essentials of tissue culture.
Research
So if you’re trying tissue culture at home, the first thing is to research if it has been done successfully with that specific strain in order for you to follow the same procedure and maybe use it as a guideline to know what to do or what not to do.
Plant Tissue
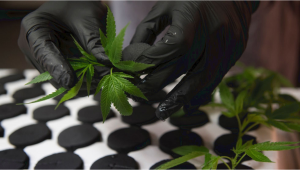
Now that you know what to follow, next up you need to get the plant you want to use for the tissue culture process. The donor plant should be 100% healthy and without diseases. Also, the part of the plant you use depends from plant to plant so make sure to follow the guidelines mentioned before to increase the chances of success. Keep in mind that this process relies on a clean environment so make sure everything is clean and sterilized, including your clothes, materials, and the room itself because contamination is the number one reason for failure.
Air
Next up is the air as plants will need clean air, so to ensure the air is clean you can buy a makeshift glove box or make your own using an old fish tank and PVC pipes, for example.
The Medium
One of the most important parts of tissue culture is the medium as it’s where the plant will be placed once it’s big enough. The medium should be a gel-like substance that provides stability and support for root development and plant growth, and nutrients for the plant to produce energy to grow, this is why one of the most popular mediums is Agar.
Now that you have a better idea of what you need, read along to understand how to tissue culture cannabis plants and all types of plants. Just remember that tissue culture can be difficult if you don’t have the right material and equipment but there’s no need to worry. You can always clone your plants; Even though the number of clones depends on the number of branches your plant grows, it’s much, much easier, and doesn’t require a lot of experience. All you need is cloning gel and scissors, and that’s it!
3. What is Plant Tissue Culture And How Does it Work?
Tissue culture is exactly what has been explained above, so basically, getting just a few pieces of plant tissue or cells and developing hundreds or even thousands of identical clones from it, this method allows growers to preserve a certain strain almost forever while needing minimal space and effort As regular cloning, tissue culture starts by having a small part of the plant you want to clone, unlike regular cloning, this tissue sample is trimmed, sterilized, and once it’s cleaned, goes into a nutrient culture that not only contains nutrients but also hormones and sugars.
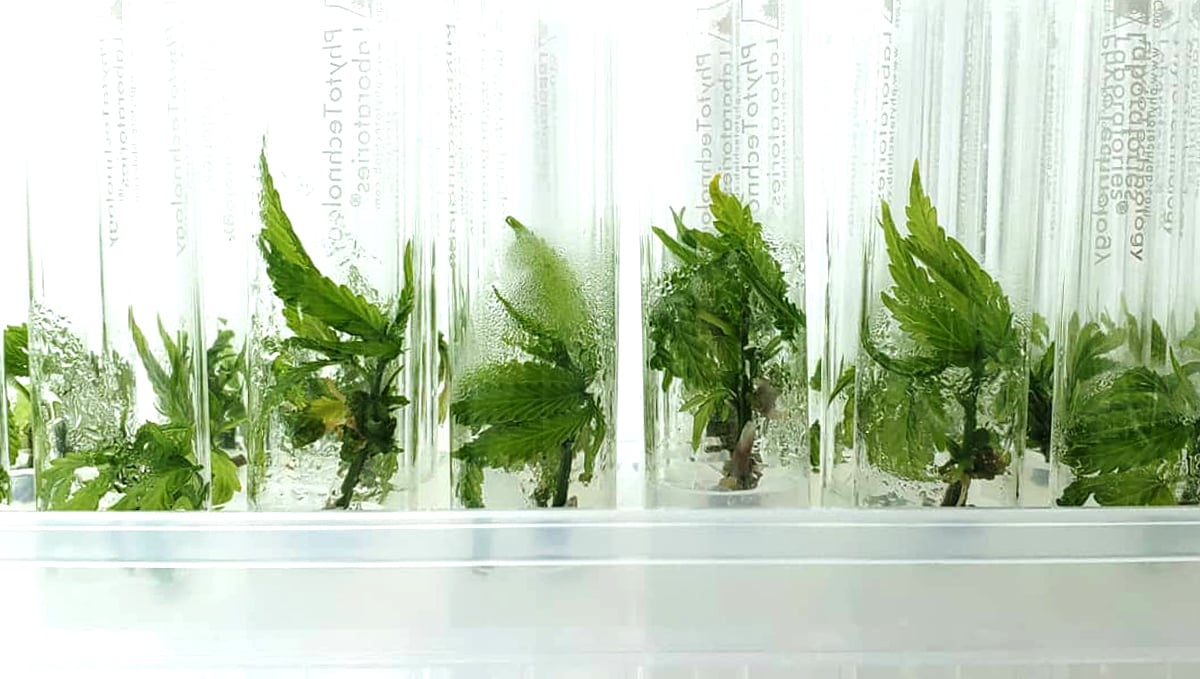
This nutrient culture depends and is basically crafted for each tissue culture because some nutrients and hormones will trigger certain stages of development so if you want to trigger growth, root development and/or multiplication (when the plant is large enough to do so) you’ll have to provide a specific nutrient culture for the development you want. So, basically, you would have a bit of tissue and once it’s large enough, it can be cut into hundreds of pieces to be cloned separately, if that’s what you wish to do, once these tissues are large enough to grow, they’ll be fed a nutrient culture that will encourage them to root and then grow.
4. Tissue Culture vs Cloning
As the cannabis industry evolves, commercial growers are looking for the best way to get more yields and potency in less time. When possible, growers are making a change from cloning to tissue culture but why?
Cloning
As you may already know, cloning consists of taking cuttings from a plant and waiting until it has developed roots to be able to grow it, this clone will become an exact copy of its mother.
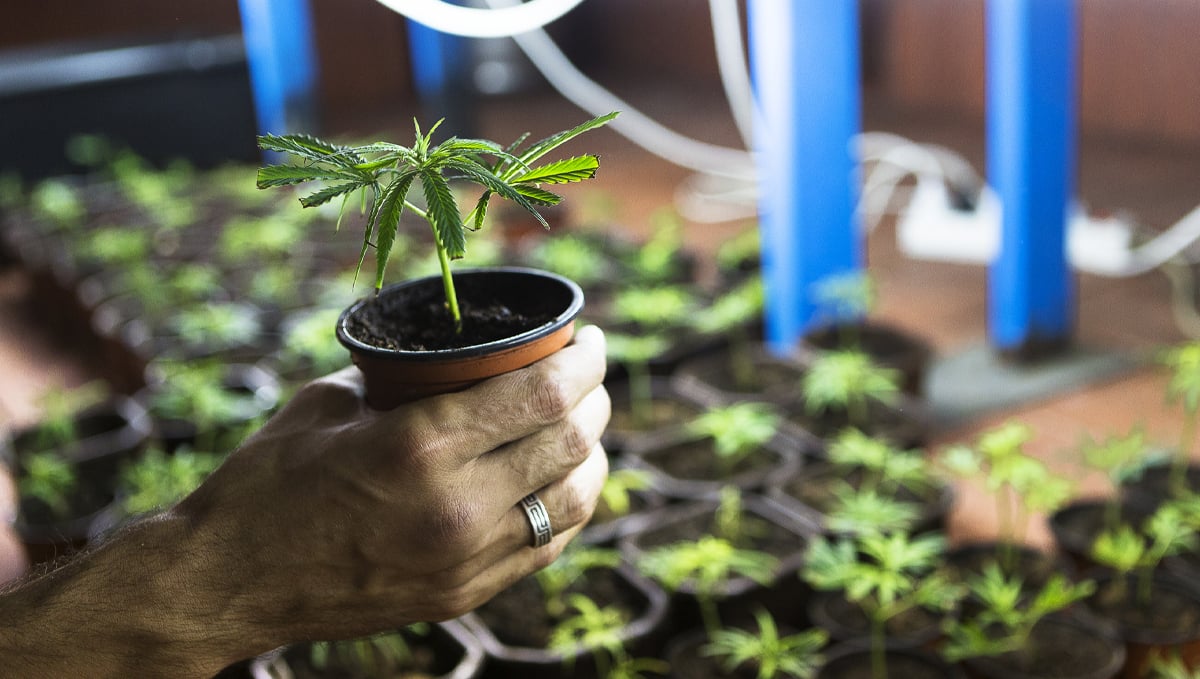
But clones can be unreliable as seedlings because it can be quite hard to have a good survival rate and not only this, they are susceptible to pests, infections, diseases, and as generations go by, it’s easier and easier to get genetic mutations. Now with tissue culture, it’s quite different.
| Tissue culture vs cloning | |
|---|---|
| Tissue culture | Cloning |
| More expensive than seeds and clones. | Less expensive than seeds. |
| Higher survival rate if done properly. | Lower survival rate. |
| Can get hundreds or even thousands of clones from a single leaf. | Can get hundreds of clones from a single plant. |
Plant tissue culture
The process of tissue culture is relatively simple but it requires a lot of control to ensure the right conditions are kept, tissue culture laboratories need:
Sterilization
Tissue cultures require an ideal environment for the plants to grow so this environment should deliver everything a plant needs in a form that’s easy to absorb but that environment is also ideal for bacteria and harmful microorganisms so everything should be sterilized. This sterilization is vital because fungi or bacteria may end up killing your plants, so not only the lab should be sterilized but also the tools, equipment, and also the plant tissue (aka “explant”).
Aseptic environment
It’s vital to have the complete process in a completely sterile environment so, in ideal conditions, a special chamber is created so you can touch the equipment that is already sterile. This special environment is used every time you need to expose anything such as tools, equipment, or tissue to the air.
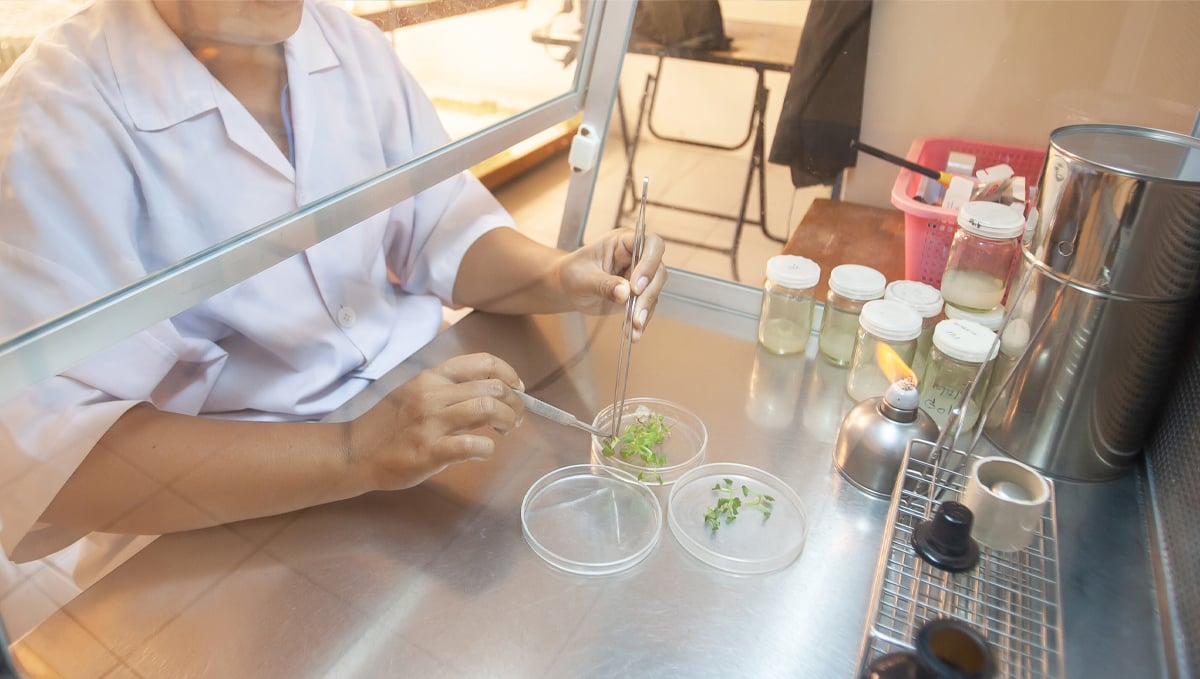
Diseases can easily gain entry to working spaces; fungal spores are around us in the air at all times. In order to prevent the contamination of in vitro plants (those growing in glass such as Petri dishes), technicians often work in front of, or under, a flow hood. These devices use fans to blow air through a HEPA filter—a piece of equipment capable of filtering out very small contaminants from the air, such as viruses, bacteria, and fungal spores. The clean air then blows over the working space in a laminar flow, which prevents particles from falling down onto open Petri dishes.
Special grow medium
With plant tissue culture, a sterile medium is made to provide the plant with nutrients, sugar, water, and a place to grow, this medium provides everything your plants need to survive until it turns into a whole plant. This medium can be made at home with a pre-made powder, sugar and distilled water pH’d at 5.8, so although it’s relatively simple, it takes a lot of safety measures.
| The pros and cons of tissue culture | |
|---|---|
| Pros | Cons |
| Plants can be grown in a short amount of time. | Requires more labor and money. |
| Only a small amount of tissue is needed. | Less resilient due to the sterile environment. |
| The new plants are more likely to be disease-free. | Tissue needs to be thoroughly checked for abnormalities. |
5. The 5 Steps Of Tissue Culture
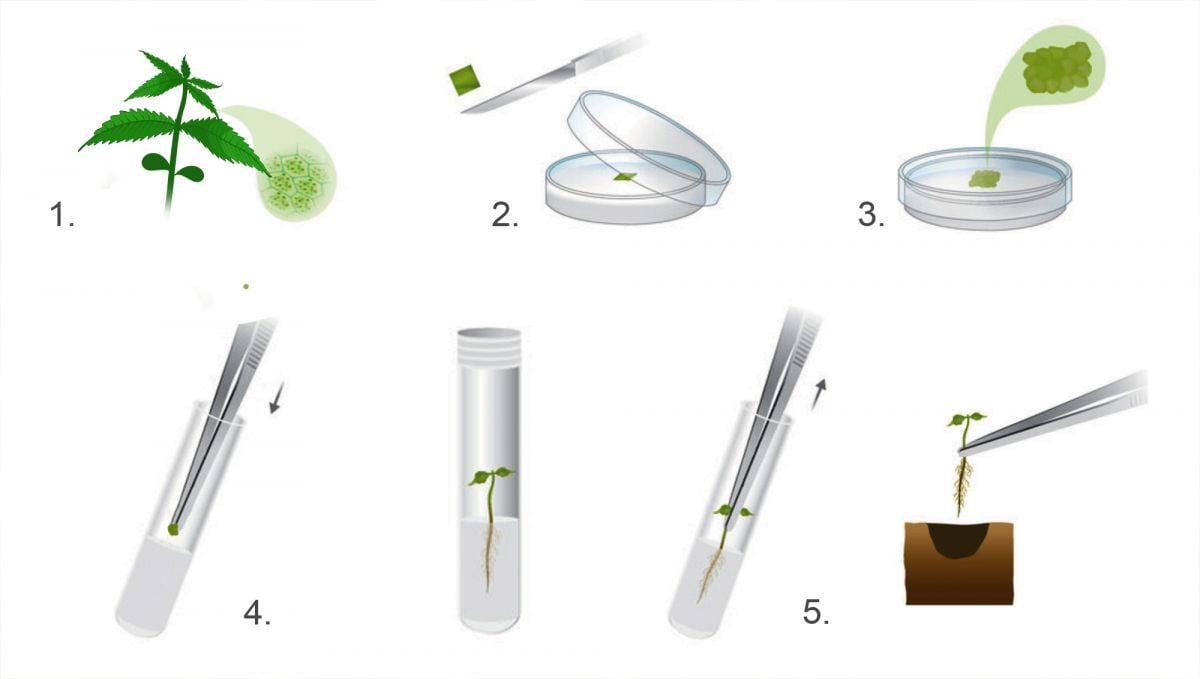
Here are the 5 simple steps of plant tissue culture in a laboratory, just have in mind that this is a resume of the whole process.
- Select the plant you want to use;
- Place tissue into the sterile environment, remove a piece, clean it and let it grow in the proper medium;
- Ensure proper conditions and let the tissue multiply (typically takes 14 days);
- Force plant to root;
- Transplant to final container and let grow.
Now, if you want a more detailed step-by-step and how to make it at home, here’s a guide, just have in mind that you will need expensive tools so even though it’s DIY, you need special equipment.
How to plant tissue culture at home
If you're interested in a guide on how to do plant tissue culture with cannabis, here's a detailed step-by-step, as said above, you will need special equipment but it's totally possible to do it at home.
Initiation phase (1-2 weeks)
Step 1
Turn the flow hood on and run it for at least 30min before starting, if you don’t have a laminar flow hood, use an alcohol burner/lamp and work close to the flame.
Step 2
Sterilize the flow hood with 70% ethanol but do not spray it directly to the filter.
Step 3
Turn on your sterilizer and let it warm up for 20min.
Step 4
Sterilize a pack of paper on a dry cycle, then sterilize the vessels, water and tween on a slow cycle.
Step 5
Then to prepare the medium, get a container, fill it with reverse osmosis, distilled water or Deionized water (ideal). If you’re making 1L of medium, add 900ml of water. After you have the water ready, add Grow nutrients until you reach an EC of 1.5, then add 30g/L of sugar and adjust the pH of the solution to 5.7, then add 6g/L of agar and put it in an autoclavable bottle but do NOT overflow it. Run the bottle on the sterilizer for 15min and then pour around 50ml into each sterilized vessel you’ll be using.
Step 6
Now that you have the medium ready, prepare a solution with 0.5% bleach and 0.1% sterile tween 20, if you only have 2.75% bleach, add 181ml per 1L.
Step 7
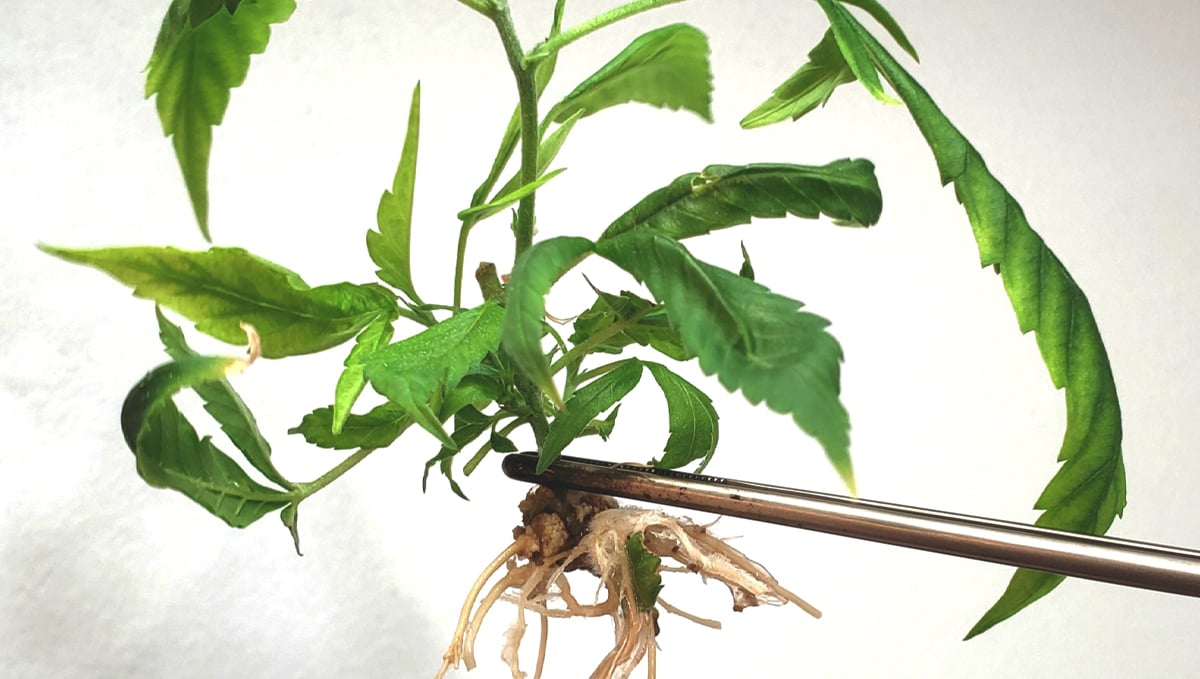
Fill a container with a small amount of water, take your cannabis material, and place it in the water, make sure the plant material is healthy. If you’re storing the plant material for more than 1hr, place it in a cooler with ice and try to get it in water as soon as possible.
Step 8
Get a sealable sterilized container and fill it about 80% with the bleach/tween solution, then add the plant material and seal it.
Step 9
Shake gently for 20 min and then shake vigorously for 20 seconds after the initial 20min.
Step 10
Transfer the plant material to another vessel filled with 80% sterilized water and shake gently for 5 min and repeat 2 more times.
Step 11
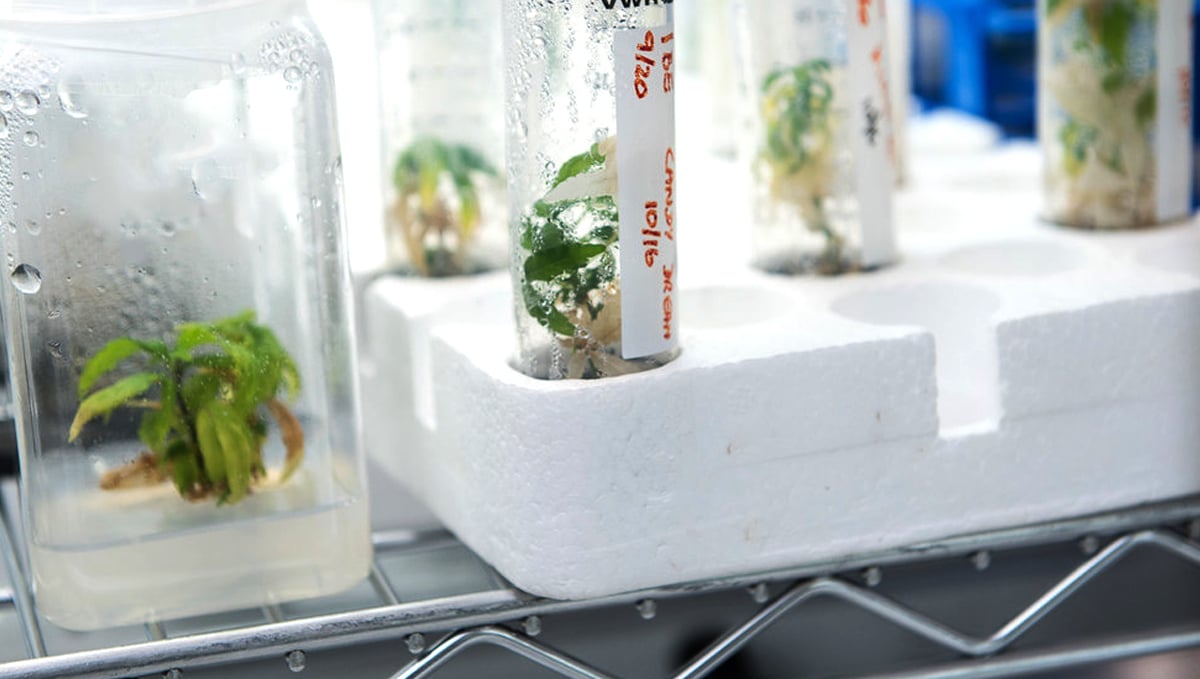
Use sterile forceps to transfer the plant material to a sterile piece of paper to absorbs the excess water and then place one piece of plant material per vessel. The plant should be in an upright position into the vessel and then placed on a rack at 25°C under an 18/6 light cycle for at least 3 weeks. After your plants are ready, you’ll successfully grow a clone and it’s now ready to be grown in your medium of choice, either outdoors or indoors.
Chemical Composition Guideline
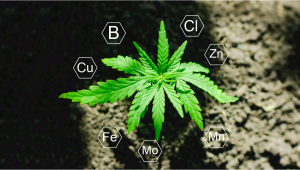
Have in mind that there are different types of media, the minerals and amount may change according to the type of medium you’re using, this guide has been written using the Murashige-Skoog medium as an example so make sure you read and find out which ingredients and the quantity that is preferred in the medium you're using.
| Macronutrients | |
|---|---|
| Inorganic Nitrogen | 25000-60000µmol/L |
| Potassium | 20000-30000µmol/L |
| Phosphorus, Magnesium, Sulphur, and Calcium | 1000-3000µmol/L |
These are the essential nutrients your cannabis plants need in high amounts and are essential in tissue culture, without them your plants won’t be able to grow green matter.
| Micronutrients | |||
|---|---|---|---|
| Cobalt and Copper | 0.1µmol/L | Zinc | 5-3µmol/L |
| Iron and Molybdenum | 1µmol/L | Manganese | 20-90µmol/L |
| Iodine | 5µmol/L | Boron | 25-100µmol/L |
These are the essential nutrients your cannabis plants need in lower amounts but are also essential in tissue culture, without them your plants won’t be able to grow properly and will surely show deficiency symptoms.
| Vitamins | |||
|---|---|---|---|
| Thiamin | 0.1-10mg/L | Pyridoxine | 0.1-10mg/L |
| Nicotinic Acid | 0.1-5mg/L | Myo-inositol | 50-500mg/L |
These vitamins are essential to aid in your plant’s metabolism, especially when talking about tissue culture so make sure you provide them and in the right quantities.
| Amino Acids | |||
|---|---|---|---|
| Casein hydrolysate | 0.25-1g/L | Asparagine | 100mg/L |
| Glycine | 2g/L | L-Arginine | 10mg/L |
| Glutamine | 8000µmol/L | L-Tyrosine | 10mg/L |
6. In Conclusion
Cannabis tissue culture may seem quite hard but it's relatively simple, you just have to make sure you are maintaining the best conditions and take all the safety precautions to ensure the highest survival rate. We know that this technique is relatively new and can be quite expensive so not all growers may have access to the equipment needed but if you work or have made your own tissue culture lab at home. Please share your knowledge with fellow growers, leave a comment in the comment section below!
External references
- Plant Tissue Cultures. - Kärkönen, Anna & Santanen, Arja & Iwamoto, Kuninori & Fukuda, Hiroo. (2020).
- Nanotechnology and Plant Tissue Culture. - Tariq, Amina & Ilyas, Saiqa & Naz, Shagufta. (2020).
- Plant Tissue Culture Media, Recent Advances in Plant in vitro Culture. - Annarita Leva and Laura M. R. Rinaldi (2012).





Comments