How to Cure Buds
- 1. Why should i dry and cure cannabis buds?
- 2. How to dry cannabis the right way
- 3. How to cure cannabis buds
- 4. Weed curing: burping the jars
- 5. Drying and curing cannabis faqs
Harvesting cannabis buds always get growers excited. After months of toiling, you finally see glistening buds coated with so much resin that it makes your mouth water. Indeed, it’s very rewarding to grow cannabis. You can’t contain your joy when you see those beautiful buds. You think that your work is finally over. However, the real process begins now. You may have harvested a huge amount of beautiful buds, but they need to be dried and cured. So, to sum it up, the process of growing cannabis includes:
- Choosing excellent genetics
- Germinating the cannabis seeds
- Providing the right environmental conditions to grow the plant
- Harvesting the buds
- Drying
- Curing
Many people tend to skip this last process. Many growers also tend to dry their buds quickly because they can’t wait to taste those buds. But, did you know that all your hard work is pretty much useless if you don’t take the time to properly dry and cure buds? Drying and curing is the most important part of growing cannabis. You cannot skip it, no matter what. So, take some time to understand how to cure buds. But, before we begin, it’s important to discern why drying and curing are critical in the first place.
1. Why should I dry and cure cannabis buds?
When it comes to curing marijuana, the word “cure” tends to be a little confusing. What exactly are you curing here? Adapted from the Latin word curare, cure means to manage or take care of things. Not only cannabis but many vegetables are cured after harvest to preserve the flavor. Peppers are dried and even bacon is sprinkled with salt to ensure that term storage. Likewise, cannabis is cured to preserve its potent flavors and terpenes. Basically, the curing process eliminates the moisture from the buds so that they don’t develop mold or other unfavorable conditions that render them useless.
Have you tried smoking a green bud that’s not cured yet? Try it! And you’ll swear off smoking cannabis forever because it’s just too harsh. Smoking uncured cannabis also makes you feel like you’re smoking grass. So, why does that happen? It’s because of chlorophyll. There are many sugars and minerals left in the plant even after harvest. If the buds are cured in perfect conditions, it helps bacteria break down the minerals and sugars that impart an unpleasant, harsh sensation when you smoke uncured cannabis.
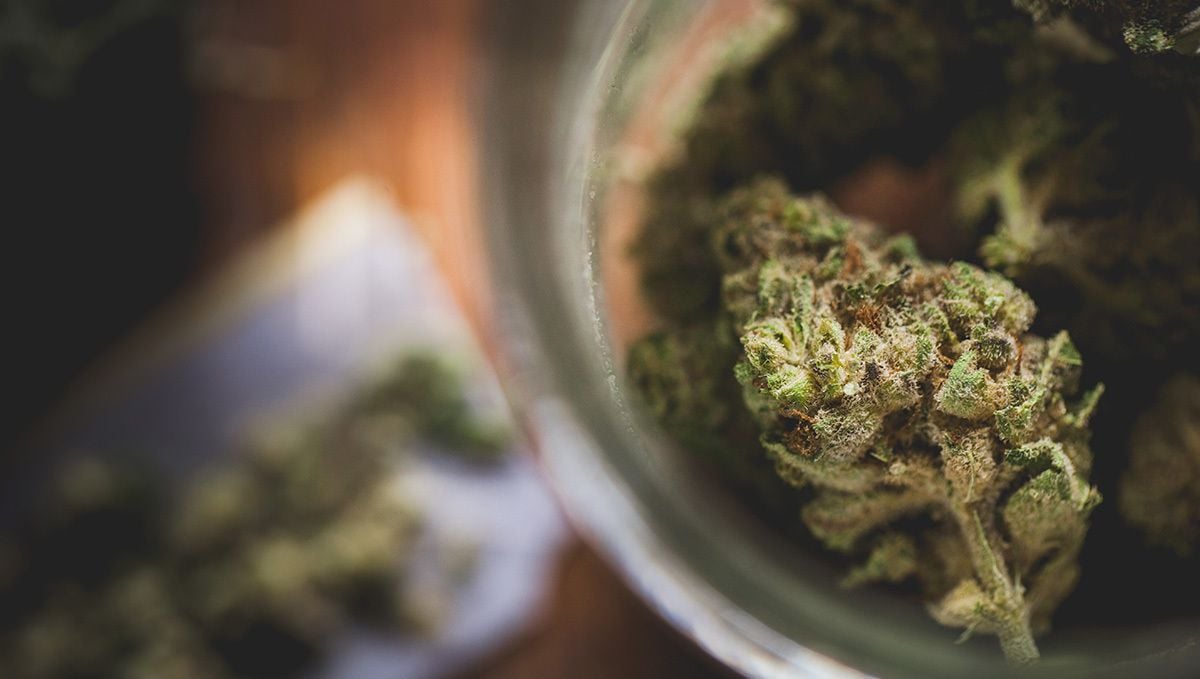
Curing breaks down the chlorophyll present in the buds. Once the chlorophyll begins to degrade, the buds improve in taste dramatically. It also increases the smoothness. Many smokers complain of headaches when they smoke cannabis. Have you ever wondered why? Well, again it’s because of smoking uncured cannabis. When you don’t take the time to properly dry and cure cannabis, headaches and other bad issues are just looming around the corner. Curing also reduces the likeliness of developing paranoia. But, most importantly, curing increases the potency of the buds. Cannabis produces many cannabinoids. Out of them, THC – tetrahydrocannabinol – is the most famous. But, did you know that the plant first produces THCA – tetrahydrocannabinolic acid – that is later converted to THC during the curing process?
Yes, that’s right. So, if the buds are not cured, then the conversion to THC is unlikely and the potency is reduced drastically. Apart from the potency, curing greatly affects the flavor of the terpenes. Terpenes are nothing but aromatic compounds found in the cannabis plant. It imparts a specific flavor. For example, Lemon AK tastes like lemons and it’s only because of the terpenes. Last but not least, drying and curing allow you to store the buds. Imagine that you’ve harvested 10 oz of buds only to find out that you have to finish them quickly lest they expire! No, that’s not what we want. What we need is cannabis that can be stored for a long, long time.
2. How to Dry Cannabis the Right Way
The drying process depends on how you’ve harvested your buds. It also depends on the humidity. But what you need to remember is that the drying process has to be done slowly. No matter how much you want to smoke the buds right away, do NOT microwave the buds. Don’t use a stove or any other type of heating element to dry the buds because it will be the most horrible marijuana you’ve ever smoked. Don’t use a dehydrator either. It’s simply best to allow the buds to dry slowly and naturally. Kapish? The best temperature to dry the buds range from 20°C to 23°C (68°F to 73°F) with about 50% relative humidity.
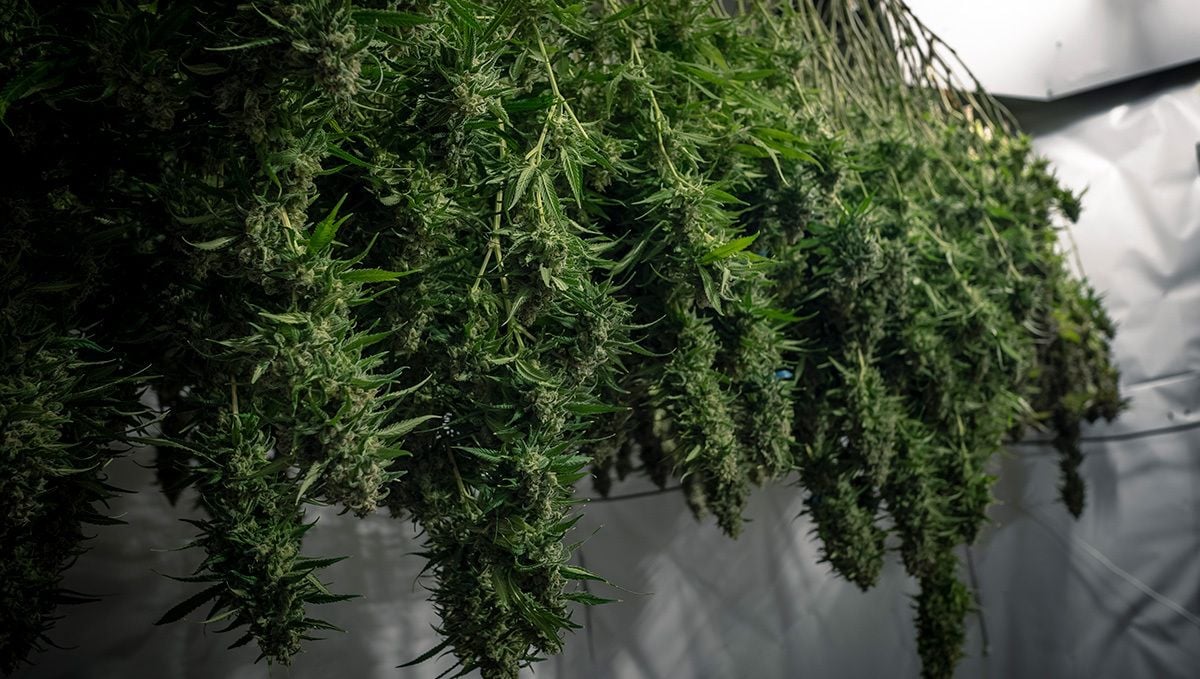
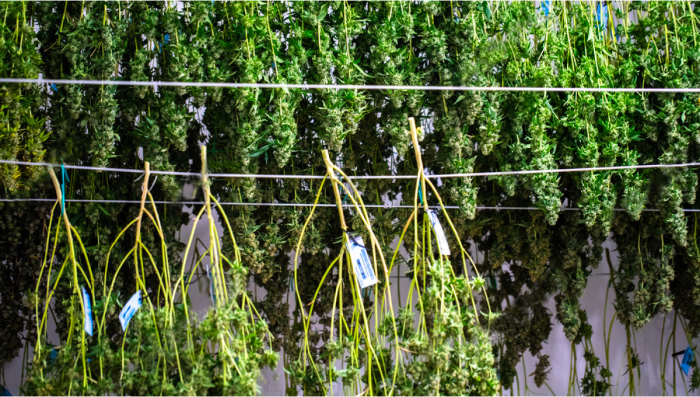
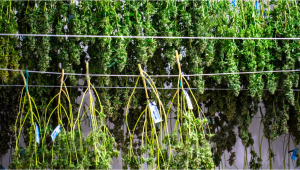
Once you’ve cut the plant down, remove the fan and sugar leaves. The more you remove the better. With almost no leaves, your bud will taste fantastic and the extra effort is all worth it. However, if you reside in a location that’s acrid and dry with less than 30% humidity, you can postpone removing the leaves until they are completely dry. If the humidity is perfect, simply remove the leaves and hang the branches to dry. You can do it by tying a clothesline or a strong thread from one end to the other in your grow tent. Even hanging the stems on a clothes hanger will work. Or, a closet will do. Remember that it needs good air circulation. Use a dehumidifier to achieve perfect environmental conditions. An air conditioner, cooler, or even a heater will work, depending on whether you want to raise or lower the humidity. If you’ve cut down the stems and are left with only the buds, use drying racks to dry them.
It’s important to let air get to the buds. This is even more important if you live in an area with high humidity exceeding 60%. Most growers hang the stems to allow them to dry, but if the humidity is too high, you need to take another approach. Simply remove the leaves and separate the buds. Then, place the buds on a drying rack. If you don’t own one, use a laundry basket with several layers of sieves. So, if the humidity is less, do not remove the leaves until they are dry. But if the humidity is too high, it’s compulsory to remove all the leaves so that they don’t attract mold and fungi. Use the leftover leaves to make your own cannabis extracts.
The more the number of leaves, the slower they dry. Therefore, adjust the drying conditions based on the climate. The drying process takes about 5-6 days but it might extend longer. To find out whether the stems are completely dry, snap the stems. If they snap right away, go ahead and cure them. But, if the stems don’t snap and are still soft, let them dry for a few more days. If the buds are completely bereft of stems, check the outsides of the buds to detect any moisture. When they are absolutely dry, it means they are ready. Be careful not to over-dry the buds. It’s possible that the bigger buds are still soft while the smaller ones are completely dry. That’s okay! Just collect the dry ones and let them cure while the soft, moisture-laden buds can continue to dry.
3. How to Cure Cannabis Buds
The best temperature to dry the buds range from 20°C to 23°C (68°F to 73°F) with about 60% humidity. The humidity can go up to even 65% and the buds will still be okay. The buds will be cured in glass jars, so you need to control the environment inside the jar. The best jars to cure the buds are mason jars. Any jar will do, but they have to be wide-mouthed and air-tight. This is very important. Please don’t ignore this process as the buds won’t be cured properly. There are some growers that use plastic bags or containers to cure buds. However, it’s not recommended. Plastic doesn’t allow oxygen to flow properly. Also, the essential oils and terpenes tend to break down the plastic and you might end up with plastic in your buds! Therefore, mason jars that hold up to an ounce of bud are perfect. Don’t go for jars that are too big since they attract mold. On the other hand, don’t use small jars where there’s no room for the buds to breathe. Only fill the jars to about 3/4th of the space. This will give ample room for the buds to breathe. In other words, the buds must have space to move around.
If they all tend to stick to each other even when there’s enough space, remove the lids so that the buds dry a bit more. Remember not to place wet buds in the jar or you’ll have mold, fungus, and whatnot. To create the perfect environment for your buds, use silica packets that are used to control moisture. You can also use Boveda packs – the 62% packs are made specifically for cannabis to maintain ideal humidity. Simply place the packs in the jar and you’re good to go. So, here’s how you cure the buds:
- Once the buds are dried satisfactorily, pack them loosely in a glass jar.
- Seal the lids tightly.
- Place the jars in a cool, dark and dry place such as a closet.
- Let the buds cure for a week, but remember to open the jar every day for about ten minutes.
- Opening the jars replenishes the oxygen and also prevents mold.
- From the second week onwards, open the jars once in a few days, but seal the lids tightly again.
- Allow the buds to cure for at least 4 weeks, but they become even more flavorful if cured for 6-8 weeks.
Curing cannabis is a process many people overlook. The smoke buds are soon as they are dry. Although dry marijuana can be smoked, it’s best to cure cannabis to get the results you’re really looking for. Drying and curing marijuana can make all the difference between cheap and top-grade cannabis. It doesn’t matter whether you’re growing photoperiod or an autoflower strain because the process will remain the same. Our special Cream Cookies taste like cookies when dried and cured properly. So, get your seeds today and experience the difference yourself!
4. Weed Curing: Burping the jars
After drying your buds, the work is almost over but there’s still a need to cure and burp the jars before consuming them. Curing and burping will not only determine potency but also its flavor and smell, this is why it’s essential to cure your buds properly. So after your buds are properly dry and in the curing jar, it’s time to start burping your weed. If you’re not sure your plant is properly dry, make sure to bend the branches and stem to see if they’re dry enough because any moisture left in the buds may cause mold. Removing moisture from the jars is essential to avoid everything mentioned above but how it’s done depends from grower to grower. In general, burping is done but opening the curing jars from 10-30 minutes once a day. If you’re doing it this way, remember to shake the buds around a little bit to ensure all the moisture gets out. Other growers prefer removing all the flowers from the jar and spreading it on a newspaper or similar.
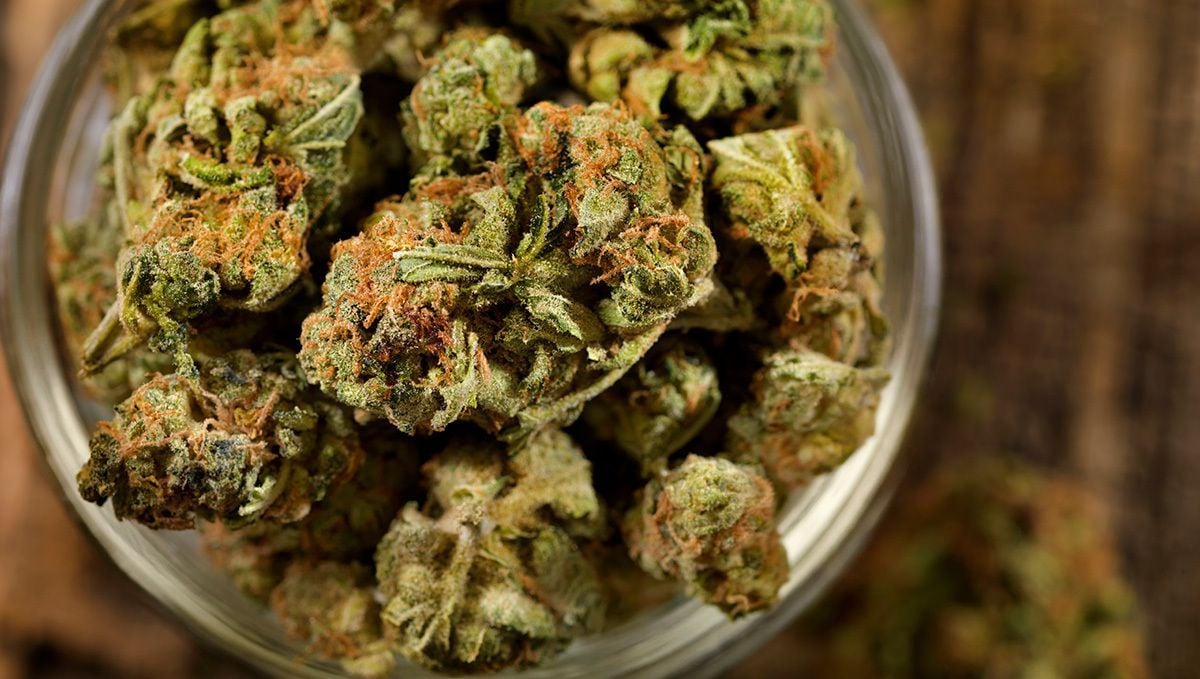
As a guideline, you should burp the flowers once a day for at least 30 seconds but, as mentioned, it depends on a lot of things as some growers agree that you should burp less often but for longer. Other growers prefer using boveda packs to keep humidity levels in the jar in check. So it’s really up to you but the best way to avoid mold is to have a hygrometer in the jars and try to maintain humidity levels at around 58-62%. If the humidity level is above 70%, continue to burp your jars until the humidity levels are within the specified range. Now, keep in mind that how often and how long you burp your jars for depends on the specific strain and conditions, some growers prefer burping less often to make the curing process take longer while others prefer doing it more quickly in just a couple of days or weeks, so it does not only depend on your conditions but also on the specific strain you’re growing as some strains do not need curing while others need at least a couple of weeks of curing for the best results.
5. Drying and Curing Cannabis FAQs
Right, we have broken down in pretty intense detail how to both dry and cure your freshly harvested crop, but you probably still have a few questions burning through that brain of yours. You don't need a degree in horticulture or plant biology to successfully get through the drying and curing stage, but the info can be a little overwhelming for newcomers. Let's run through the most common queries that folks have when it comes to drying and curing:
What is the distinction between drying and curing cannabis?
The are some marked differences between the two processes. Drying freshly harvested cannabis relates to the process of slowly removing the moisture from your buds. This is vital if you are wanting to either smoke or vape the buds, but can actually be skipped depending on how you want to use the flowers. If you are wanting to make live resin, for example, you will not need to dry your buds.
Curing cannabis is essentially the aging process of your buds. Think of it like aging whiskey in an oak barrel. Thankfully it doesn't take nearly as long. Curing slows the drying process right down and helps to totally leach out any remaining moisture that may be trapped deep in the buds.
How long does the drying process take?
That will depend on your environmental conditions, and whether you have wet or dry trimmed the harvest. it can also be affected by the size and density of the buds, and whether they have been 'bucked' (removed) from the branches. Again, The ideal timing for drying weed is between 7 to 12 days.
How long do I need to cure my buds after the drying process has finished?
The majority of cultivators cure for a minimum of two weeks, but will usually leave the buds for around a month before they start to enjoy them. If you are able to let the buds cure for another full month then you are going to taste and smell a noticeable difference, with the flavors and aromas really intensifying at the 2-month point.
How should I store the buds after the curing process has finished?
You want to keep your marijuana buds as well protected as possible. That means out of direct light, and in a humidity and temperature-regulated area. If you have room in your refrigerator, you can actually store the harvest in there to keep them maximally fresh for the longest period. A great experiment to run as a new grower is to put a few of your dried and cured buds in the fridge and leave them while you work your way through the rest of the harvest.
Once you are running low on the unrefrigerated buds, grab the ones that have been chilling in the fridge and give them a side-by-side test smoke or vape. The difference is pretty remarkable, with the ones that have been left in the fridge holding onto a bunch more flavor and aroma. If you don't have fridge space, a dark and cool room will do just fine. Just be sure to keep them in a sealed jar or airtight container, and that you check on the buds every week or so to make sure that the humidity levels remain around 55-60%.
What is the best humidity and temperature for curing cannabis?
The ideal temperature for curing cannabis is 21 - 23 degrees Celsius (70 - 75 Fahrenheit). The humidity should be kept around 55-60% if possible. Grab a couple of cheap hygrometers of amazon and stick a probe into each jar for the best results.
Should you use a humidity control pack, like the boveda options?
Nope. While many hobby growers swear by them, they have the unfortunate side effect of not only keeping the humidity away but also pulling a bunch of the flavor and aroma off the buds. The best way to ensure the perfect humidity levels is with a quality hygrometer.
What can I do if my buds don't seem to be drying properly?
If your buds aren't drying, there is a bunch of different things you can do. Firstly look at the environmental conditions in the drying chamber. Is there enough airflow? Are you keeping the temperature and humidity at the correct level? If all of those are fine, then you may be looking at a problem with moisture still trapped in the buds. If that is the case, you should bring in some large fans, but don't point them directly at the buds themselves. Just aim them around the room to ensure some air movement around each individual bud. This will help to draw out any remaining moisture.



Comments