01
Autoflowering seeds
Legendary autoflowers, built for speed

02
Feminized seeds
Maximum yield, all-female genetics

03
FastFlowering seeds
Fast cycles, photoperiod power

04
Originals strains
The strains that started it all

05
RF3 line
Our most refined genetics yet

06
Collabs
Exclusive breeder collaborations

07
Champions line
Cup-winning, world-class strains

08
Trial Packs
Sample more, commit later

09
Mix Packs
Curated variety in one pack

10
Mystery Boxes
A surprise drop worth the thrill

New Releases
Fresh genetics, just dropped
High Yield
High yield, high return
High THC
High THC, powerful effects
Best Cannabis Seeds
Loved by growers worldwide
Beginners
Easy to grow, easy to love
Sativa
Uplifting and energizing
Indica
Relaxing and soothing
Hybrid Strains
Balanced best-of-both genetics
Most Awarded
Recognized excellence
CBD
Balanced and therapeutic
Indoor
Perfect for indoor setups
Outdoor
Built for outdoor grows
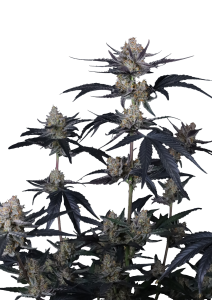
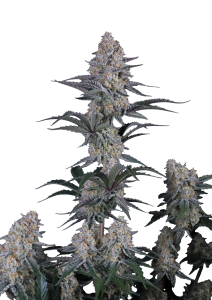
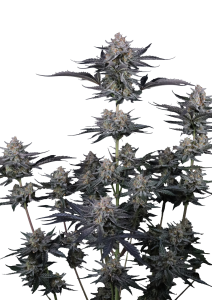
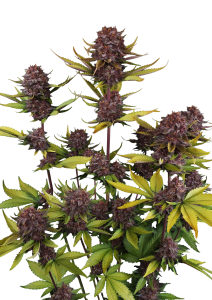
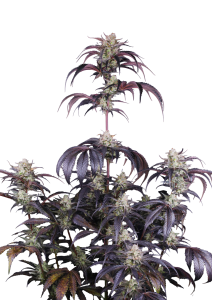
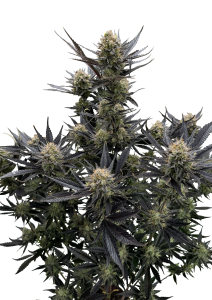
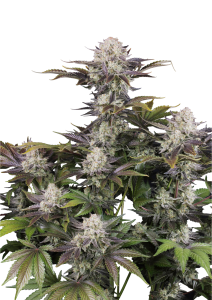
Purples
Exotic colors, unique vibes
Last Chance
Going fast, grab them now
Compact Strains
Small plants, big results
Fastest Strains
Speed from seed to harvest
Washers Strains
Top picks for hash washing
Mold Resistant
Tough against mold & rot
For Greenhouse
Thrive under glass
Cold Climate
Built for cooler grows
Daily smoke
Smooth strains for every day
Hash Making
Resin-rich strains for hash
Cheap cannabis seeds
Quality genetics, budget prices