




How to Grow Autoflower Cannabis Indoors

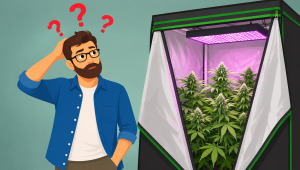
- 1. The light fixture
- 1. a. Compact fluorescent light bulb
- 1. b. Fluorescent light bulbs
- 1. c. High-intensity discharge
- 1. d. Led grow lights
- 2. Growing medium
- 3. Nutrients for autoflowers
- 4. Watering autoflowers
- 5. Odor control: carbon filter
- 6. The growing process
- 7. In conclusion
Autoflowering seeds grow, well... automatically when cultivated outdoors or indoors. At the end of the day, indoors or outdoors, plants need the same: water, soil and nutrients.
When growing outdoors, you plant the seeds and then let the sun and Mother Nature do the rest. However, indoor growing is more technical, but just a bit.
Whereas the Earth and the sun provide abundant wind and light, when growing indoors, you'll have to provide those for your plant with the help of equipment. You'll also need to pay a bit more attention to plant nutrition, as well as install a carbon filter to keep the smell and other details that differ when comparing growing indoors and growing outdoors.
Here's all you need to know to get started growing autoflower weed indoors in 2026.
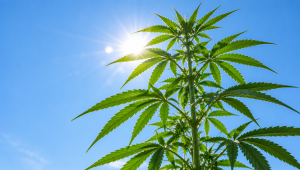
1. The Light Fixture
With no sun to rely on, you'll need to provide light for your plants. There are many different lighting options to choose from, and knowing which one is best for you can be tricky.
Compact Fluorescent Light Bulb
You've probably seen CFLs (Compact Fluorescent Light bulbs) in your own home. They're easy to find anywhere light bulbs are stored. They're cheap, small, and easy to find. Just like “regular” fluorescent bulbs, they’re not ideal for cannabis growing. However, they can be a simple solution for those with limited space seeking to grow just 1 small plant.

Fluorescent Light Bulbs
Fluorescent lights are cheap, easy to find, and fit nicely in even the most cramped grow environment. They don't generate a significant amount of heat relative to other options and can be kept close to plants without burning them. Compared to other options like HID, fluorescent lights will grow smaller plants with lower yields. This type of light is generally used by those just starting or by growers who cannot find better equipment where they live.
Fluorescent lights come in a few varieties, each with their respective pros and cons. Generally speaking, they are not recommended for growing cannabis because the light cannot reach the lower branches, and they do not provide a full spectrum of light.
T5 Light Bulbs
T5 light bulbs are probably the most commonly used out of the Fluorescent Bulbs category. These long tubular lights often plug into panels of four or five lights and take up significantly more space than CFLs, but they produce a light spectrum slightly better suited for cannabis growth. You can find them at any garden center or home improvement store. While these lights were used to grow plants from start to finish a few years back, nowadays they’re only used when growing seedlings or clones.
High-Intensity Discharge
These large bulbs produce massive amounts of light and can provide two different spectra for growing cannabis, while being more efficient than fluorescents in terms of weight of bud per watt of power used.
That doesn't mean growers will see lower electricity bills using HIDs since HID bulbs run at a higher wattage and generate more heat. When using this type of light fixture, make sure you have a way to manage your grow space's temperature when using them. If you don't have a good exhaust system, it's better to stick with a low-heat option.

Ceramic Metal Halide and High-Pressure Sodium
Both CMH and HPS are types of bulbs that can be used in a HID light fixture. However, there are some differences.
Ceramic Metal Halide lights are usually used during the vegetative phase of growth due to its blueish light spectrum, which is perfect for vegging plants, and while this may also get the job done during flowering, many growers switch to HPS bulbs once buds start to form.
High-pressure sodium lights serve as counterparts to Ceramic Metal halide lights. If efficiency is your goal, you can't beat a combo of MH during veg and HPS during flowering. The yellow/orange light spectrum produced by HPS is what cannabis plants need for optimal bud production.
LED Grow Lights
While it wasn’t the case just a few years ago, LEDs are the ideal choice for growers seeking efficiency and quality. LEDs produce a full spectrum of light while generating less heat and using less power than HPS lights.
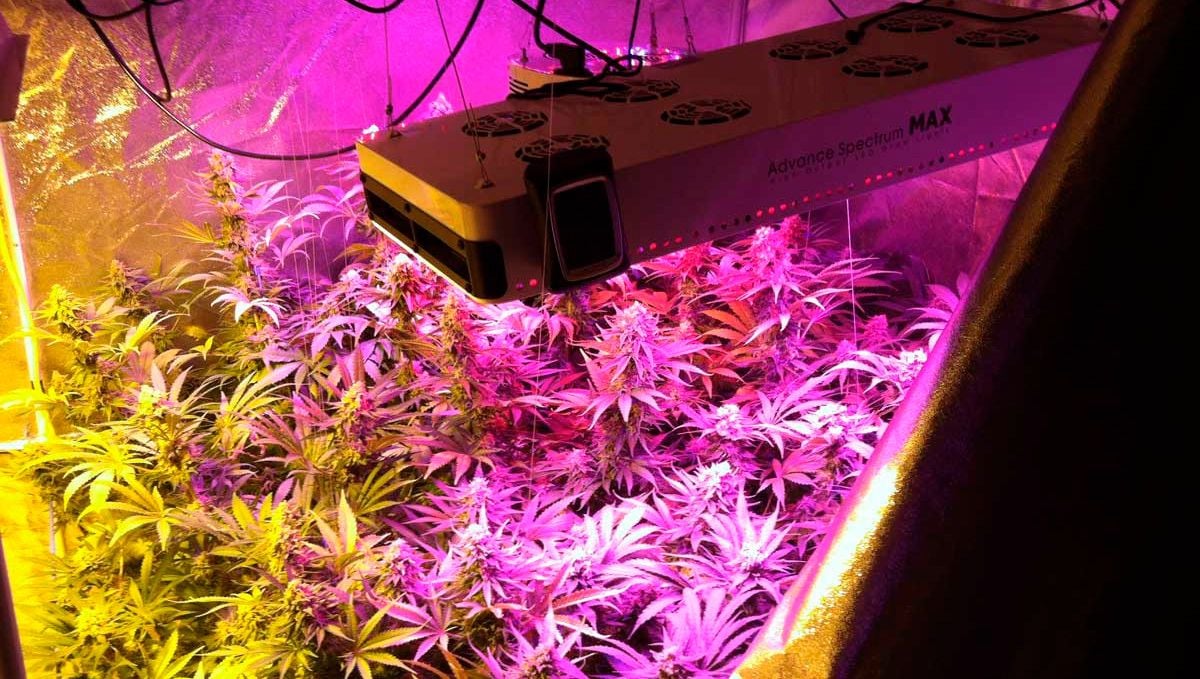
Not to be confused with the old “Blurple” LED lights, true full-spectrum LED lights produce a white light compared to the harsh purple of traditional “Blurple” LEDs.
Unless you are looking to set up a tiny wardrobe grow with CFLs, there is really no reason to use anything other than LED panels as your main grow light option. HID rigs were, for decades, the true gold standard for all in cannabis growing situations - but, the times they are a changin', dudes and dudettes.
If you are looking to grow autoflowering cannabis indoors, then LEDs are pretty much your only option - not all LED lights are created equal though and there are many manufacturers producing panels with sometimes dubious claims and dubious performance. Do your research and read unbiased reviews of the different options available, before making a purchasing decision.
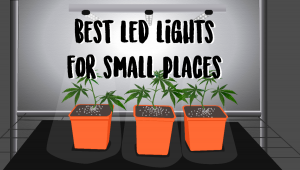
Some of the best brands and panels available come from top-name companies like Samsung, Philips, and G8LED. These companies have all invested heavily in creating custom LED solutions that are primarily meant for indoor cannabis cultivation - they offer a variety of wattages, spectrum types, and even specific models that are tailored toward autoflowering strains. These are the kinds of panels you should be aiming to grab.
So if you are looking for a slightly cheaper option, you're in luck. The rise of the LED era has brought with it a bunch of new companies that are doing good things. Brands like VIVOSUN, Spider Farmer, HyhotonFlux, AC Infinity, and MARS HYDRO are all great options. We used to heavily suggest that all new growers stay well away from full kit setups online, and for good reason. But, nowadays some of the bundles offered are actually really great quality and a fraction of the price of picking up everything separately. There is a wide range of options to choose from, but we love these couple for starter kits -
- VIVOSUN GIY 4x4 Grow Tent Complete System,
- MARS HYDRO 4x4 Grow Tent Kit Complete System
- THEBUDGROWER Complete All-in-One Home Grow Solution 48"x48"x80
- Spider Farmer Grow Tent Kit 4x2 Complete
- IPOW Grow Tent Kit Complete 3.3x3.3ft LED Grow Light
2. Growing Medium
You've got space, you've got light, but what are you going to plant your seeds in? There are seemingly endless choices for growing mediums, ranging from hydroponics and aeroponics to dollar store gardening soil. We'll tackle hydro and other high-tech mediums in another article, for now, we want to keep things easy for new growers. After removing the high-maintenance, high-tech options, we're left with three choices: soil, soilless, or a combination of the two.
Growing in Soil
Soil is what millions of years of evolution trained cannabis seeds to grow in, and there's nothing wrong with germinating, planting, and trusting the plant's genetics to take care of the rest. The only caveat we have to add is that you find high-quality soil, either on the internet or at your local hardware store. Cheaper, low-end soil is meant to grow small flowers, not giant cannabis bushes.
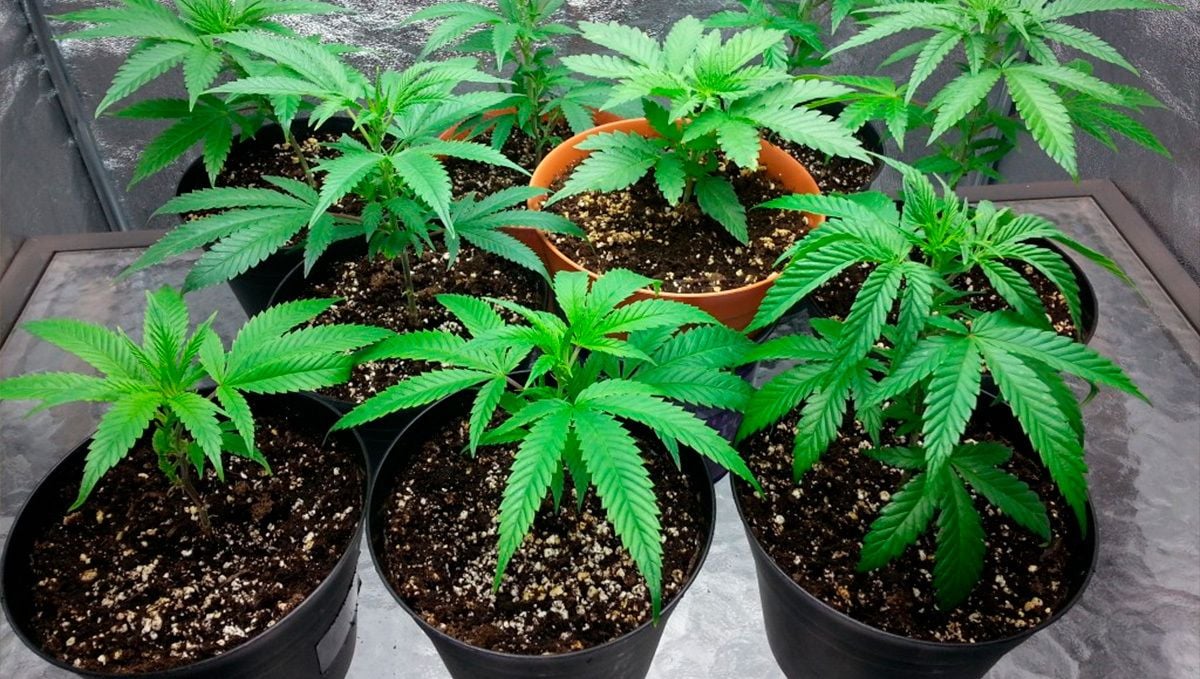
In our experiments with bargain brands, we've found that plants grow quite well through the vegetative stage, but once flowering starts, our plants quickly exhaust the available nutrients and begin showing signs of malnutrition. This problem can be corrected with the addition of outside nutrients, but it's just easier to buy high-quality, pre-fertilized soil in the first place.
Growing Soilless
There are a variety of soilless options to choose from, but the most popular for growing Cannabis is Coco Coir. Made from coconuts, Coco looks like soil at a glance, but it is more like a middle ground between hydroponic and soil growing
You don't have to use it by itself; you can also mix it with traditional soil to create an ideal blend.
3. Nutrients for Autoflowers
You'll need at least a little bit of fertilizer to get the most out of Fast Buds seeds.
Some strains, like our Banana Purple Punch Auto, require just a bit and are easy to overfeed, while other strains like our Gorilla Cookies Auto will take all the nutrients you can give it. In general,
In general, autoflower strains require about half the recommended dosage, so it’s always a good idea to adjust your feedings accordingly. However, keep in mind that they also require calcium and magnesium, just like photoperiod plants. Make sure your preferred nutrient brand provides a complete formula containing both macronutrients and micronutrients.
Beyond that, don't stress over it. The growing environment and medium, more than strain, determine what kind of nutrients you need to provide your plants. Since those are unique to each grower, it's hard to give generalized advice.
4. Watering Autoflowers
Of course, your plants will need water. A general rule of thumb is to water based on the size of the plant, not the size of the pot. That is, a small plant needs a small amount of water, while a big plant needs a larger amount of water. Now, if you’re wondering how often to water, the general rule is to water whenever the soil is dry from the top to two centimeters or an inch down.
Another technique is to lift the pot when it’s dry and again after watering to get a feel for the difference in weight. You can also use a scale to weigh it. When the pot feels light, it’s time to water; when it feels heavy, the soil is still wet.
Depending on your setup, you might water once every two days during vegging, but once in flower, Fast Buds' plants will drink almost every day.
For example, a plant in mid-flower in an 11-liter pot can take two liters of water a day without leaking anything through drainage. It drinks it all.
5. Odor Control: Carbon Filter
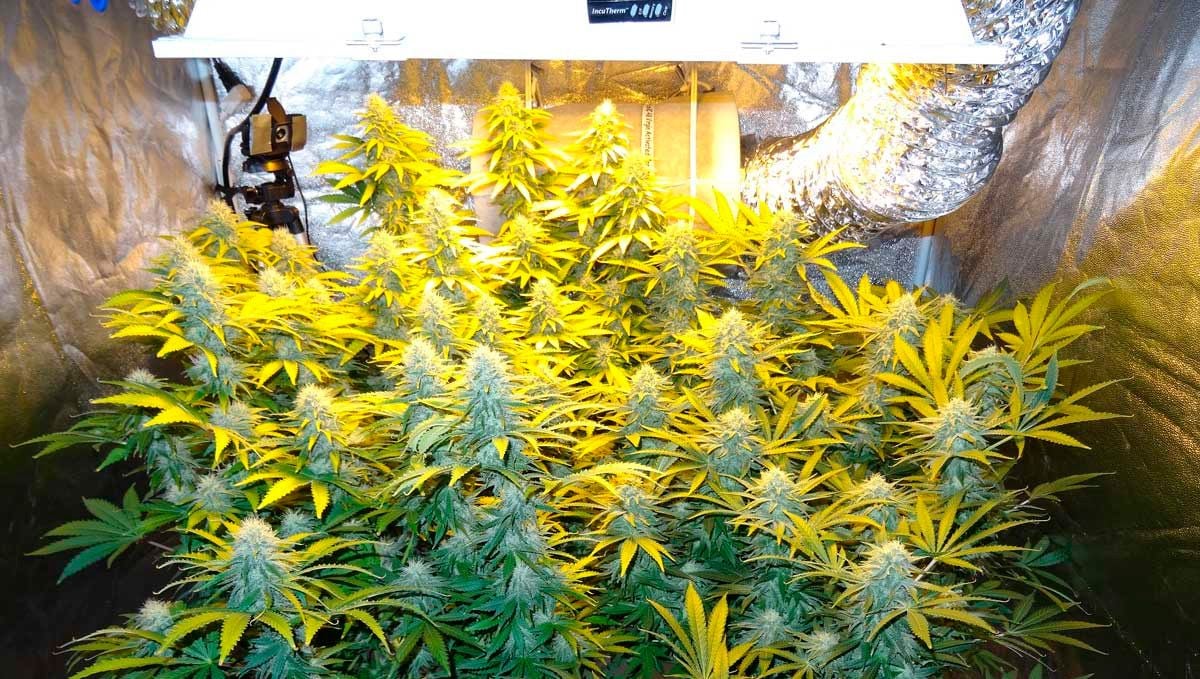
If you're trying to grow without alerting the neighbors, you'll want a carbon filter to take care of the smell of growing marijuana. Buying an appropriately sized filter and exhaust fan can be a little expensive
6. The Growing Process
Ok, so we’ve run over all the vital equipment to grow indoors; that is only part of the equation. The fun begins when it’s time to turn on the equipment and actually start growing our seeds, so let’s take a very brief look at the process.
The Germination Stage
First things first, let’s get those seeds started! You want to fill up a small glass with water and drop the seeds into it and let them sit for 24 to 48 hours. If the seed shells are extra hard, or if you have been holding onto them for a while then you may want to make some small scratches on the outer shells to help that tap root emerge.
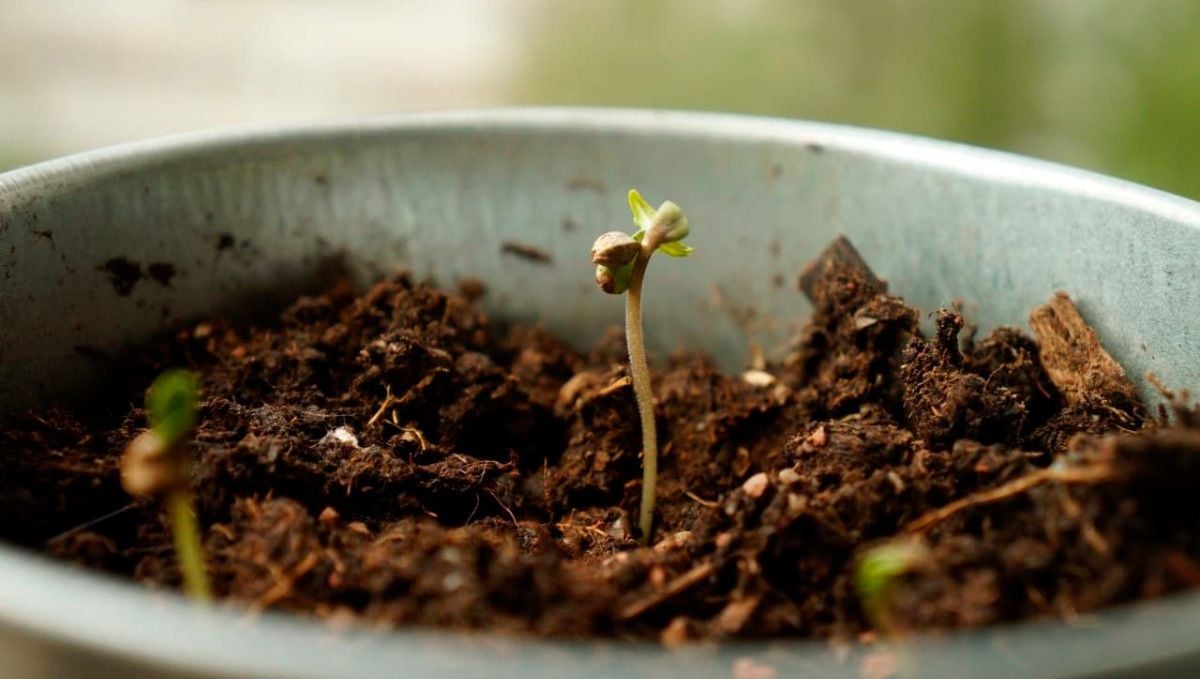
Once they have soaked for a day or two, find some unbleached and unfragranced paper towel. Wet it, squeeze the excess water from it place the seed into it, and fold it up into a neat little envelope. Place inside a ziplock bag and check it every day or two to ensure proper moisture levels and to see if the tap root has emerged. Once it has, it’s time to plant.
The Vegetative Stage
Its always advised planting in the pot you intend to harvest from with autoflowers, as transplanting can stress the plant and stunt growth. Since autos have a predetermined genetic timer for flowering we want to stress them as little as possible to ensure the best growth, so always treat them like the princesses they are. Once planted they go straight into the grow area, and for the best results, we recommend putting them under either an 18/6 or 20/4 light schedule for the entire life cycle.
Aim for the following conditions during the vegetative stage:
- Temperature: 21 - 29C
- Humidity: 60 - 70%
The Pre-Flowering Stage
With autoflowers, pre-flowering begins automatically once the white hairs appear. This signals that the plant is beginning to transition from vegetative growth to flowering.
This change in the plant’s growth stage also requires an adjustment in environmental conditions.
Aim for the following conditions during the pre-flowering stage:
- Temperature: 21 - 26C
- Humidity: 55 - 65%
The Flowering Stage
Once your autoflowers stop growing vertically and the buds begin fattening up, they are officially in the flowering stage.
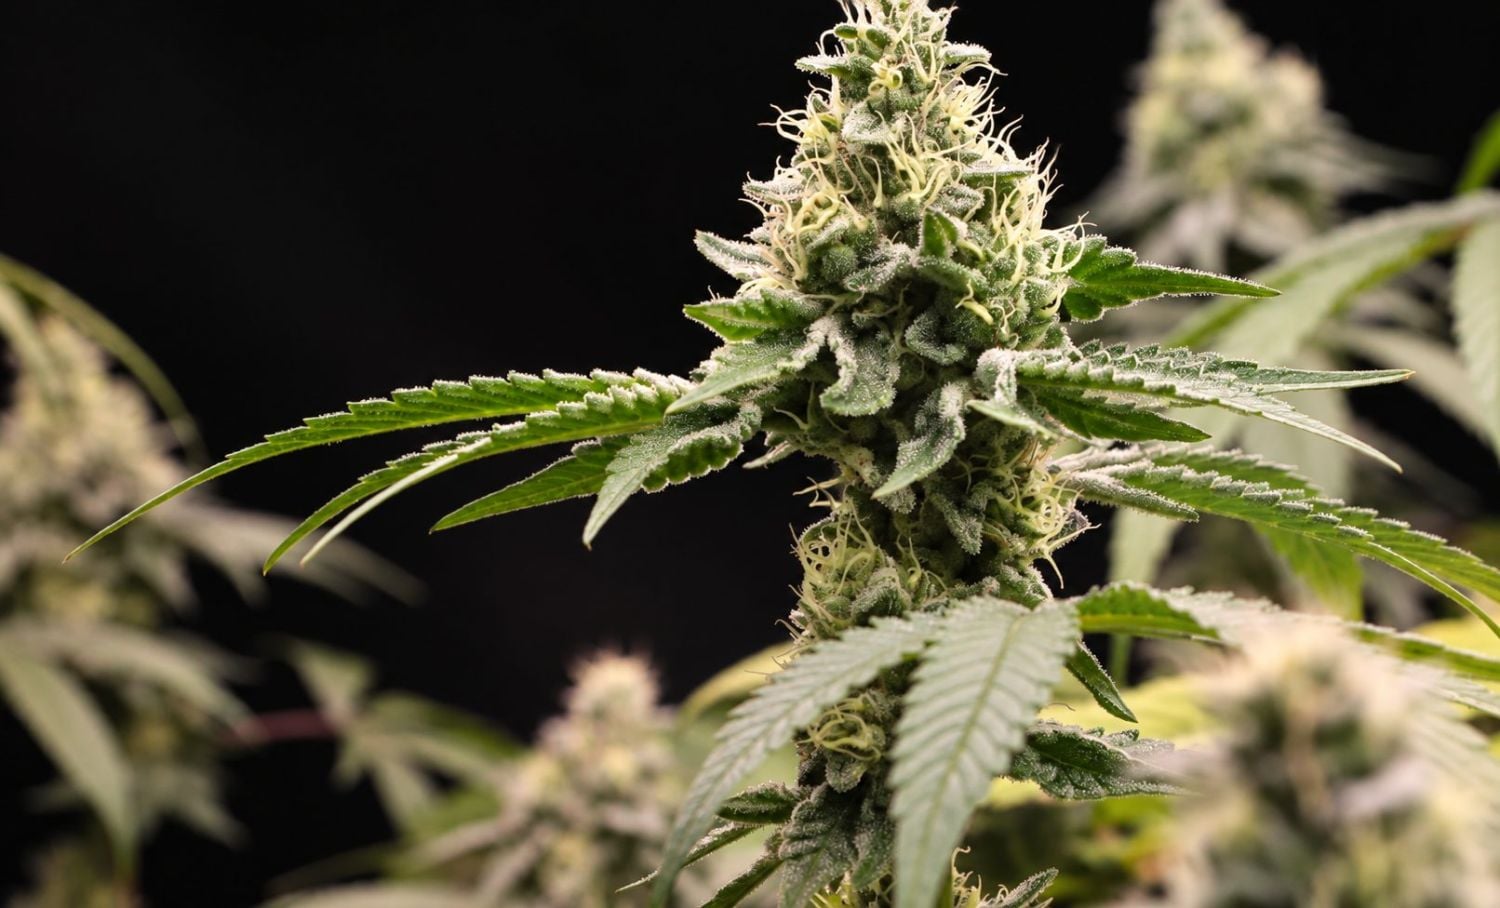
This not only requires a change in the macro and micronutrient ratio but also in the environmental conditions, as lower humidity levels and lower temperatures are required for optimal bud production.
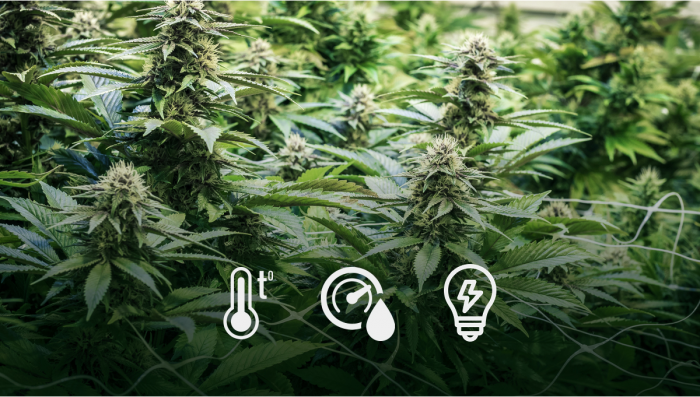
Aim for the following conditions during the flowering stage:
- Temperature: 15 - 24C
- Humidity: 40 - 50%
The Harvesting Stage
Once the plants are all ready, it’s time to cut them down and hang them up to dry. This can take anywhere from 6 to 14 days, and you want the temps to be between 60 – 70 degrees Fahrenheit (15 - 21 Celsius) and humidity between 45 – 55 percent in a dark room. Then it’s time to trim it all up and let it cure for about a month. It may seem like an eternity, but trust us when we say the curing process is vital, and you will thank us when you finally smoke up!
7. In Conclusion
That's all you need to get started growing indoors. Of course, growing cannabis cup-winning ganja takes a bit more, but a simple setup can net you 1.5 to 2 ounces of high-THC dried bud a month. While you're researching, be sure to check out the rundown of our Top 10 Best Cannabis Seeds for Beginners of 2026, and don't forget to follow us on Facebook and Instagram to stay up to date on all the latest strains, deals, and giveaways from Fast Buds.
FAQ
Photoperiod plants generally depend on changes in light and darkness to trigger flowering, while autoflowers transition naturally as they get older.
Unlike photoperiod cannabis, autoflowers don't require a change in the light cycle to begin flowering. We recommend 18/6 from start to finish.
Autoflowers can grow anywhere from 60 up to 150 cm in height. Their final size depends on genetics and environmental conditions.
They can recover from some stress, but because they have a predetermined life cycle, it’s better to avoid it since stress can stunt growth.
You can start autoflowers in solo cups and transplant them to the final container before they completely develop the first pair of true leaves. However, transplanting late in the vegetative or flowering stage is not recommended.
Their basic nutritional needs are similar, although if following the manufacturer’s feeding schedule, always feed at ½ dosage.
One of the most recognizable signs is the development of early flowers (white hair-like structures) around flowering sites.
Slow growth is usually associated with root-problem issues. The most common factors are overwatering and overfeeding.
Some forms of plant training can be used with autoflowers, but their short life cycle means excessive stress can be counterproductive. Make sure you know the strain you’re growing and which LST and HST methods are best suited to your specific growing conditions and strain.
Yes. Both autoflowers and photoperiods cannabis plants cannabis plants can produce a strong aroma when flowering. The intensity varies significantly by genetics.

Comments