How to Grow Cannabis Indoors: a Beginners guide - 2022 (Part 2)

- 1. Step #4 observe and monitor
- 2. Step #5 determine your growing medium
- 3. Step #6 decide on the containers to grow your cannabis in
- 4. Step #7 provide your cannabis plants nutrients
- 5. Step #8 water your cannabis plants
So you’ve decided to grow your own cannabis seeds. Well done! Soon you’ll be part of the rapidly emerging culture. The experience of homegrown marijuana is sweeping the world. Growing cannabis is a fun and affordable way to put high-quality buds in your jar. You don't need to be an expert, in fact, most home growers started without any knowledge and got the hang of it through trial and error so it's just a matter of getting basic equipment and slowly upgrading your equipment which consequently will result in more knowledge, better yields and bud quality if done properly. Growing your own medicine is the best way to ensure the best bud possible and to stop spending money with bud that may not be exactly what you are looking for so continue reading for the second part of our Grow Cannabis Indoors Beginner's Guide Here is a continued ultimate guide to help you get started as a first-time cannabis grower.
Step #4 Observe and Monitor
Once you have chosen your climate control materials and lights, you will need to automate their operations. Although there are refined and highly-priced handy devices out there that control humidity, temperature, lights, and carbon dioxide levels, a first-time grower will typically require a 24 hour time to monitor and control the light and exhaust fan.
When growing cannabis, the timing of light and dark cycle is crucial. Basically, during the vegetative phase, you should turn on your lights for 15-20 hours per day then change to 12 hours of lights per day when they are about to flower. You’ll need to frequently turn the lights on and off during the day to avoid the risk of stressing your cannabis plants; therefore, having a timer is vital. While using a timer on your exhaust fan is significant as well, considering purchasing a thermostat is way better.
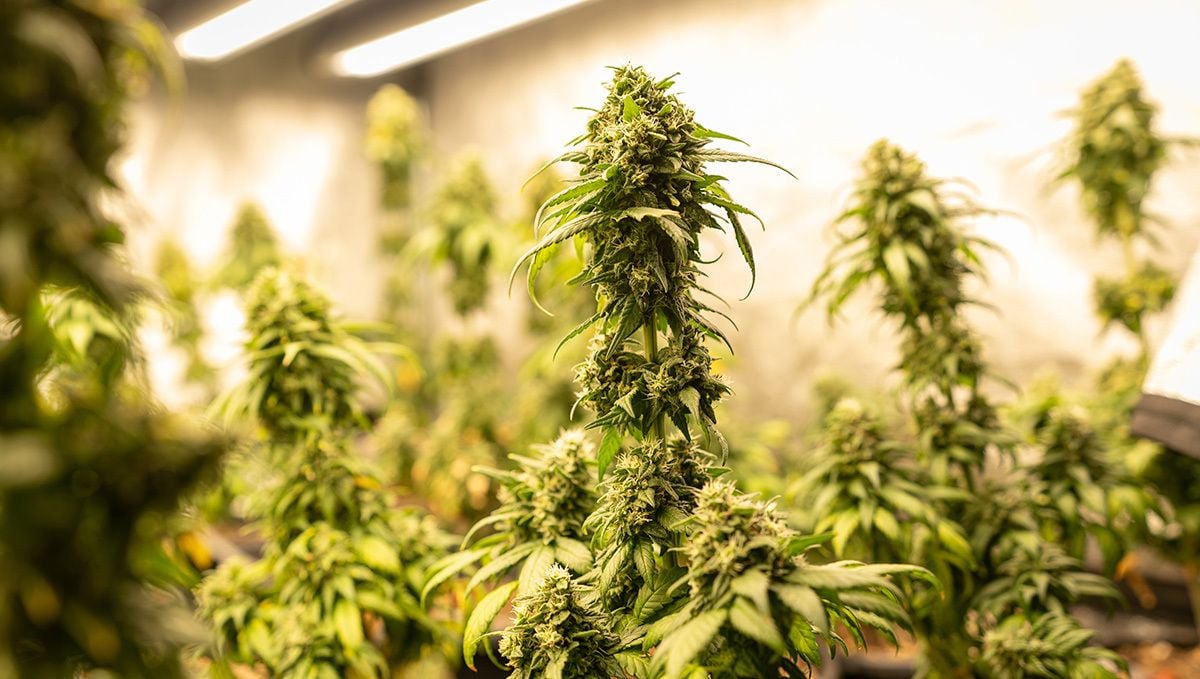
With the most basic designs, you can set the thermostat on the unit to the maximum suitable temperature for your space and plug your exhaust fan into it. After the temperatures increase to the set level, it will turn the exhaust fan on till the temperatures drop a few degrees below the set limit. Perhaps, you don’t spend most of the time in your grow room, having a thermostat with a high or low memory feature can be very useful in maintaining conditions in your grow space. Lastly, it is a great idea to have a PH meter so you can check the PH level of your nutrient solution, soil, and water. If you’re growing your cannabis in soil, maintain a PH between 6 to 7 and between 5.5 to 6.5 if you’re growing hydroponically. Ensure to test the PH of your water and soil consistently and be sure the nutrient mix you’re feeding your cannabis plants falls within the suitable range. Remember, letting PH out of this range will lead to insufficient nutrients; this means your cannabis plants will absorb inadequate nutrients.
You should also make a regular effort to walk around your plants, look at them, touch them, and see if and how they change over time. In particular, you should monitor the texture and color of the surfaces of fan leaves. Why? Because this vegetative anatomical structure can give you a good indication of plant health. Look for curling, wilting, clawing, yellowing, colored spots, and other signs and symptoms that point toward pest infestations, diseases, and nutrient deficiencies. Checking for these regularly will enable you to act as soon as possible, thereby increasing the chances of addressing the problem before it spirals out of control.
Step #5 Determine your Growing medium
Now that you’ve got light and space, you need to decide what you’re going to plant your seeds in. While growing indoors, you'll have endless methods to choose from.
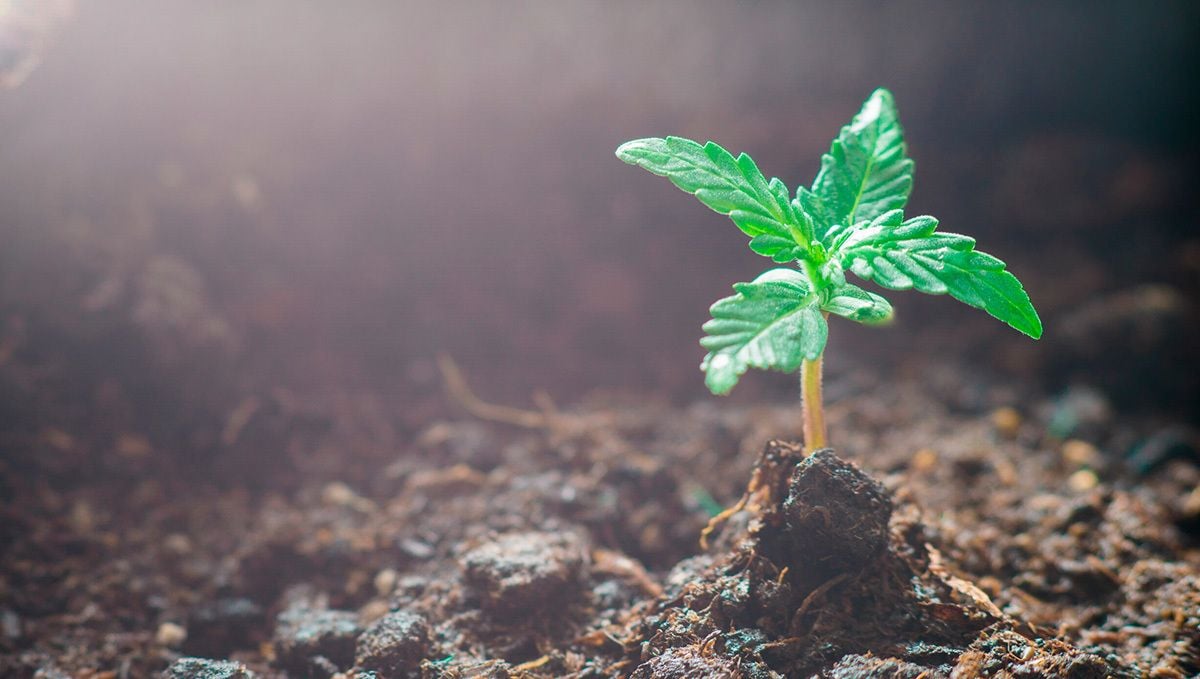
Ranging from hydroponics to dollar store gardening soil or old fashioned pots full of soil. Every medium has its pros and cons. Here, we’ll talk about the two most common growing mediums.
Soil
Soil is the most standard medium for growing cannabis indoors; besides, it is the most lenient, making a perfect option for beginners. Any high-quality soil will work entirely provided that it doesn’t contain any artificial fertilizers such as Miracle-Gro, which is unfavorable for growing quality cannabis. An ideal choice for first-time growers is pre-fertilized soil, also known as super soil. With this cannabis plants can grow with it without adding any nutrients from the beginning till harvesting if used appropriately. You can either purchase pre-made soil from suppliers or make it yourself by incorporating bat guano, worm castings, and other components and let it sit for a few weeks, and it will be ready for use.
The benefit of opting for organic methodologies is that, when applied correctly, you’ll constantly improve the fertility of your outdoor patch over time. By applying mulch and compost in layers, and abandoning digging the soil altogether, you’ll create a busy and bustling network of soil life that will consistently break down organic matter into plant-available nutrients, increase the aeration of the soil, and increase its water-holding capacity. You can also start to feed your soil using free waste from your own household and garden. Everything from fruit and vegetable scraps to dead autumn leaves and grass clippings helps to establish fertility over time. Overall, this helps to vastly reduce the cost of growing weed, while producing some of the healthiest and most productive plants you’ll ever come across!
Soilless (Hydroponics)
Many Indoor growers are relatively fancying soilless, hydroponics for growing cannabis plants. This technique needs feeding with a concentrated solution of mineral salts that are directly drawn up by the roots through osmosis. This technique is perfect due to faster nutrient uptake leading to more rapid growth and bigger yields.
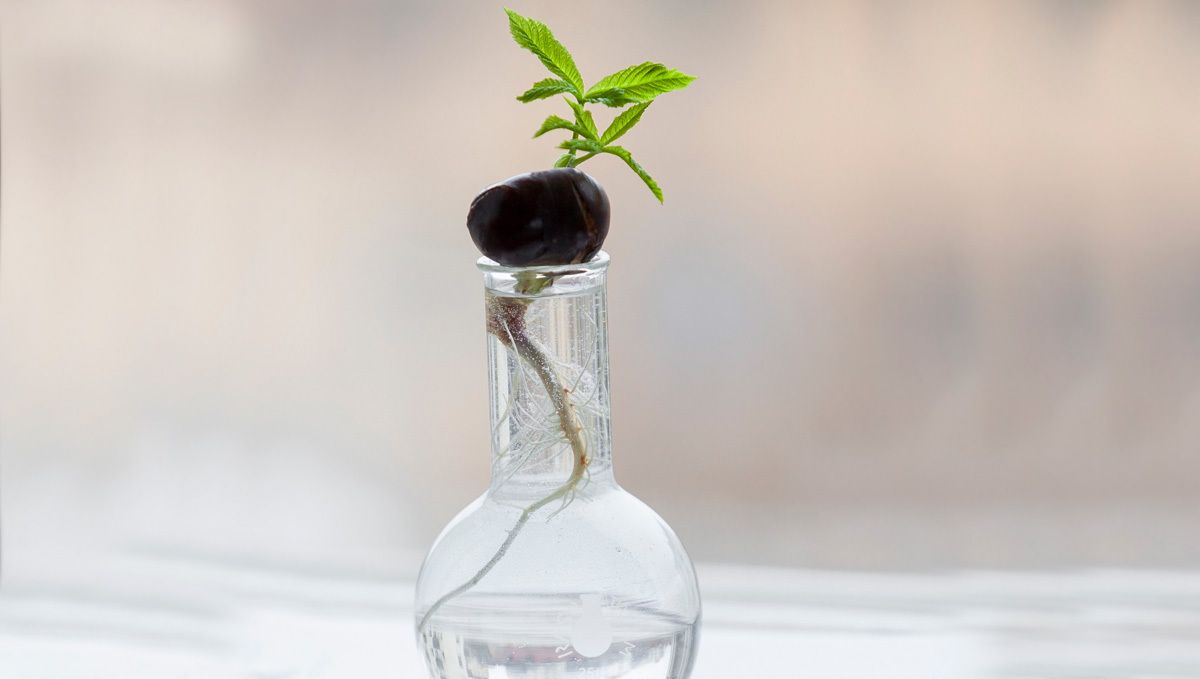
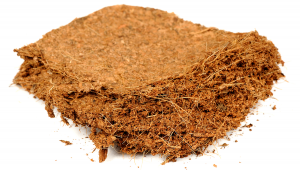
There are different materials used, ranging from coco coir, perlite, Rockwool, vermiculite, and expanded clay pebbles. Coco coir is the most popular soilless option made from coconut. It looks like soil at a glance, but it's perfectly suited for growing friendly bacteria that will give your plants nutrients. You can combine the mix with others to create an ideal growing mix.
Step #6 Decide on the containers to grow your cannabis in
Whatever vessel you’re going to grow your marijuana depends on the growing medium, your plants' size, and the system. For example, tray-style hydroponic and flood-and-drain systems may use tiny net pots filled up with clay pebbles or a considerable slab Rockwool to grow several small plants.
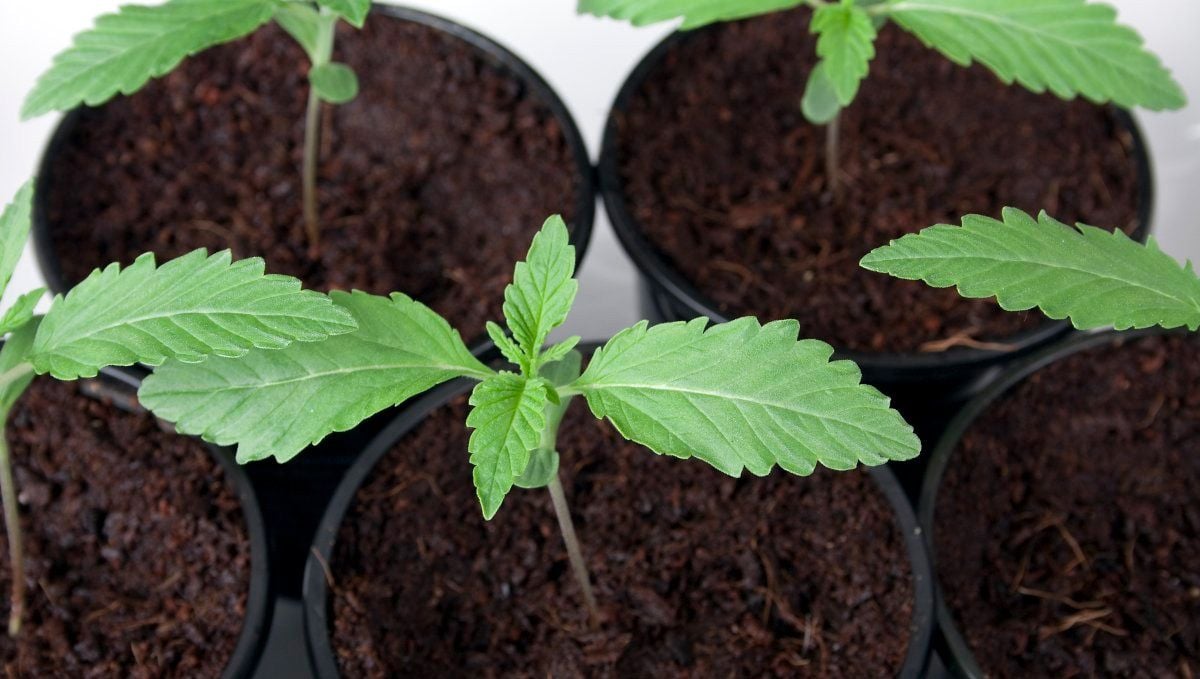
Also, there are cheap alternatives, including disposable perforated plastic bags, while some people prefer to spend more on smart pot containers that are created to boost airflow to the plant’s roots region. A couple of people grow their first cannabis plants in gallon buckets. The essential thing to consider is drainage; cannabis plants tend to be sensitive to water-logged environments. Therefore, if you repurpose other vessels, ensure that you make holes in the bottom before setting them in trays.
Step #7 Provide your cannabis plants nutrients
Growing high-quality cannabis plants need sufficient fertilizer and nutrients. Your plants need primary nutrients, including:
- Potassium (K)
- Nitrogen (N)
- Phosphorus (P)
- Calcium
- Magnesium
- Copper
You need to provide your plants with suitable nutrition at least once a week especially if you’re not using pre-fertilized soil mix. These nutrients are handy in concentrated liquid or powder form and you can stir with water. Such nutrients are meant for different purposes, for vegetative or bloom stage. This is because cannabis requires different macronutrients during its lifecycle. They need more nitrogen during the vegetative phase and more potassium and phosphorus during bud production.
Well, some strains need more calcium than others to produce hardy and healthy nugs; therefore, choose a brand that provides the essential nutrients. It’s recommended to research the specific strain you need and become familiar with the nutrients it requires and prefers most.
Organic vs Inorganic Nutrients
As mentioned, cannabis plants need specific nutrients, depending on the stage they’re in. These nutrients are fairly easy to find in most grow shops, and you could also make them at home with methods such as composting and KNF, for example. When shopping for fertilizers you’ll find several different types such as powdered, liquid, etc… But they’re all divided into two categories: organic and inorganic. Now, both organic and inorganic will provide what your plants need but they work in different ways.
Organic Nutrients
Organic nutrients work in combination with beneficial microorganisms as you’re basically making the nutrients available in the substrate where the microorganisms break them down and make them available for your plants to absorb. This means that when growing organically, it’s vital to keep a healthy substrate, meaning that you should check the pH while keeping the substrate moist at all times in order for the beneficial microorganisms to be able to reproduce and continue breaking down the nutrients in the substrate.
Inorganic Nutrients
On the other hand, inorganic nutrients are already available and do not depend on microorganisms, this means that when using inorganic fertilizers you’re actually feeding the roots directly instead of beneficial microorganisms. The main difference between inorganic and organic nutrients is that it’s easier to cause nutrient burn with inorganic products as you’re feeding the roots directly while it’s harder to cause nutrient burn with organic nutrients as they will be released gradually as the microorganisms break them down. But this doesn’t mean one is better than the other, it all comes down to your preference, grow setup, and availability.
Step #8 Water your cannabis plants
Of course, your plants need water. Based on your location, some water has a high volume of dissolved minerals that can develop in the root region and can adversely affect nutrient uptake. It may also contain pathogens or fungus that can lead to root diseases. Besides, some locations may have a water supply with high volumes of chlorine, which can be detrimental to soil microbes. So, for such reasons, people decide to filter the water they use in plants.
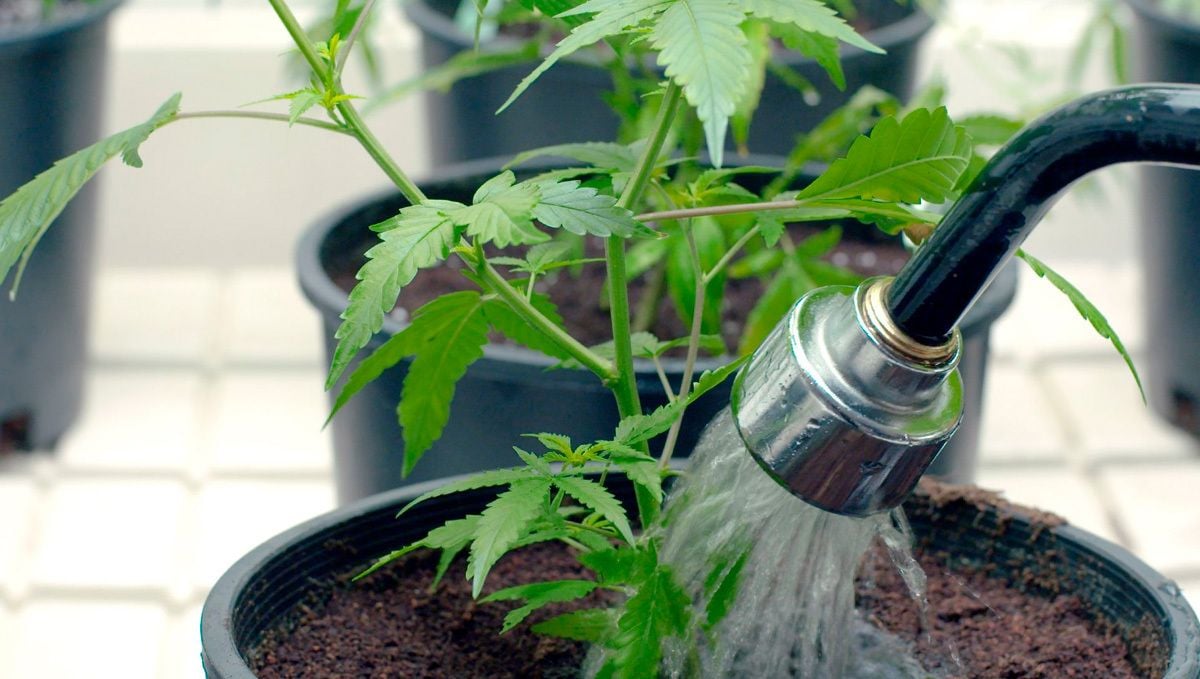
However, an essential thing to keep in mind is that during this stage, it is not to overwater. Cannabis plants are incredibly vulnerable to fungal root diseases in waterlogged surroundings. Therefore, the most common mistake made by first-time growers is overwatering their plants. Depending on the medium you’re using, the size of your plants, and the temperature, this will determine how many times to water your plants.
This guide is meant for any cannabis enthusiast who would love to grow cannabis indoors and experience the thrill. While there are chances of mistakes, but that’s normal as you gain experience, you’ll be more than happy for growing, harvest, and finally using self-grown cannabis. We hope this beginner’s guide on how to grow marijuana indoors was able to help you, and we expect this will lead you to the productive and fun cannabis growing journey.




Comments